How to Delete Shared Albums on iPhone
Because we are constantly taking and sharing photos in the 21st century, it’s easy to fill the Photos app with multiple photo albums. Perhaps it could be pictures or a collage you made a while ago but forgot about, or something developed for you by a third-party photo app. Today, we will explain how to delete shared albums on iPhone.
How to delete shared albums on iPhone | Best easy ways
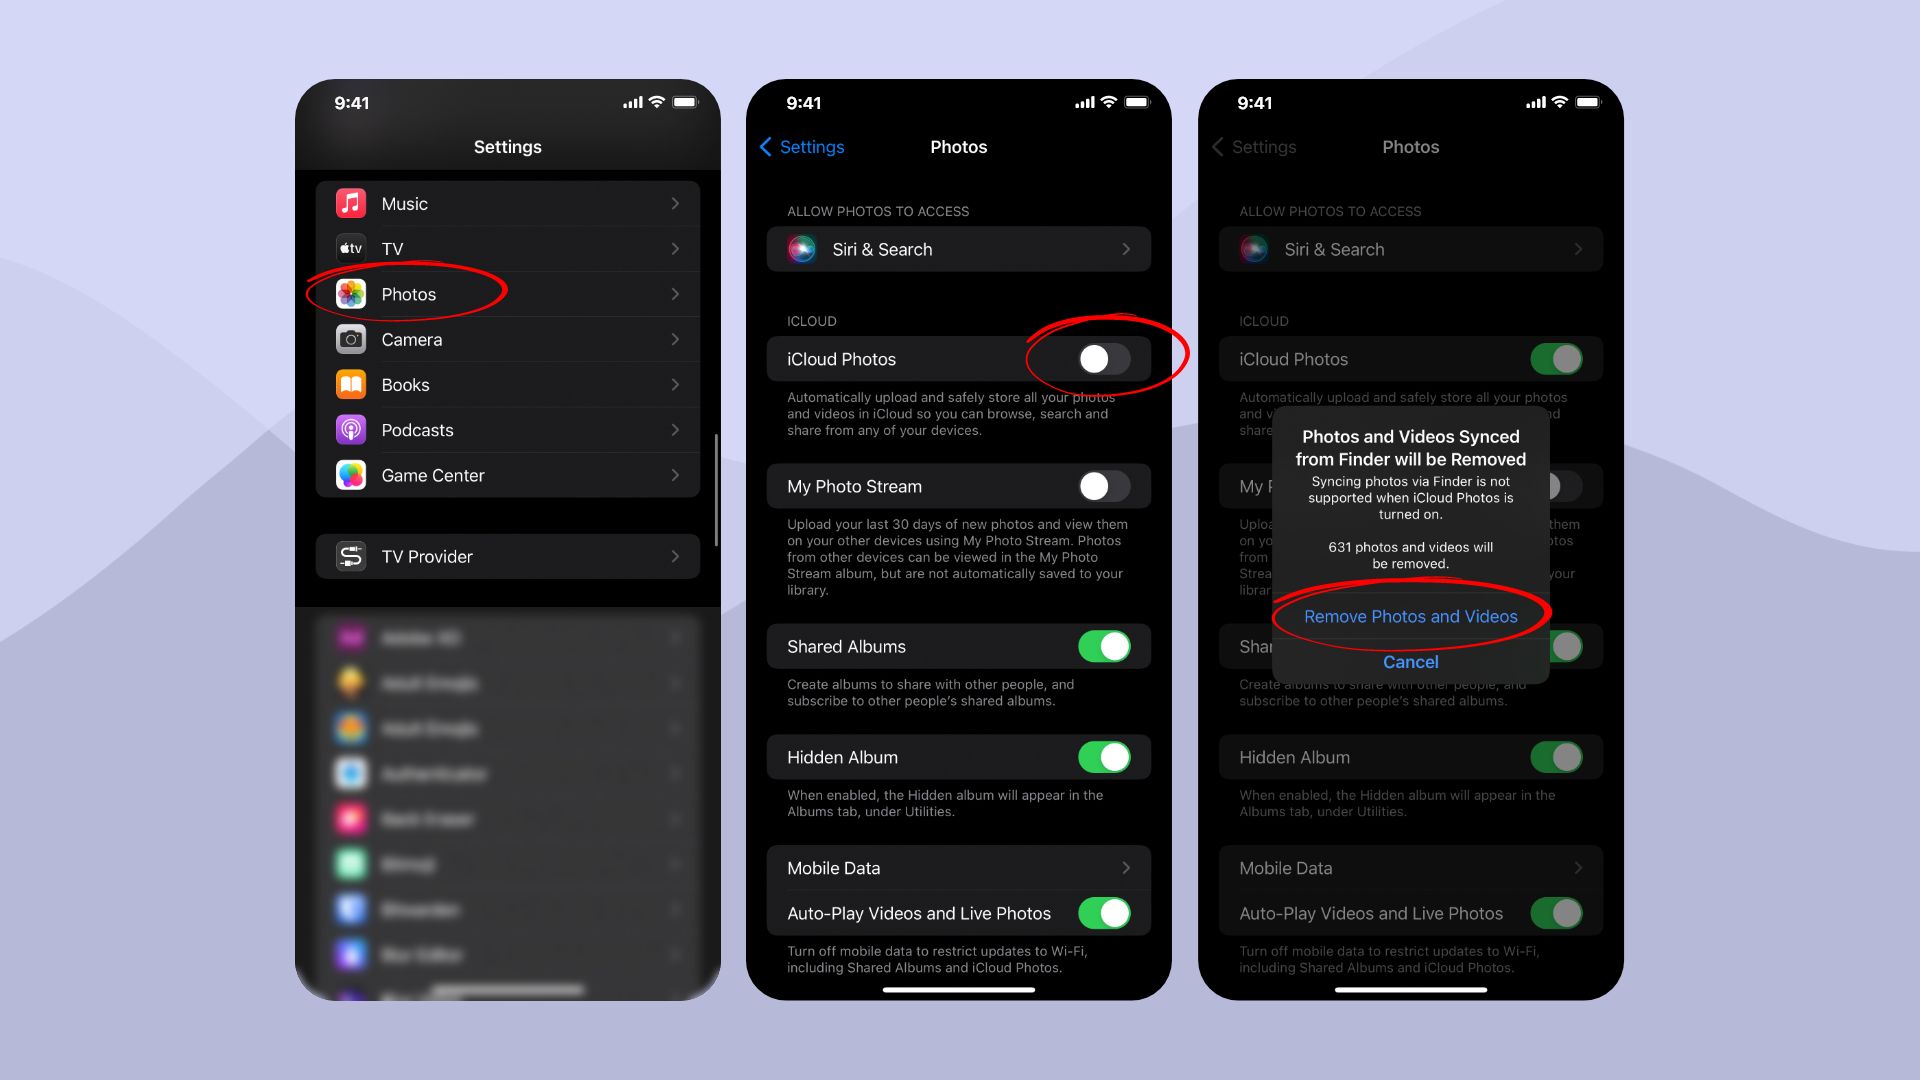
In the past, known as “Shared Photo Streams” they are now known as “Shared Albums” and are part of the “iCloud Photo Sharing” service. Here, we will show you how to delete shared albums on your iPhone easily.
On an iPhone connected to an iCloud account, turn on or off iCloud Photo Sharing as follows:
- Open the “Settings” menu.
- Select “Photos & Camera” from the drop-down menu.
- Turn on or off “iCloud Photo Sharing.”
Note: Please note that this process has no effect on your iCloud account’s active shared albums.
There are two different types of shared albums:
- Those that you created and to which you subscribed; Those that were created by someone else and to which you subscribed
- Those albums contain independent copies of images and videos on your camera roll or in the iCloud Photo Library.
Deleted shared albums have no effect on your camera roll or iCloud Photo Library.
If you want to learn how to get rid of shared photos entirely, you’ll need to do the following:
- Delete all of the shared albums you’ve made.
- Unsubscribe from other people’s shared albums.
How to unsubscribe from shared albums
Before you go through the process of unsubscribing from shared albums, remember that you will immediately delete the photos and video clips in the shared album from all your devices. So, save any photos or videos you want to keep before you unsubscribe. Now, to remove or unsubscribe from shared albums, follow the steps below.
- Open the Photos application.
- Select “Shared” from the drop-down menu.
- Select “Edit” from the menu.
- Tap the “no entry” indicator.
- For shared albums with you, tap “Delete.”
- If you want to unsubscribe from someone else’s shared albums, tap “Unsubscribe.”
- Select “Done” from the drop-down menu.
Just in case you want to find out what happens after you delete those albums, here’s what happens:
- When you delete shared albums you’ve created, you’ll get rid of the photographs and videos and unsubscribe from the people you’ve shared the album with. Unless they make an exact copy on their own Camera roll or iCloud Photo Library, those users will “lose” the shared photographs and videos.
- Unsubscribing from a shared album only affects your own iCloud account; it has no effect on the album author. Unless you create an exact copy on your own Camera roll or iCloud Photo Library, you will “lose” those shared photographs and videos.
How to delete albums on your iPhone
Adding, organizing, and deleting albums is simple with the Photos app on the iPhone and iPad. Additionally, you may remove numerous albums at once from the album-editing screen. When you remove a picture album, none of the photographs are deleted. The pictures will remain in the “Recents” album and other albums.
- On your iPhone, open the “Photos” app and go to the “Albums” menu to begin the process.
- All of your albums may be found in the “My Albums” area at the top of the website. In the top-right corner, press the “See All” button.
- All of your albums will now be displayed in a grid. Simply tap the top-right corner’s “Edit” button.
- The Album-editing mode is now active, identical to the Home screen editing option. You can reorganize albums by dragging and dropping them here.
- Simply tap the red “-” icon in the top-left corner of an album image to erase it.
- Then, confirm the operation by selecting the “Delete Album” button from the pop-up dialog. Except for the “Recents” and “Favorites” albums, you can delete any album.
- As soon as you confirm, you’ll notice that the album has been deleted from your My Albums list. You can delete albums in the same way you deleted them before. When you’re finished, touch the “Done” button to return to your album list.
How to delete shared albums from iCloud on Windows
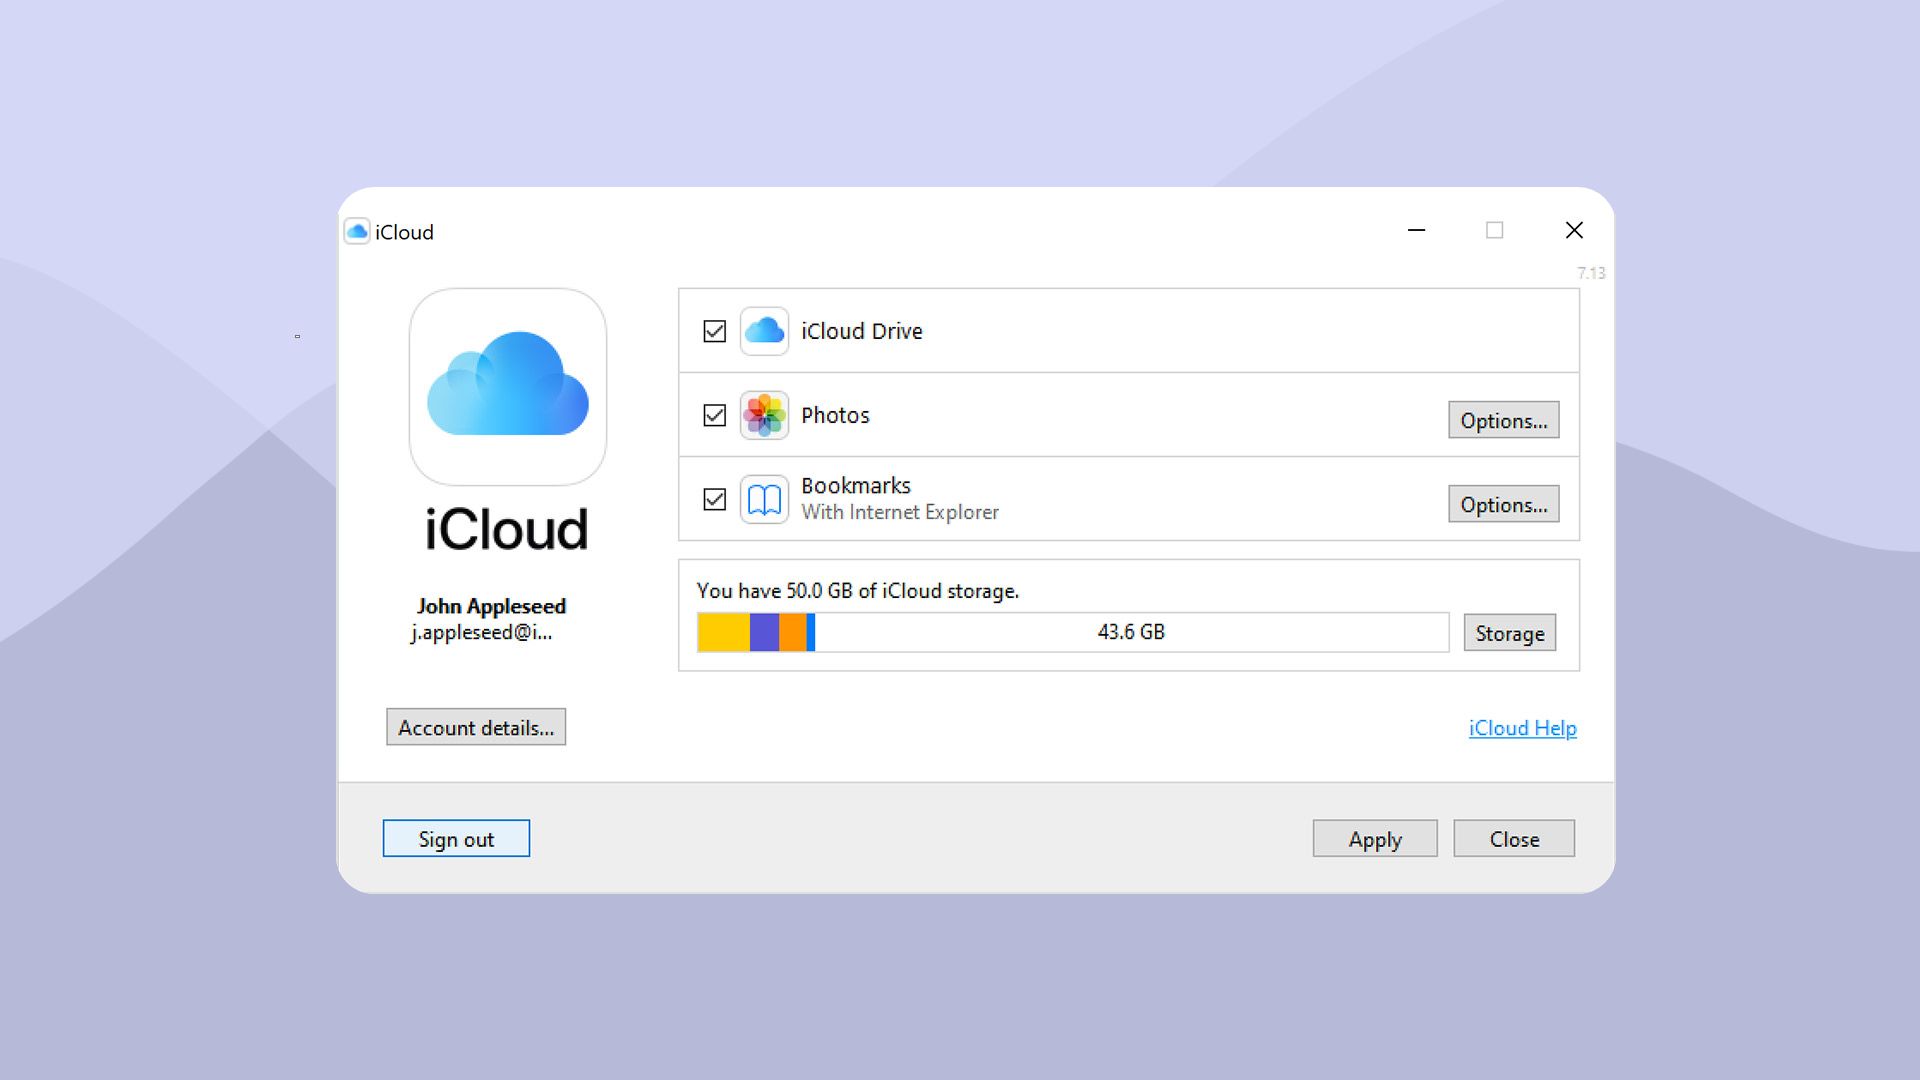
- You can delete a shared album from iCloud with iCloud for Windows. You can unsubscribe from shared albums that you have subscribed to.
- Find out what version of iCloud for Windows you have before getting started.
- Open Shared Albums on your Windows PC
- When you right-click the shared album you want to remove, select “Delete shared album” (if you’re the owner) or “Unsubscribe” (if you’re a subscriber) from the shortcut menu that appears.
- When you delete a shared album that you own, it is removed from your devices and the devices of its subscribers. When you unsubscribe from an album, it gets removed from your device’s library.
If you have difficulties running iCloud on a Windows system, watch the recommended video below.
Concluding thoughts
Pictures can take up a lot of space on the iPhone. Furthermore, when we have shared photos, there’s even more clutter to take care of. We hope that you are now aware of how to delete shared albums on iPhone and will be able to manage the space on your iPhone more smoothly.
Related Blog:
How to Remove Photos from Apple Watch

