How to Connect Canon Camera to Mac
Canon is well-established as one of the best camera manufacturers. Its cameras are versatile for any photography or video shooting tasks. The cameras also give you several connectivity features for multiple platforms. This article will lay down detailed instructions for you on how to connect Canon camera to Mac devices.
Learn how to connect Canon camera to Mac – Five methods
The latest Canon cameras feature convenient ways to connect them to other devices. If you are new to handling a Canon device, you will understandably find it difficult to operate it for the first time. However, our guide on how to connect Canon camera to Mac will show you simplified steps. Before you move on to the steps, ensure you have the required accessories and applications installed on your Mac device. In this blog, we are going to discuss the five most effective methods to connect Canon Camera to Mac. These methods are:
- Connecting Canon camera to Mac using a USB cable
- Wirelessly connect Canon camera to Mac (with a WiFi connection)
- Connecting Canon Camera to Mac using the Card reader
- Connecting Canon Camera to Mac using the Bluetooth
- Using HDMI to connect Canon Camera to Mac
Steps on how to connect Canon camera to Mac using a USB cable
One of the straightforward methods to connect a Canon camera to a Mac is through a USB cable connection. If you bought a new camera, chances are a USB cable is included in the package. If not, you can buy one from online or local computer stores.
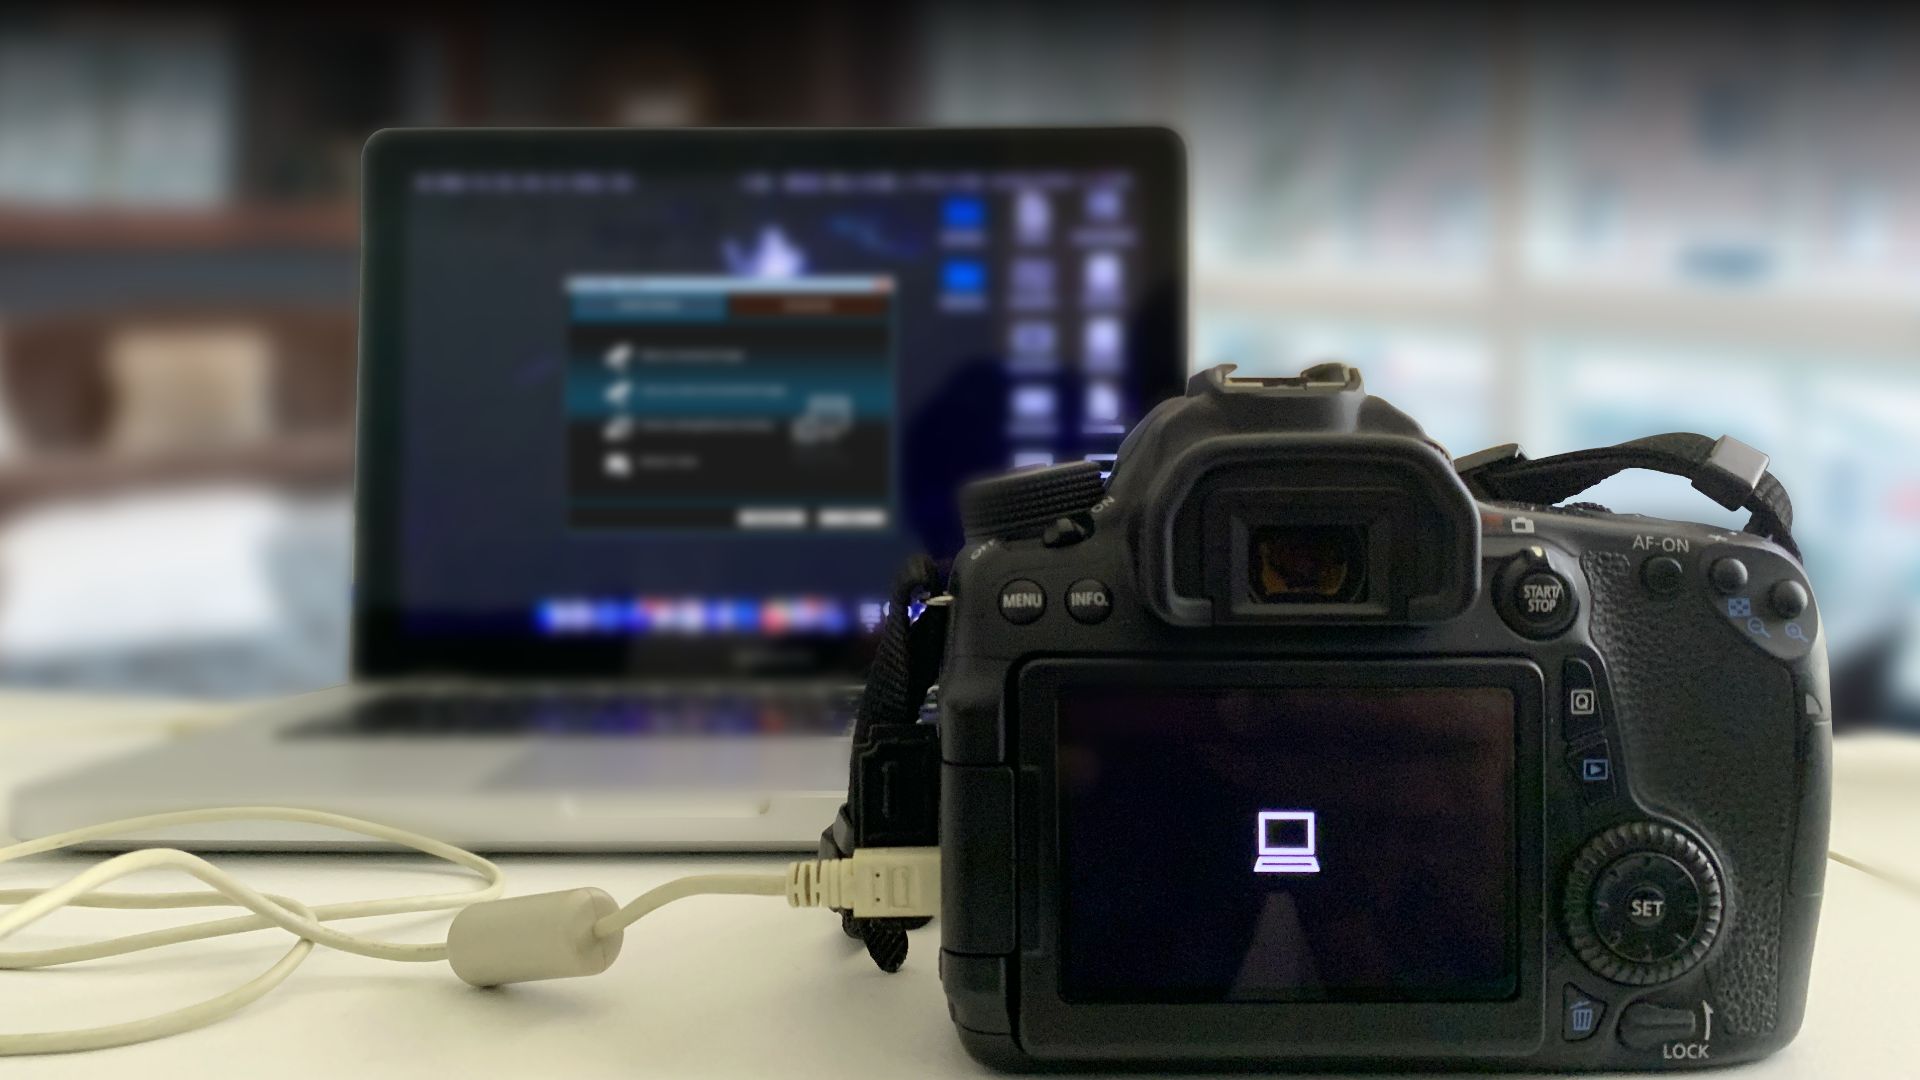
- First, connect the IFC-600PCU USB cable to your camera and your Mac.
- Then, turn on your Canon camera and follow the instructions to create a connection with your Mac using the Canon EOS utility program.
- Now follow the instructions on your Mac screen to upload photos or videos into any photo application.
Recommended product:
Canon Interface Cable IFC-600PCU
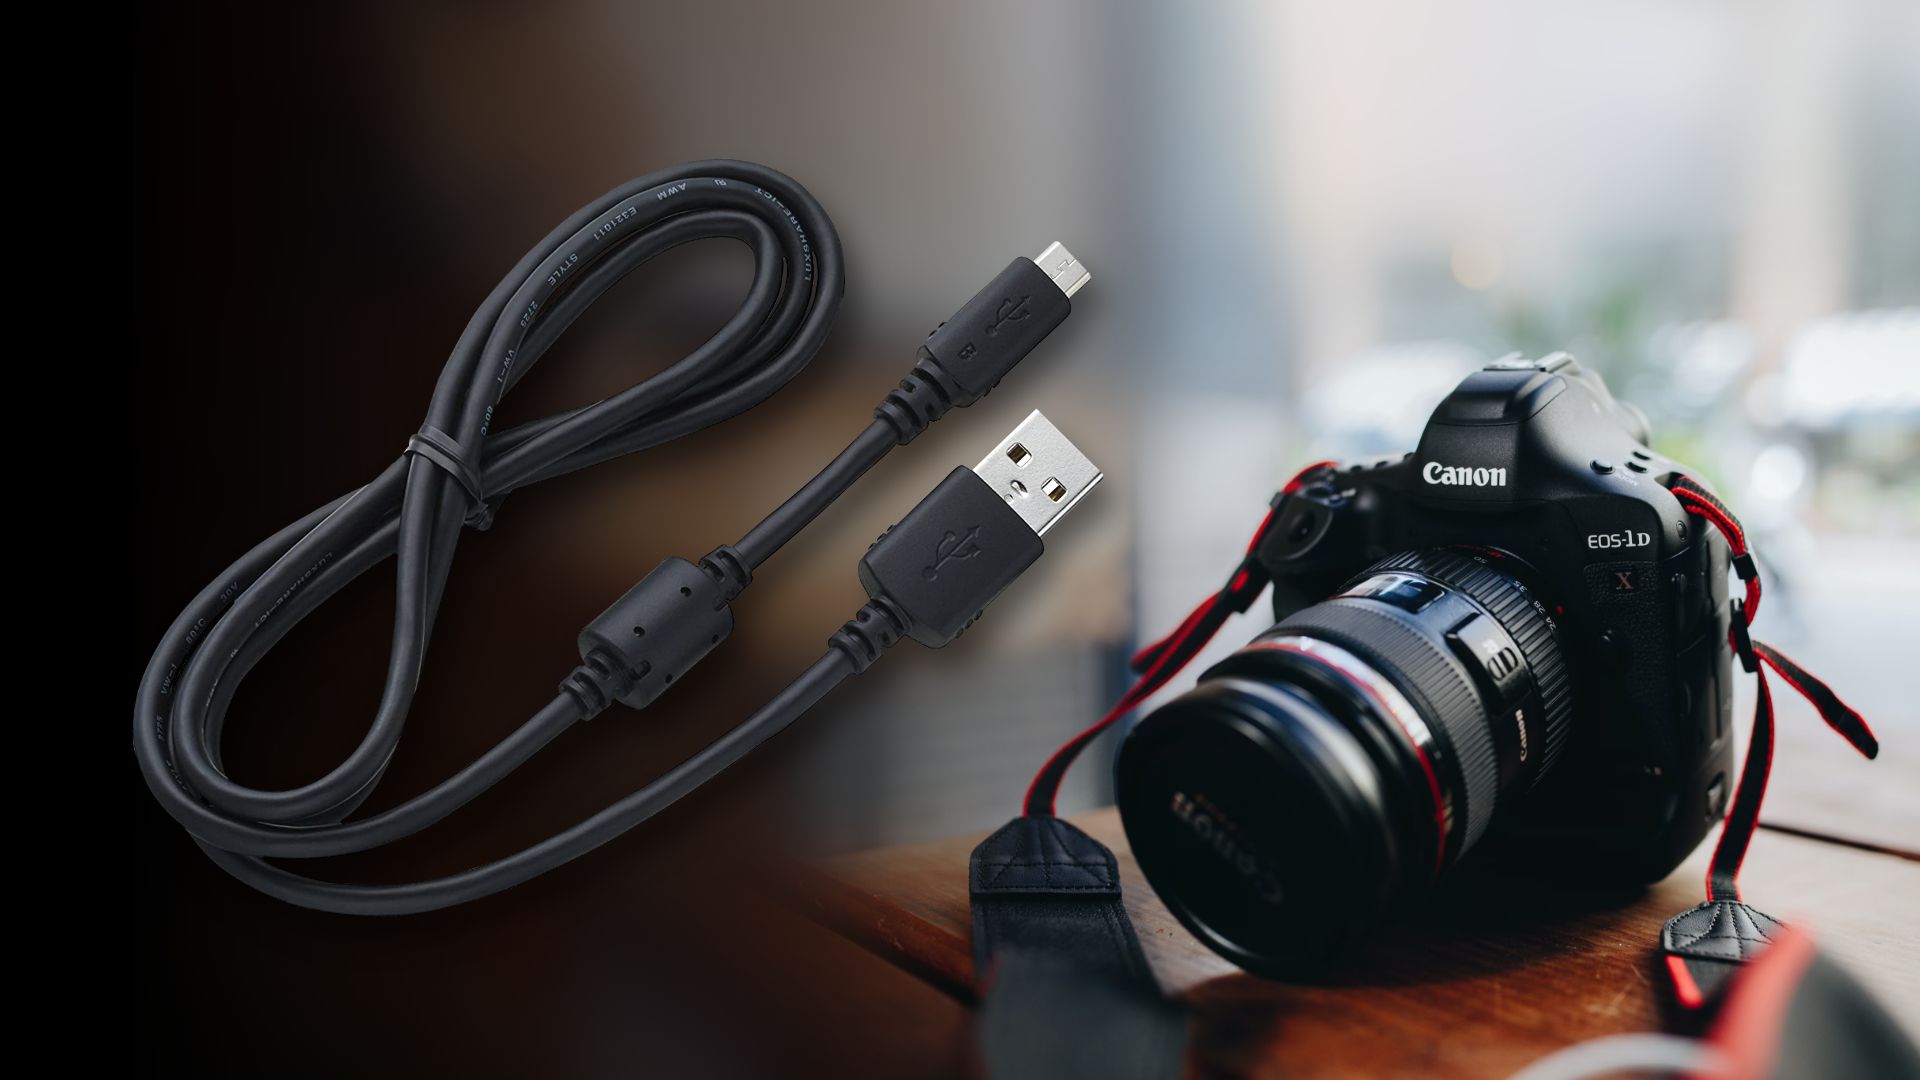
Product Dimensions: 39.6 x 0.26 x 0.07 inches
Connector type: Male A to Mini B
Basic USB Type A Male to Mini USB Male Cable
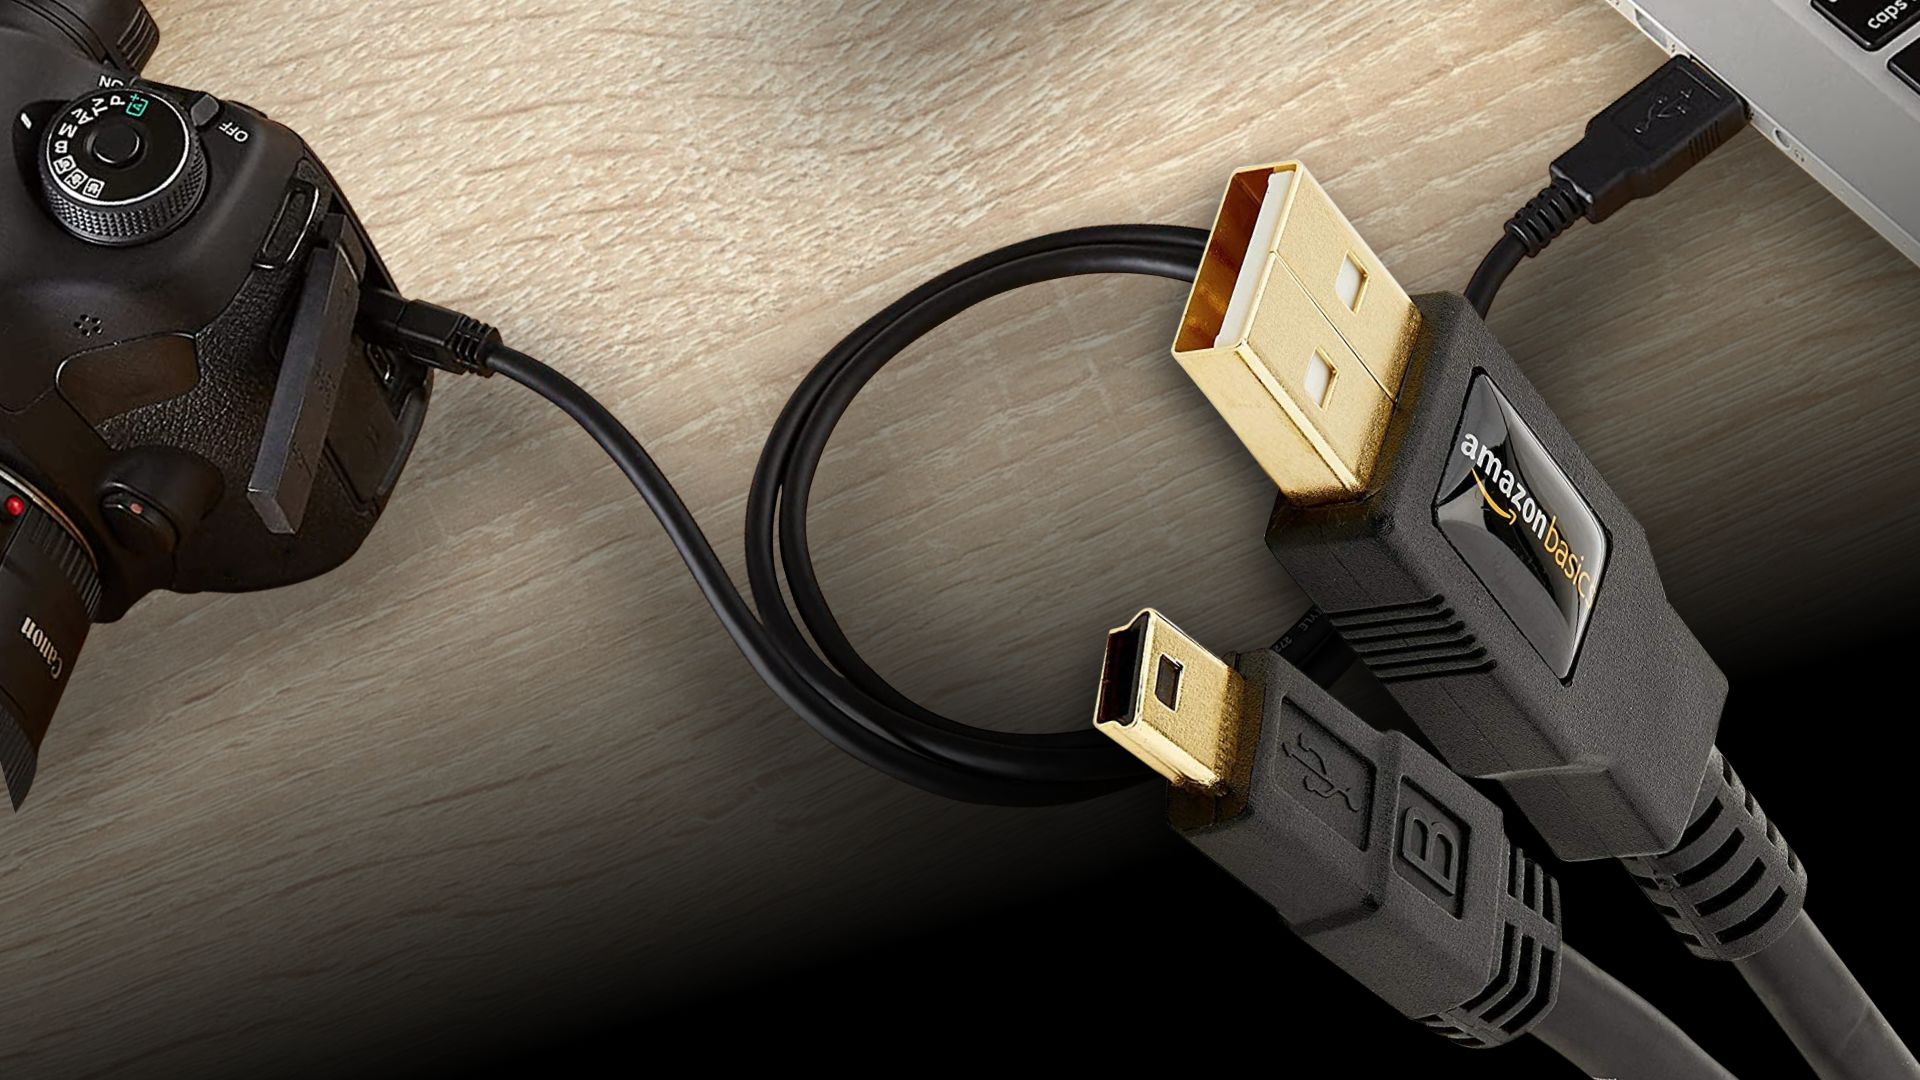
Product Dimensions: 35.43 x 0.25 x 0.25 inches
Connector type: USB Type C to Mini USB
JXMOX USB C to Mini USB 2.0 Adapter
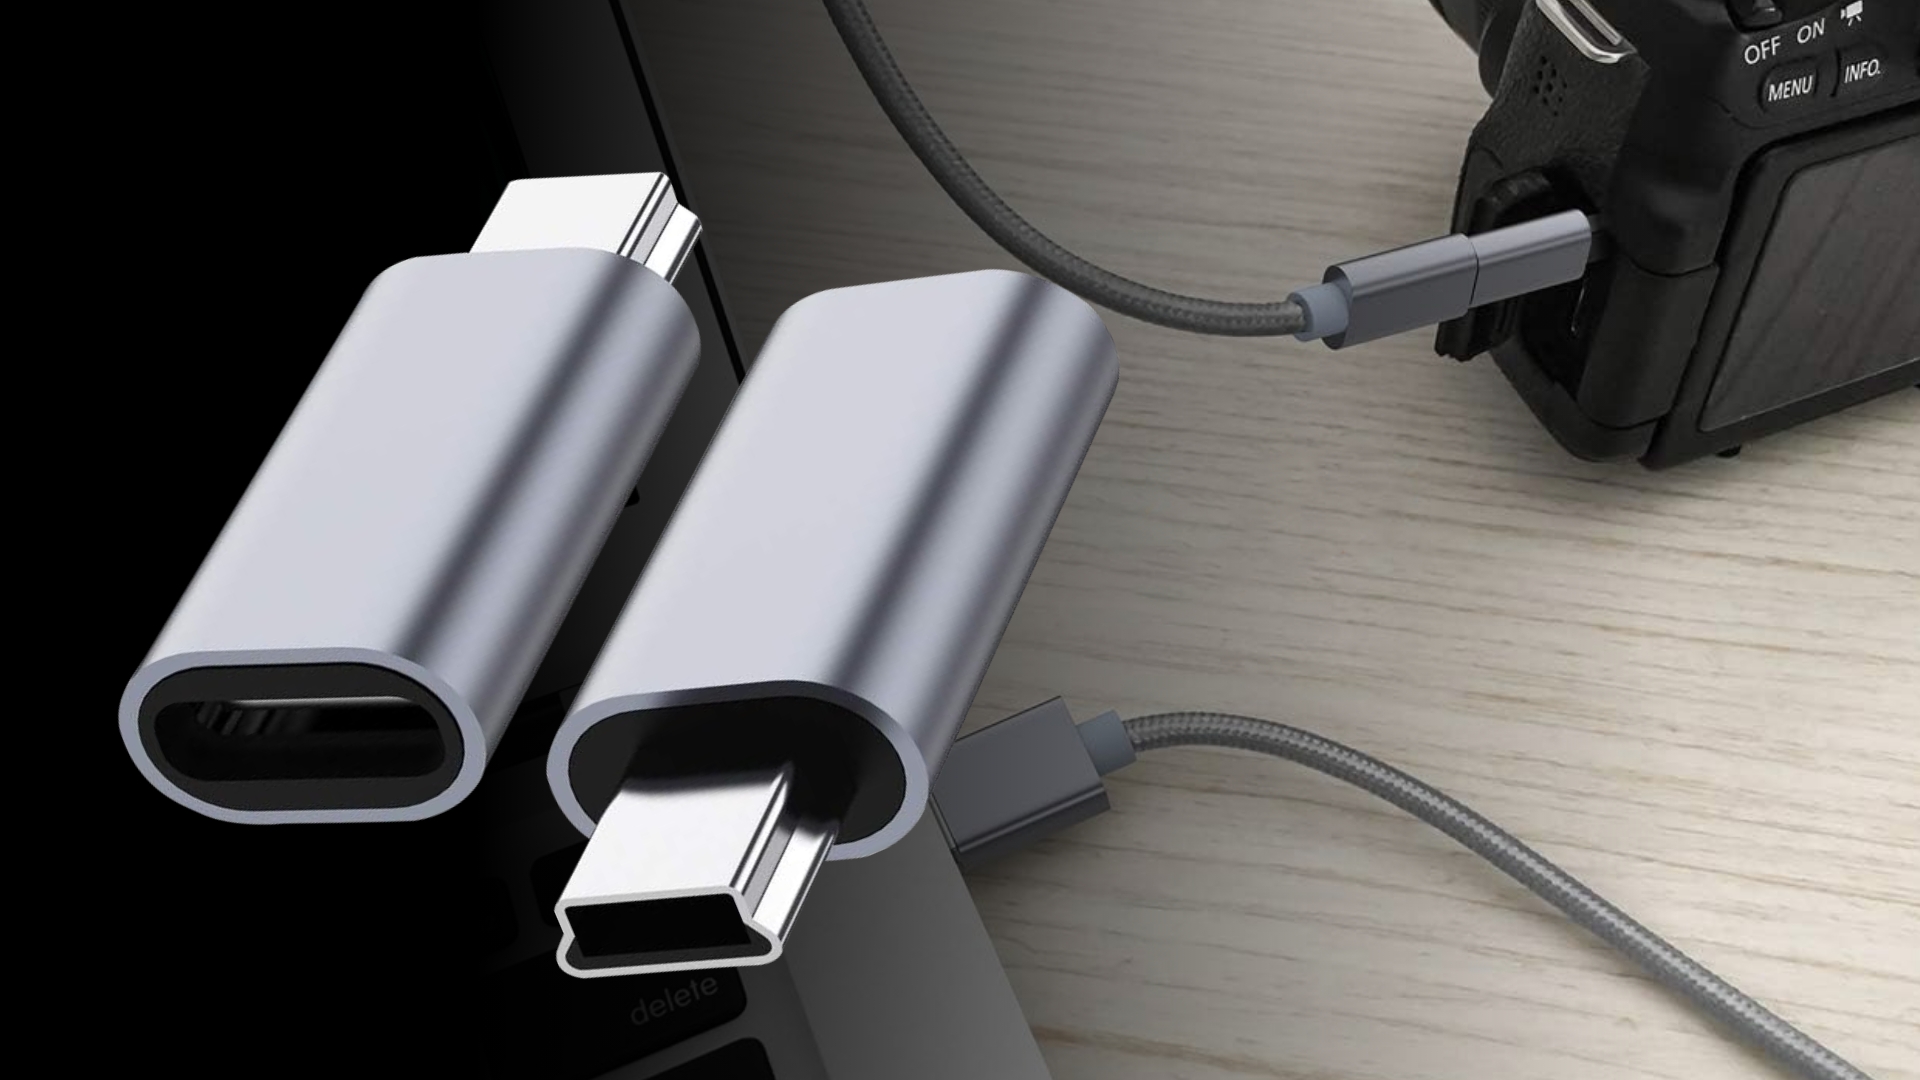
Product Dimensions: N/A
Connector type: Male A to Mini B
How to connect Canon camera to Mac, MacBook Pro, and Air wirelessly
Older cameras might not have the Wi-Fi feature, but the newest models almost certainly do. However, you must install the CANON EOS UTILITY app on your Mac device to use this function properly.
Users of Canon will significantly benefit from the wireless connection feature. Nevertheless, the procedure may vary a little depending on the camera model. Additionally, you will need to download the compatible drivers for your Canon camera.
The wireless connection will enable the fast transfer of photos or videos. Furthermore, the application allows you to control several camera features on your Canon device. Note that the connectivity procedure on some Canon camera models can vary.
To help you with that issue, check out the official Canon USA Support YouTube profile. There, you will find setup tutorials to learn how to connect Canon camera to Mac wirelessly. For this particular guide, we have used the Canon EOS R5 model.
Steps on how to wirelessly connect Canon camera to Mac devices
- First, ensure your Mac device has a stable Wi-Fi internet connection.
- Now, set up the Canon EOS Utility application related to your camera model on your Mac.
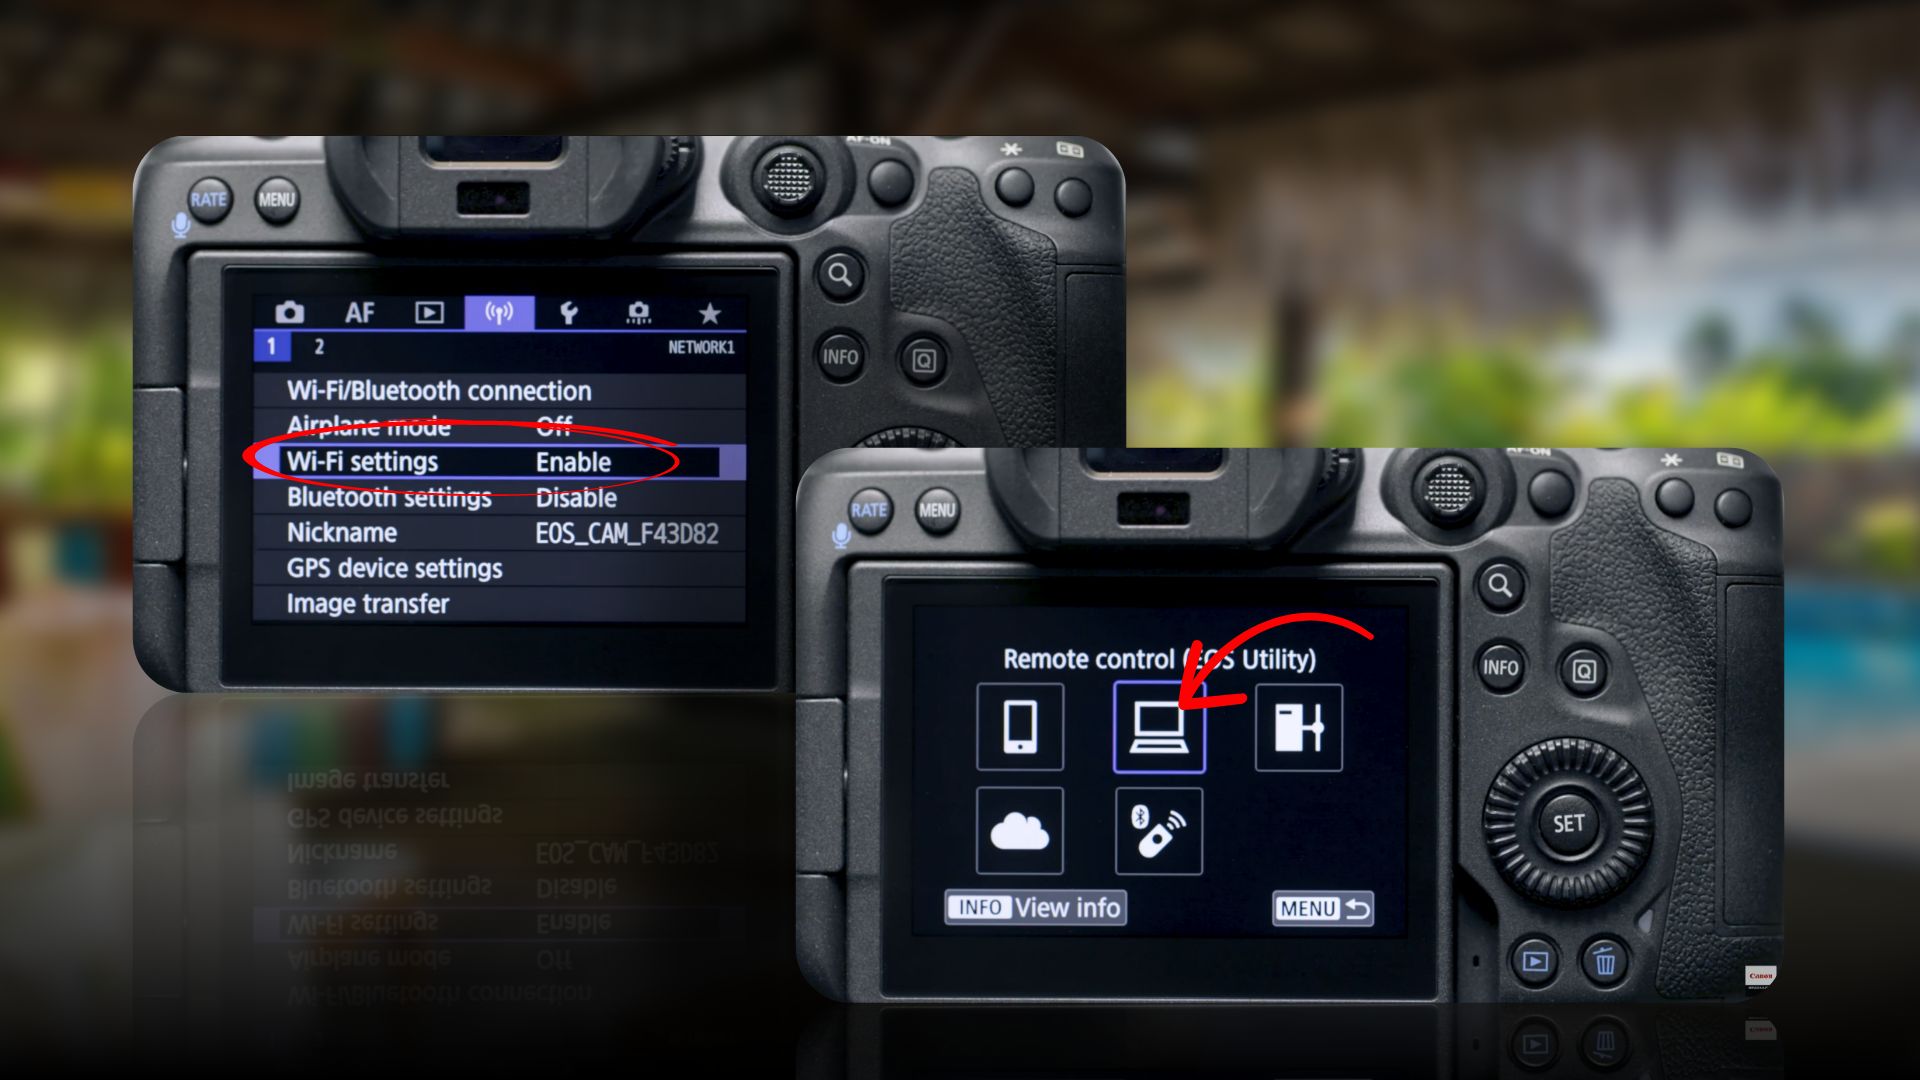
- Next, turn ON your camera and press the Wi-Fi button. Some older Canon camera does not have a standalone switch. You need to go to settings and enable the Wi-Fi for those models.
- After enabling, press the Menu button and select the Wi-Fi/Bluetooth connection option.
- Inside the Wi-Fi function menu, select Remote Control (EOS Utility) and select “Add a device to connect to.”
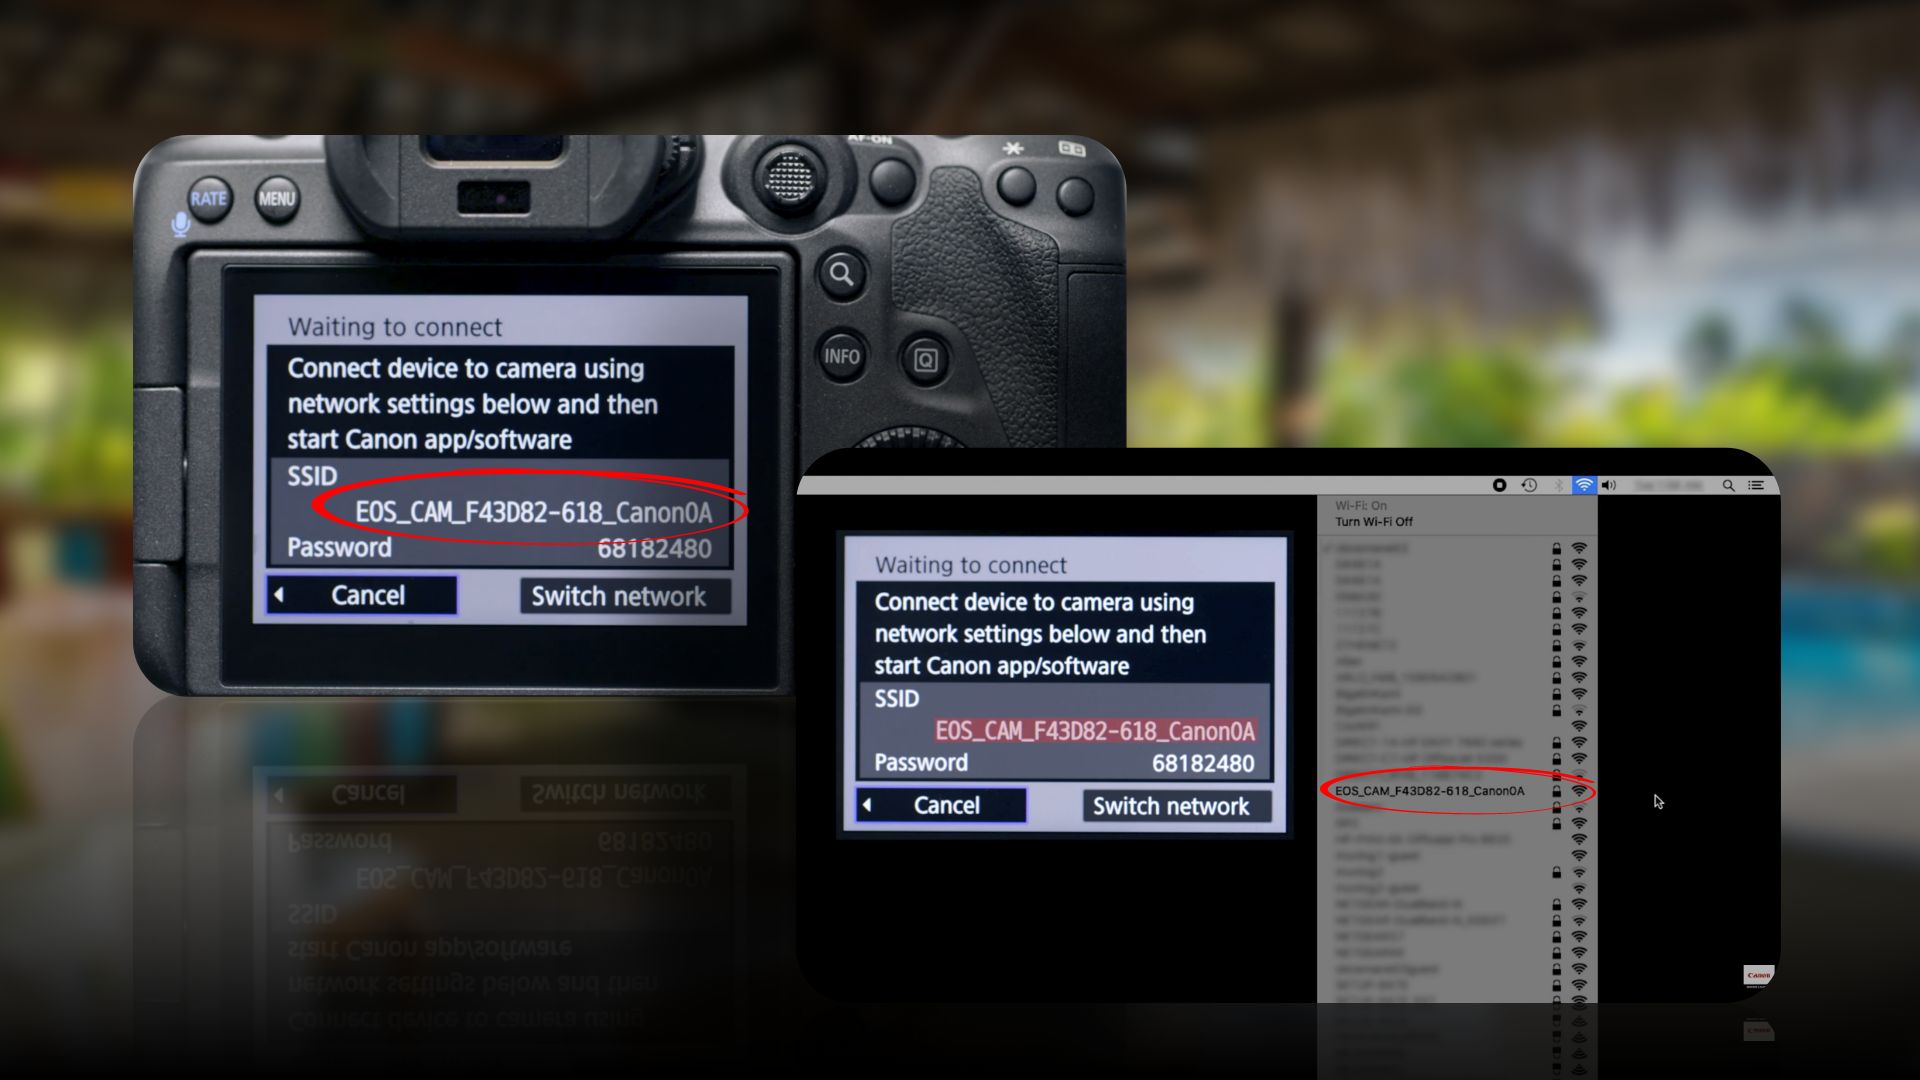
- You will discover the SSID of your camera and the Password.
- Now, click the Wi-Fi icon on your Mac and choose the camera SSID from the connection list. Insert the password and click the Join button to establish a connection.
- Next, on your camera display, select OK to start pairing devices.
- On your Mac, the EOS Utility launcher will appear where you need to select the “Pairing over Wi-Fi/LAN” option. Select your camera model, click Connect, and select OK on your camera display.
- Finally, the EOS utility menu on your Mac will allow you to download images, remote shooting, and camera settings tools.
How to connect Canon Camera to Mac using the Card reader
Since cameras mostly store snaps on SD cards, connecting your MacBook to Canon Camera for transferring photos and videos is easy using a card reader. We say you need a card reader because the latest models of MacBook don’t have any port for an SD card. You can easily get Apple’s own USB-C to SD Card Reader or use an existing USB hub with a card reader slot. This is a common method for storing tons of media on your laptop and keeping your memory card storage free for more.
Steps to transfer data from a Canon camera to Mac using an SD card reader
- Firstly, bring out the memory card from your Canon Camera.
- Then, insert the memory card from your Canon camera into the card reader. Make sure the card reader is compatible with the type of memory card used in your Canon camera (e.g., SD card, CF card).
- Connect the card reader to your Mac. Most card readers connect via USB, so use a USB cable to connect the card reader to an available USB port on your iMac. But for a MacBook, you need to use a card reader that has a USB-C port or connect via a USB-C cable.
- Once connected, your Mac should recognize the card reader and the inserted memory card. The memory card will appear as a removable storage device on your desktop.
- Open the “Finder” on your Mac by clicking on the Finder icon in the Dock or by pressing Command + Space and typing “Finder” in Spotlight.
- In the Finder window, you should see the removable storage device representing the memory card. Click on it to open and access the contents of the memory card.
- Navigate through the folders on the memory card to locate the photos or videos you want to transfer to your Mac.
- Select the files you want to transfer by either dragging and dropping them to a specific folder on your Mac or by copying and pasting them.
- Wait for the file transfer process to complete. This may take some time, depending on the size and number of files being transferred.
- Once the files are successfully transferred to your Mac, you can disconnect the card reader from your Mac by safely ejecting the removable storage device. To do this, right-click on the card reader icon on the desktop and select “Eject” or drag the icon to the Trash.
- Remove the memory card from the card reader and keep it in a safe place.
How to connect Canon Camera to Mac using the Bluetooth
Some Canon Camera models have Bluetooth connectivity. If you are sure that your camera has a Bluetooth connectivity feature, you can connect your Canon Camera to Mac using Bluetooth. All Macs released since 2011 have built-in Bluetooth functionality. To connect the Canon camera to the Mac using Bluetooth, follow the steps below:
- Turn on your Canon camera and ensure that its Bluetooth function is enabled. Refer to your camera’s user manual for specific instructions on enabling Bluetooth, or you can watch different YouTube videos to enable it.
- On your Mac, go to the Apple menu (top-left corner of the screen) and select “System Preferences.”
- In the System Preferences window, click on “Bluetooth.”
- Make sure the Bluetooth option on your Mac is turned on. If it’s off, toggle the switch to turn it on. If your Mac device does not have Bluetooth features, you can use a Bluetooth dongle.
- On your Canon camera, access the Bluetooth settings and activate the pairing mode.
- On your Mac, click on the “+” button located at the bottom-left of the Bluetooth preferences window. This will initiate the process of discovering and pairing with nearby Bluetooth devices.
- Wait for your Canon camera to appear in the list of available devices on your Mac. It should be identified by its model name or a similar identifier.
- Select your Canon camera from the list on your Mac to start the pairing process.
- Follow any additional on-screen prompts or instructions to complete the pairing process between your Canon camera and your Mac.
- Once the pairing is successful, you should be able to access the Canon camera from your Mac. Now, you can access the memory and other features of your camera from your Mac. You can also transfer your camera’s videos, photos, or audio to your Mac.
How to connect Canon Camera to Mac using HDMI
Several Canon cameras have HDMI output, like EOS R, EOS 5D Mark IV, EOS-1D X Mark III, and so on. Therefore, you can connect your Canon camera to Mac for transferring data and using the camera as your webcam using the HDMI cord. To do this, follow the steps below:
- First of all, you have to have a good HDMI cable.
- Then connect one end of the HDMI cable to your HDMI to USB-C or USB-A adapter and another to the HDMI output on your Camera. Connect the other end of the adapter to your iMac or Macbook.
- Now, you can transfer data from your Canon camera to Mac or vice versa.
- Moreover, you can use the camera as the webcam for your Mac.
Why won’t my Mac find my Canon camera?
There are several reasons for this issue, ranging from hardware to software. The most common cause is due to outdated or corrupted USB drivers. A defective USB cable, card reader, or terminal could cause this issue.
Another thing to consider is that enabling Wi-Fi on your Canon camera automatically stops using the HRMI or USB terminals. So, always make sure to turn it off before proceeding to connect your Canon camera to your Mac.
How to use Canon camera as a webcam on Mac
If you intend to use the Cannon camera as a webcam, you need the Canon EOS Webcam Utility Software. This particular feature can significantly help content creators and live streamers. You may check the excellent in-depth video tutorial below for the setup procedure. Before that, ensure you use a Canon camera with Wi-Fi connectivity.
Discover how to use the Canon Camera Connect app on your iPhone
The Canon has a handy camera app for your iPhone, just like its utility app for Mac devices. The Canon Camera Connect app for iPhone lets you remotely access the camera’s functionalities. The connectivity process requires you first to install the app on your iPhone.
Before using the app, ensure Wi-Fi is enabled on your Canon camera. After installing the app, launch it on your iPhone and tap on the “Easy Connection Guide” button. Right after that, tap on “Connect another camera/camcorder” to search and select your camera model.
Then, select a method for connecting to the camera and follow the on-display instructions. Following pairing your Canon camera and iPhone, you can start using the app’s features. Check out the video tutorial below from Canon USA Support’s official YouTube channel for a thorough setup process.
Final thoughts
Canon cameras always push for state-of-the-art technologies to remain at the top. Cameras from Canon are also easy to use due to their top-notch connectivity features. Our take on how to connect Canon camera to Mac has pointed out several practical ways.
If you love this content, you may also like our guide on how to connect Canon printer to iPhone. Alternatively, check our recommendation of the best photo printers for Mac.