How to Set up Google Nest WiFi or Nest WiFi Pro – Full Guide
Don’t you get your WiFi network to every corner of your home? Does your WiFi network fall whenever you move far from the router?
It is time to switch to the Google WiFi mesh network now, and Google Nest will do that for you. Here in this article, we will give you a detailed guide on how to set up Google Nest WiFi or Nest WiFi Pro.
You will just need the main router, a modem, an ethernet cable, points, and the Google Home app to create a WiFi mesh network throughout your home, and you will be able to enjoy the full speed of your WiFi network from every corner of the home.
There are certain things you must know before setting things up. You should also be aware of troubleshooting as well. In this article, we will discuss all the things related to the setup of your Google Nest WiFi or Nest WiFi Pro. So, without squandering any more time in chitchat, let us get to the key thing.
What is Google Nest WiFi?
Google Nest is a WiFi meshing technology that is usually used, to sum up multiple points, which works as the network booster to spread the WiFi network to every corner of your home.
It is a home mesh for a WiFi network that is controlled centrally by a router that is connected to the modem, which receives the internet from the ISP and then sends the signals to the points of the network according to the bandwidth consumption demand.
It divides and provides high-speed broadband to particular devices and ensures a clear channel for proper connection. There is Google Assistant built into the router and the points to navigate with the users efficiently and serve commands.
Purpose of Use
These are the basic reasons to use it:
- Ensuring a good WiFi connection to every portion of a home
- Providing high broadband speed
- Ensuring a clear path for broadband consumption
- To divide bandwidth according to device demand
- To personalize the network better than ever
- Ensuring a good command of the WiFi network system
Difference between Google Nest WiFi and Nest WiFi Pro
There are some differences between these two routers. Let us get light on the differences:
| Google Nest WiFi | Google Nest WiFi Pro |
| Uses WiFi 5 mesh | Uses WiFi 6E mesh |
| Different routers and point devices are available. | No different point device is required. The routers can serve as the point. |
| Operates on 2.4 GHz and 5 GHz | Operates on 6 GHz |
| Supports speakers in the point devices | No speaker |
| Successor of the Google WiFi | Successor of the Google Nest WiFi |
How to Setup Google Nest WiFi or Nest WiFi Pro?
The setup of Google Nest WiFi and Nest WiFi Pro are almost the same. The difference is that there are different devices called points that need to be added to the network, and in the case of the Nest Pro, the same type of device is added to the network to be worked as the point in the network.
Let us get to the setup process.
Pre-requisites
These things should be ensured before proceeding to the setup procedure:
- A Google Nest WiFi or Nest WiFi Pro.
- An Ethernet Cable.
- Power Cables.
- A Modem.
- Any Active Google Account.
- Google Home App (Latest Version).
- A Mobile Device: If Android, then it should be version 9.0 or later, and if iOS, then it should be iOS 15 or later.
- An Active Internet Connection.
If you have all these goodies ready, then let us get to the setup process now.
Here’s how to Setup Google Nest WiFi or Nest WiFi Pro
Step 1: Placement of the Google Nest WiFi or Nest WiFi Pro
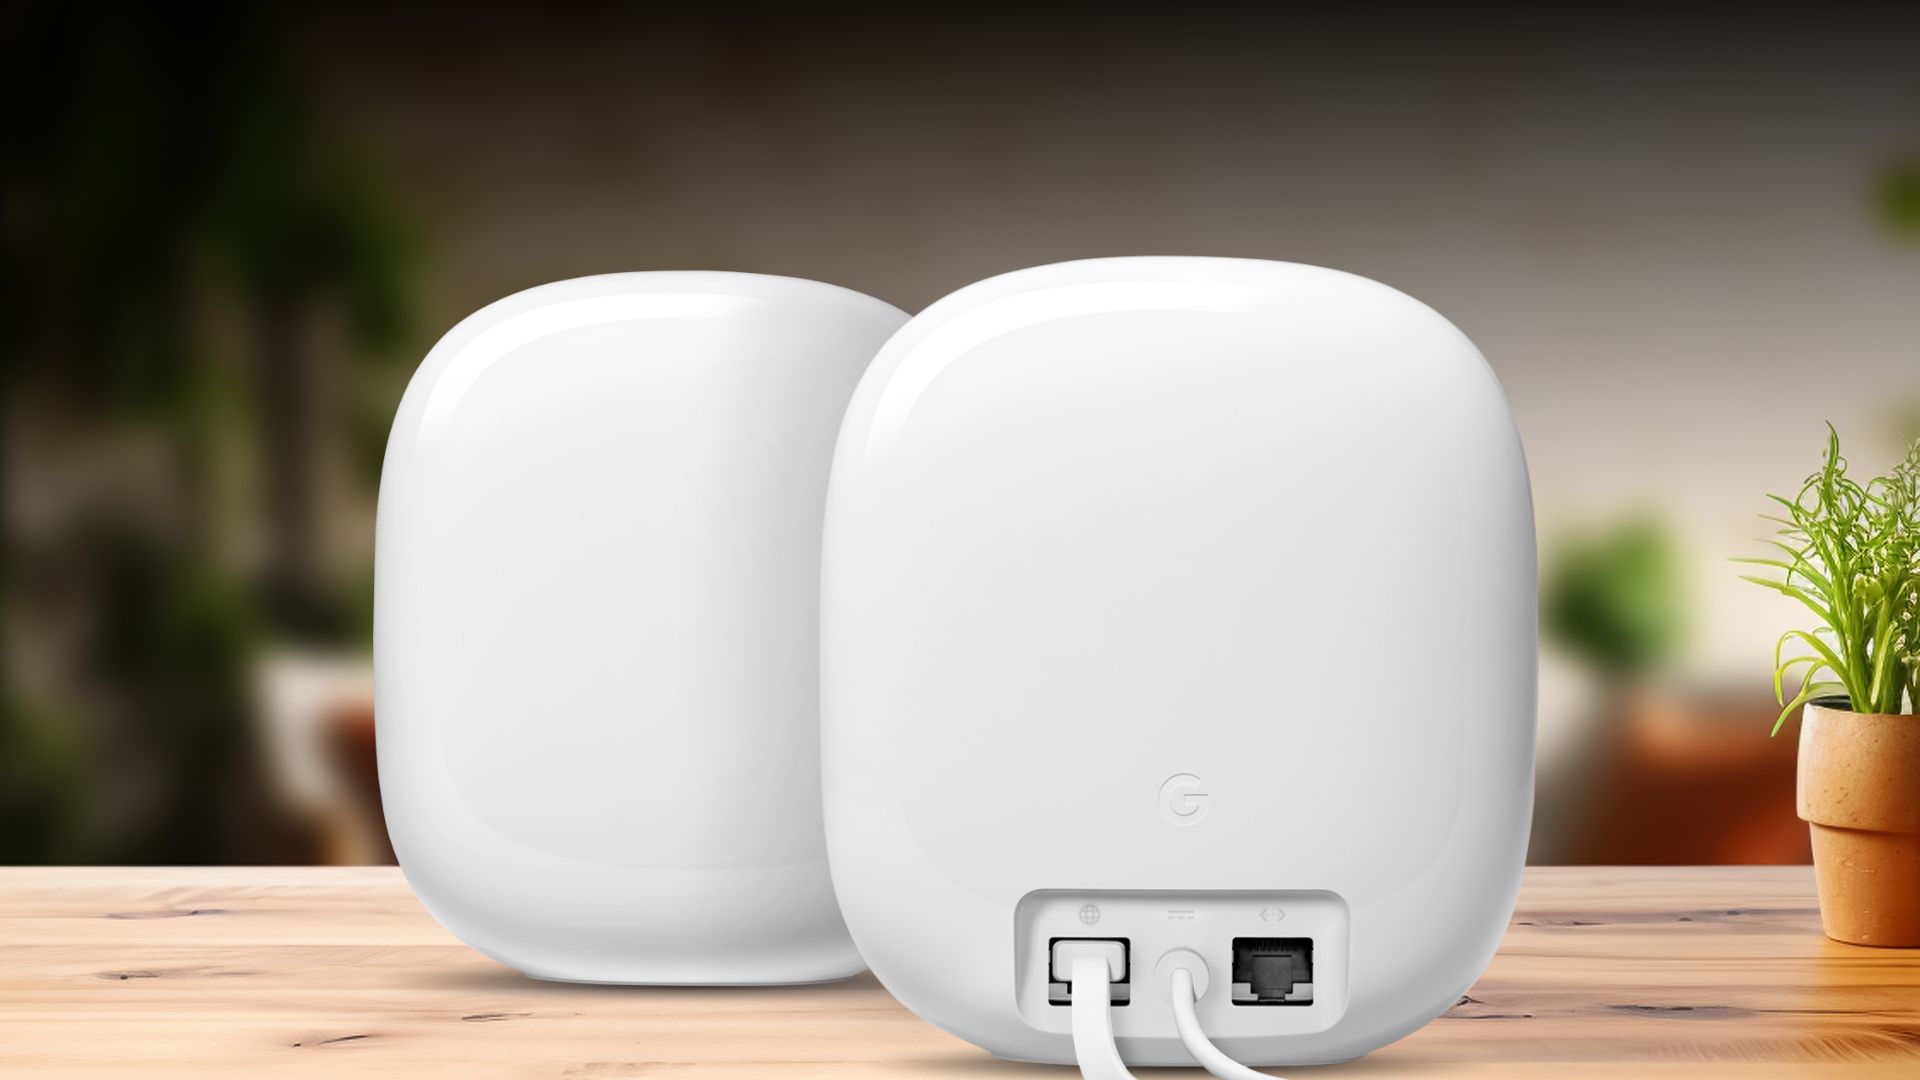
Take your Google Nest WiFi or Nest WiFi Pro router and place it in a position where it can function without facing any kind of hindrance (plain view).
Step 2: Connect all the devices with an ethernet cable
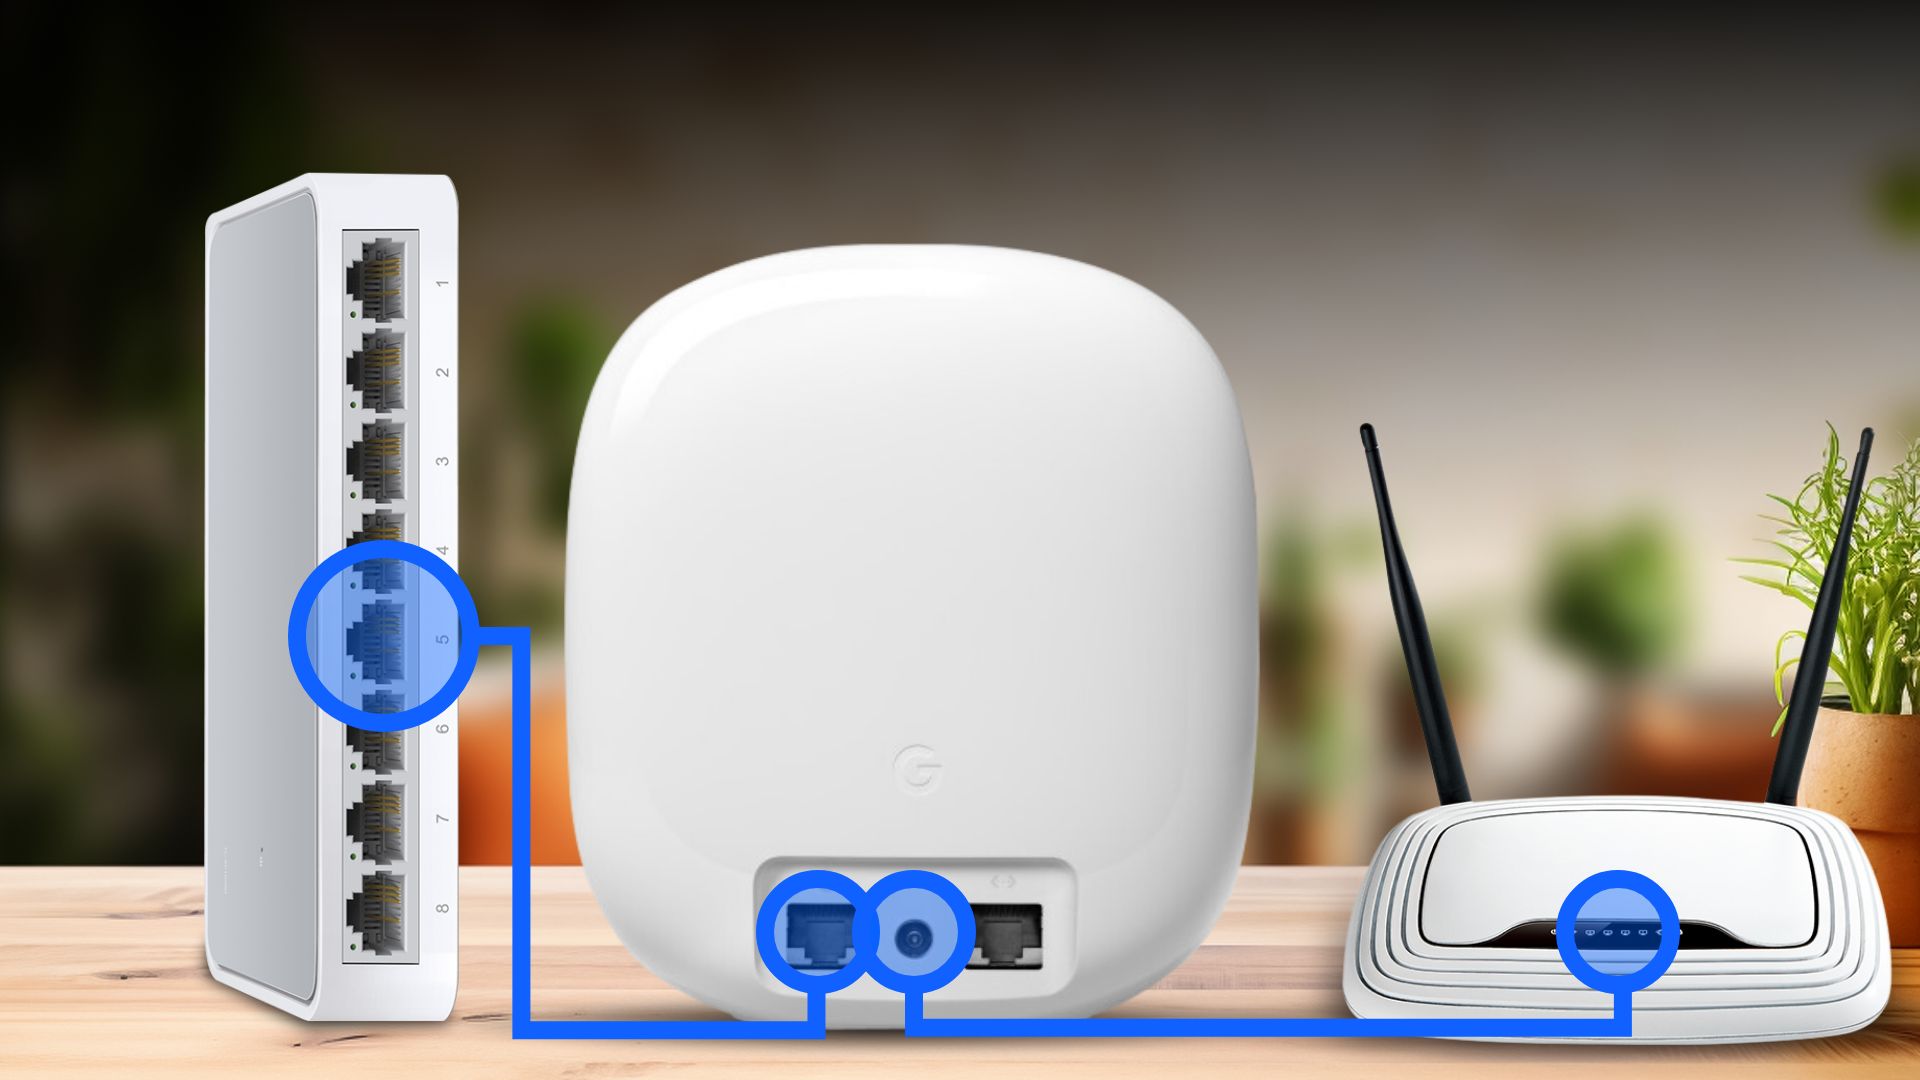
Next, connect one end of the ethernet cable to the WAN port of the router. Then, plug the other end of the cable to the modem (the modem needs to be connected to an active internet).
Now plug the power cable into the router and power the router. A pulsing white light (in the case of Nest WiFi) or blue solid light (in the case of Nest WiFi Pro) will indicate that the router is ready for setup.
Step 3: Prepare for setup with the Google Home app
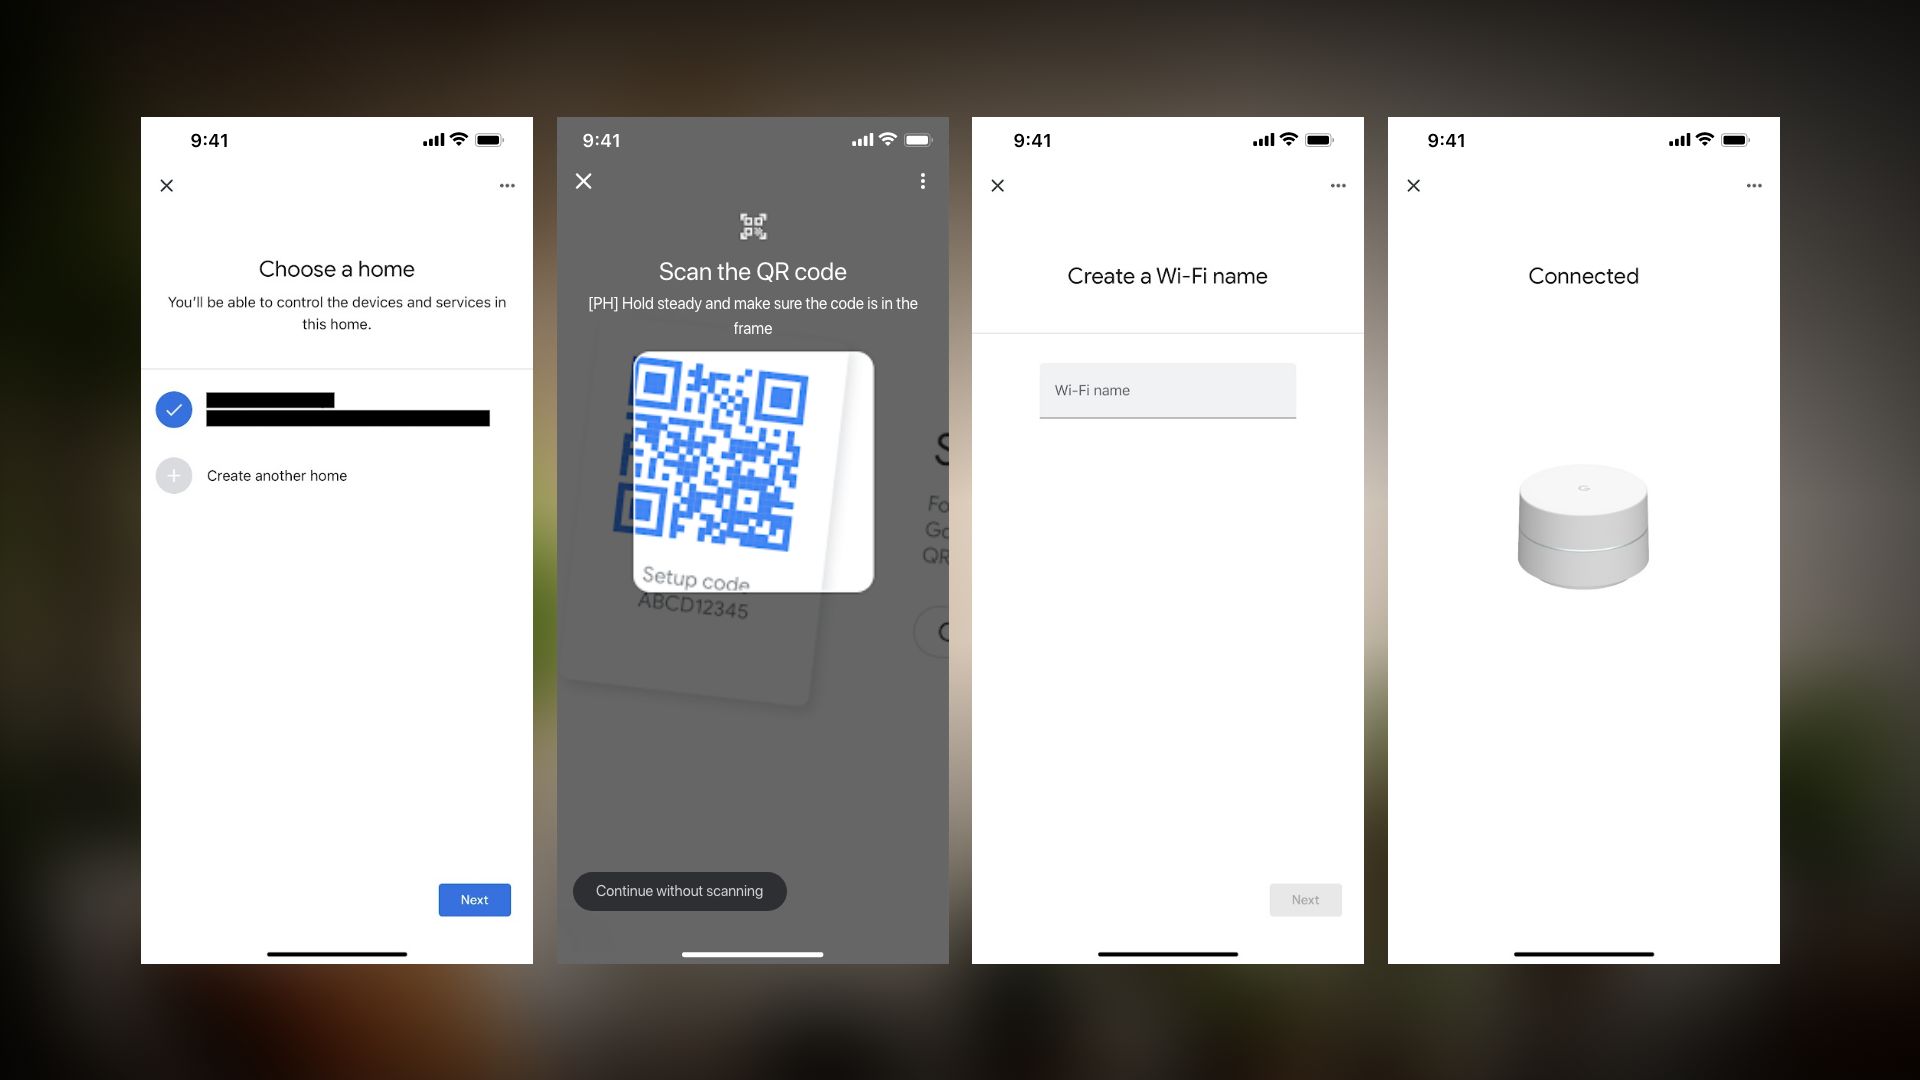
Next, go to the Google Home app and tap the “+” button. Then, navigate to the Set Up Device > New Device. Now, choose a Home or create one. Then select the Nest WiFi or Nest WiFi Pro router from the list available.
Step 4: Scan the QR code
After that, you will be prompted to a QR code scan window. There, scan the QR code located at the bottom of your Nest WiFi router.
If you face difficulties in scanning, then select “Continue Without Scanning” and put the setup key in the field. The setup key can be found at the bottom of the Router.
Step 5: Create the WiFi network
The next step is choosing the room for the router, or if there is nothing, then create one now. Then, give a name to the WiFi network and set the password. After a few moments, the router will create a new WiFi network.
Here’s how to add an additional router or Google WiFi points:
You can add more Nest WiFi devices and Google WiFi points to the network you’ve just created above. All additional devices added to the network is called a point.
- Position your point device to the preferred location.
- Connect the device to the power using the power cable.
- Again, tap the “+” button in the Google Home App
- Then again, navigate to Set Up Device > New Device
- Then, choose the home in which your router is set and select the device that you are willing to add to the network.
- Then tap on the “Next.”
- Again, scan the QR Code located at the bottom of the Point or bypass QR code scanning as described previously.
- Your pointer will automatically get connected to the existing network within a few moments.
Congratulations, you have successfully set up your new Google Nest WiFi or Nest WiFi Pro and the Point devices to the network. You have to follow the same procedure to add more points to the network and to enjoy a flawless WiFi network.
Troubleshooting tips
If the Google Nest WiFi or Nest WiFi Pro doesn’t work for some reason, then there are some things that you can try. Below, we’ve mentioned some possible reasons for the issues and their possible solutions.
No Internet Connection
Reason
- The internet might fail to reach the Modem
- The internet carrier cable might get damaged
- Technical issues from the ISP
Way to Solve
- Check if the Modem is getting power
- Check if the Modem is getting a proper internet connection
- Check the internet carrier cable
- If not solved yet, contact the ISP
Weak WiFi Signal
Reason
- The internal issue with the router
- Heavy interference between the router and the points
- Technical issues with the points
- Too much distance between the router and the points
- Insufficient number of points compared to the demand
Way to Solve
- Check if there is any interference between the router and the points
- Check if the Router and the Point devices are okay
- Try lowering the distance between the router and the points
- Consider adding more points if the area is not being covered properly by the existing system
App Connectivity Issue
Reason
- The app is not being synced to the network
Way to Solve
- First, check the internet in your mobile phone
- Update the Google Home to the latest version
Intermittent Issues
Reason
- Interference between the connection path of the router and the points
Way to Solve
- Try to keep the router in an open space free of heavy interferences (such as heavy types of furniture, metal products, fish tanks, etc.)
- Restart the router and the additional points
Guest Network issue
Reason
- The guest network might not function properly
- The guest network might not get proper bandwidth
Way to Solve
- Try to configure the guest network setting from the Google Home App
- Try to update the Google Home app to the latest version
Failure to Update Firmware
Reason
- The firmware is not being updated
Way to Solve
- Make sure that you have a stable internet connection.
- Check the Google Home App settings for automatic update settings
FAQs
How do I perform a factory reset?
Follow these steps in order to factory reset your Google Nest WiFi router:
- Locate the reset button on the router
- Press & hold the reset button for a long time (around 10 seconds)
- A flashing indicator light will indicate that the reset procedure is complete, and you are good to go now, as all the data is erased from the device.
How do I update the firmware on Nest WiFi?
Follow these steps to update the firmware:
- First, go to the Google Home App
- Then select the Router
- Then navigate to the Device Settings
- Go for the “Software Update”
- Then follow the instructions shown on the display
- Update to the latest firmware if any
Can I monitor and control my children’s internet usage with Nest WiFi?
Yes, you can use Google Nest WiFi to regulate and plan internet access for particular devices while also keeping an eye on and controlling your kids’ online behavior. To do this, set up Family Wi-Fi features in the Google Home app.
Closure
At the very end of this guide on how to set up Google Nest WiFi or Nest WiFi Pro, we can conclude that the setup process of the 2 routers is the same. You will just need an active Google account, the Google Home app, and the device to set the network
We have covered everything that will be necessary for the setup process. The process needs a stable internet connection, and that’s all. The whole process is demonstrated step by step.
We hope that you can now complete the process without any difficulties. Feel free to ask any kind of questions or suggest anything related to how to set up Google Nest Wi-Fi or Nest WiFi Pro.
Wishing you a fantastic time with your newly boosted WiFi network with the Google Nest WiFi.
Recommended posts: