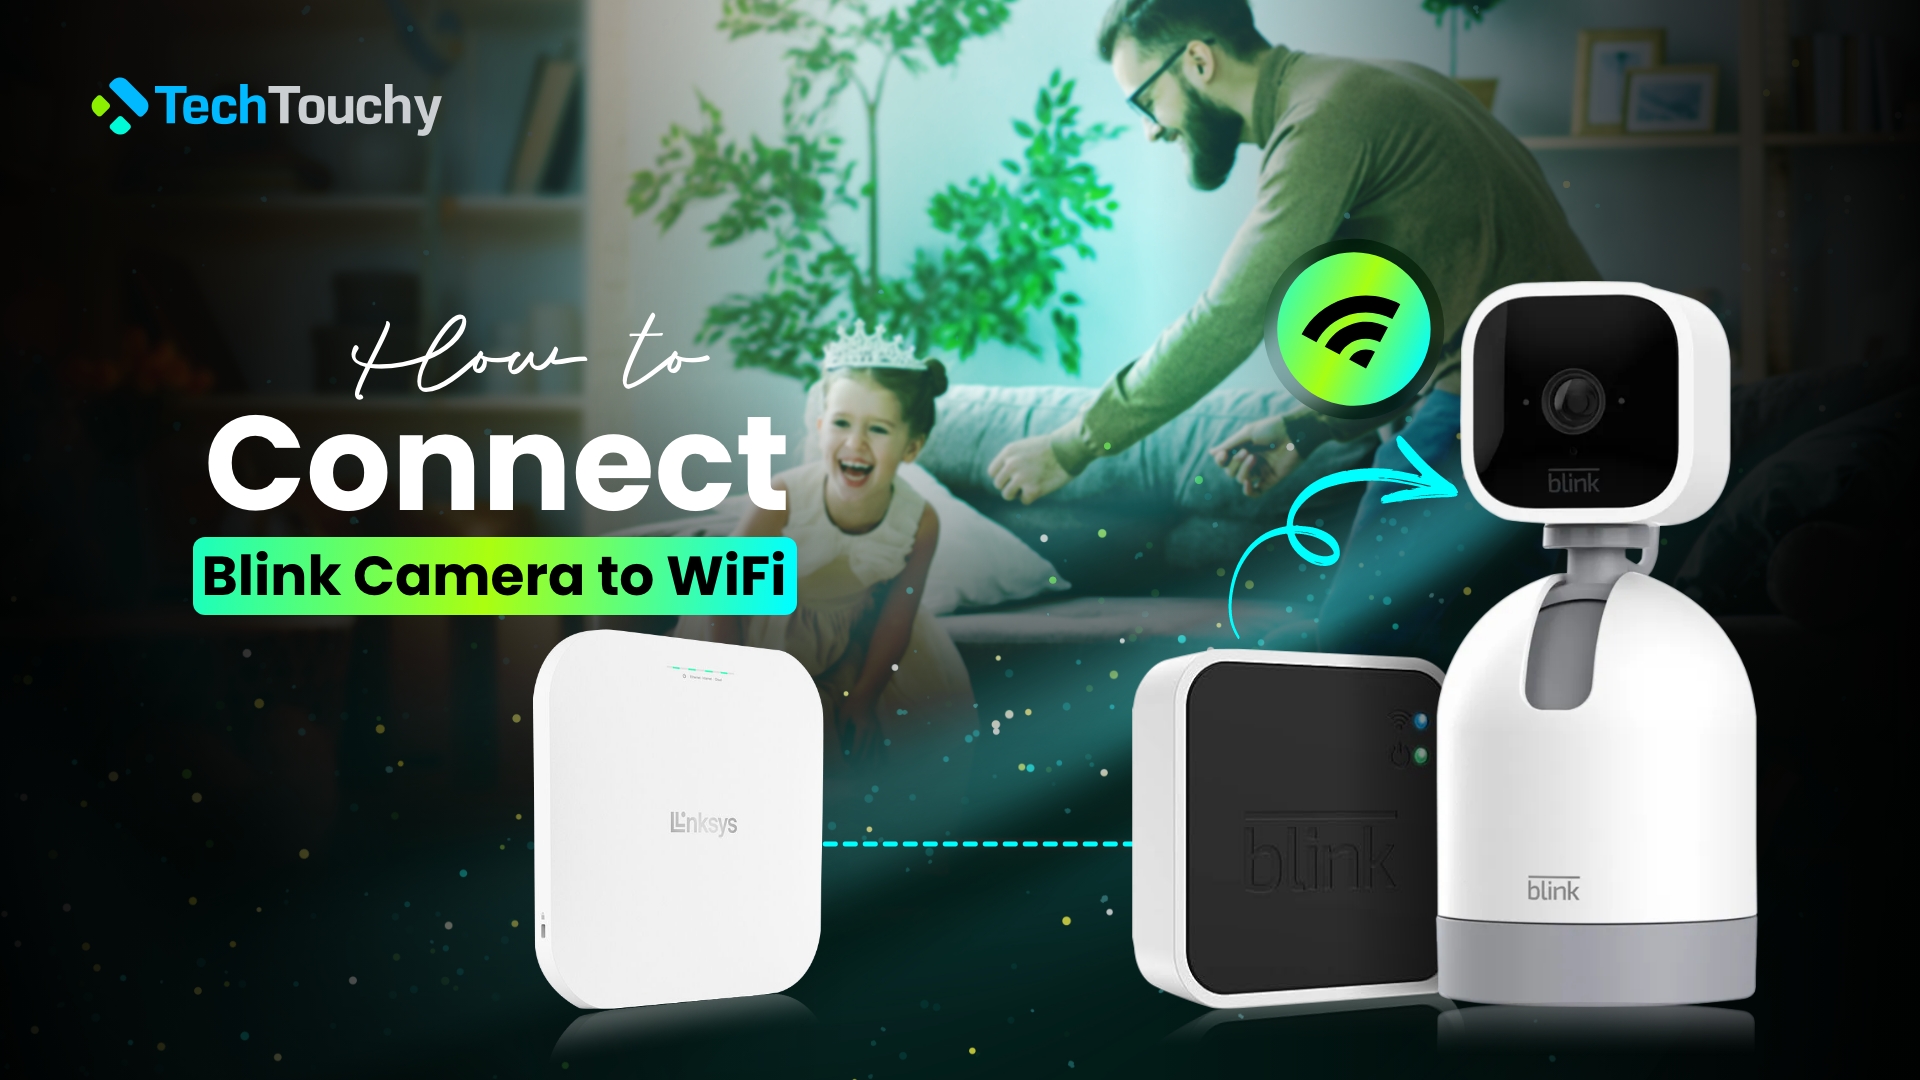
How to Connect Blink Camera to WiFi – Full Guide
Have you ever wished for an extra pair of eyes to keep an eye on your house while you are miles away? Well, to do just that, you bought the Blink camera. Because simply, this sleek device can provide you with real-time security and surveillance.
But here’s the catch- before your Blink camera can become your “protector,” it needs to be connected to your WiFi network. The idea of connecting a Blink camera to WiFi may feel like a daunting task. Well, we don’t blame you; connecting anything wireless must include a little bit of hassle. But worry not! We’ll show you how to connect Blink camera to WiFi within a few steps so that you never have to compromise with your security.
No matter if you’re a tech expert or someone new to it, we’ll break down each and every step for you.
How to connect Blink camera to WiFi – Step-by-step guide
The first and most important step, if you’ve just acquired your Blink camera and want to improve your home security, is to connect to your WiFi network. This step-by-step guide will ensure a simple and trouble-free setup of your Blink camera’s WiFi connection. Without further ado, let’s dive right in!
Requirements for connecting a Blink camera to WiFi
Before connecting Blink cameras to WiFi, you need to ensure the following requirements are in place.
Here’s what you’ll need:
Blink Camera and Sync Module
Make sure you have the Blink camera for your camera model, as well as the Blink Sync Module, if necessary.
2.4 GHz WiFi Network
Blink cameras work with WiFi networks at 2.4 GHz. Ensure that this frequency is supported by your WiFi router. The majority of modern routers are dual-band and handle both 2.4 GHz and 5 GHz; nevertheless, during setup, you must connect your Blink camera to the 2.4 GHz band.
Sufficient WiFi Signal Strength
Your camera should be in the range of your WiFi network and receive a signal that is strong enough. To maintain a steady connection, try to keep the camera from being placed too distant from your WiFi router.
Minimum Upload Speed
Ensure that your internet connection offers a minimum upload speed of 2 Mbps. For the camera to send video and data to the Blink cloud and your mobile device, this is essential.
Network Credentials
Be prepared with the SSID (network name) and password for your WiFi network. During the setup procedure, you will be entering this data.
Disable VPN and Ad Blockers
During the setup procedure, make sure to temporarily disable any VPN (Virtual Private Network) or ad blockers on your mobile device. These tools may conceal the IP address of your device, preventing it from communicating with other devices on your local network.
Insert Batteries
Check that your Blink camera has the correct batteries. For battery placement, follow the manufacturer’s instructions.
Optimal Camera Placement
A good place for your Blink camera should be selected. Take into account the area of view, the angle, and any possible barriers. The camera will capture the desired area successfully with the help of the right placement.
By meeting these requirements, you are all set to connect the Blink camera to WiFi! Now, to actually connect your Blink camera, keep on reading.
Here’s how to do it:
Step 1: Download the Blink Home Monitor app
First, you need to download and install the Blink Home Monitor app. This app is found on both iOS and Android, acts as the main platform for setting up and controlling your Blink cameras.
If you have successfully downloaded the app, then you are ready to move forward to the next step.
Step 2: Create an account on Blink
You can register for a Blink account within the Blink Home Monitor app if you haven’t already. To finish the account setup process, just follow the on-screen prompts and provide the necessary information.
Step 3: Put the Blink Sync Module in pairing mode
Using the USB cord and power adapter provided, plug the Sync Module into a power outlet. The Sync Module should turn on after you’ve made sure it’s safely attached.
You should watch the Sync Module’s indicator lights. Blue and steady green lights that are blinking should first appear to show that the device is in setup mode. This indicates that the Sync Module is prepared to join your WiFi network.
Also, ensure that the Sync Module is inside the WiFi router’s coverage area. It should ideally be positioned in the center of the signal range of your router. And, if the distance from your router causes the connection to be shaky or unreliable, you might want to think about buying a WiFi range extender or moving your Sync Module closer to the router.
Step 4: Connect the Blink Sync Module to WiFi using the app
- On your phone, launch the Blink
- On the Blink app, tap on the (+) icon from the top right corner to add a Blink device.
- Next, select Sync Module from the list of Blink devices that you want to add.
- Now, you’ll find a QR code and a serial number at the back of the Sync module.
- Scan that QR code or enter the serial number manually in the app.
- Then, choose or create a Blink system where you can add your Blink devices.
- Now, tap on the Discover Devices
- As the Blink Sync module is already in pairing mode because of the previous step, you’ll get a request to join the WiFi network. So, tap on Join.
- Then, the Blink app will list all the WiFi networks. Select a 4 GHz WiFi network, the one that you used on your phone.
- Once the Sync Module is paired, the LED will have solid blue and green.
- Finally, tap Done.
Step 5: Put the Blink camera in pairing mode
When you power the Blink camera, you’ll see a red LED light. Then, you need to press and hold down the Sync button for about 5 seconds until the LED changes from red to blue. This means the Blink camera is in pairing mode.
This method gets your Blink camera ready to sync with the Blink Sync Module. So now you can pair them to your WiFi network and begin monitoring the area you’ve selected.
Step 6: Connect the Blink camera to the WiFi
- On your phone, launch the Blink Home Monitor
- On the Blink app, tap on the (+) icon from the top right corner to add a Blink device.
- A menu will then display; select “Add Device” from this menu.
- Select “Blink Wireless Camera System” from the list of devices or categories that are available.
- A QR code can be found on the back of your Blink camera.
- Next, scan the QR code on the back of your Blink camera using the app’s camera. Once the QR code is detected, center the camera on it.
- The Blink app will immediately identify your camera.
- Then add the Blink camera to the Blink camera system where you’ve added the Blink Sync Module in step 4.
- Now, tap on the Discover Devices
- The Blink camera, which is in pairing mode, will request to join your WiFi network. Select Join.
- Choose your 4 GHz WiFi network from the list of available networks. The same WiFi that is on your phone and the sync module.
- Next, enter the WiFi password to connect the Blink camera to the WiFi.
Step 7: Test the connection
- Locate your camera or camera system on the main screen of the Blink Home Monitor app.
- Then tap on it to access the live view. This will provide you with a live visual stream from your camera.
- Check the live view to make sure your Blink camera is providing the desired video stream and works properly.
That’s it! By following these steps, you can confirm that your Blink camera is connected and working. You can now easily monitor your selected area and can be stress-free.
Related Post: How to Add Wyze Camera to WiFi
Troubleshooting tips for Blink camera not connecting to WiFi
It can be annoying if you have problems getting your Blink camera to connect to WiFi. But don’t worry; there are a number of steps you can take to find out and fix the issues.
Here’s what you can do:
Check your WiFi network:
Verify that other devices can connect to your WiFi network without any problems and that it is active. Make sure your WiFi network is operating at 2.4 GHz because Blink cameras normally do not support 5 GHz networks. This also means that if you have a dual-band router, then separate the 2.4 GHz and 5 GHz networks. And then connect the Blink camera to the 2.4GHz network.
Check your WiFi password:
To update your camera’s connection settings, hit the “Change WiFi” button and follow the on-screen instructions if your WiFi password has changed or if you want to use a different WiFi network.
By tapping the “Delete Camera” option, you can start over with the camera installation process if your WiFi password and network settings are still the same. To re-configure your Blink camera, follow the on-screen directions.
These steps will help you systematically identify and fix WiFi connectivity problems with your Blink camera. These fixes may help you get your Blink camera back online, whether it is by verifying your internet connection, restarting your router, or changing the network settings on your camera.
Check the power
You need to check whether the cameras are getting power or not. You can try connecting different appliances to the power outlet. Or you could try a different outlet if possible.
Also, check the power adapter and the USB cable that you are using for the camera and the sync module. Verify whether they are faulty or not.
Confirm internet connectivity
Confirm that your internet connection is active and working properly. If not, then contact your Internet Service Provider (ISP). Also, check to see that the WiFi password has not changed since it was first set up. If the password has been changed, move on to the next step.
Reboot your WiFi router:
Rebooting your WiFi router is a typical fix for connectivity troubles with Blink cameras. Usually, this easy action will fix any short-term issues. Allow a few minutes for the router to completely restart.
If your Blink camera still doesn’t connect after three minutes following the router reboot, proceed to the next step.
Placement of the Blink camera or the Sync module
If the WiFi signal strength/bar is less than the maximum, then you should either place the camera closer to the router range or increase the range coverage of the router. You can increase the range coverage of a router by getting a range extender or buying a more powerful router.
Will Blink camera work with 5GHz WiFi?
Blink cameras are made to only work with 2.4GHz WiFi networks. 5GHz networks are not supported by them. It’s critical to disable the 5GHz option through your router’s management interface if your router broadcasts both 2.4GHz and 5GHz under a single SSID (network name).
If you don’t, your router can automatically change between the 2.4GHz and 5GHz bands, which may cause problems with your ability to connect Blink cameras.
Alternatively, you can establish separate 2.4GHz and 5GHz networks with different network entities with unique names and passwords. Then, connect your Blink devices to the 2.4 GHz network.
Any interference will be avoided by this division, which will also guarantee that your Blink camera stays linked to the right 2.4GHz WiFi network.
How to change WiFi for a Blink camera?
Changing the WiFi for a Blink camera is pretty easy and simple. Just carry out the steps mentioned below:
- Open the Blink Home Monitor
- Then, scroll down and select the added Blink camera (or the Blink Sync Module).
- Then, tap ‘Change WiFi network.’
- After that, press and hold down the reset/sync button on the Blink device until the LED starts blinking.
- Then, you can connect the Blink device to a different WiFi network as the steps mentioned above.
By carefully following these instructions, you may successfully switch the WiFi network to which your Blink camera is connected.
Does the Blink camera connect to WiFi or the sync module?
Blink cameras can connect to both WiFi and a Sync Module, although the procedure for each connection is slightly different:
WiFi: In order to access the internet and communicate with the Blink cloud servers, Blink cameras connect to the WiFi network. Through the Blink app on your mobile device, you may use this connection to remotely monitor and manage your Blink camera.
Sync Module: Blink cameras require synchronization with a Blink Sync Module, which serves as a bridge between the cameras and your WiFi network. The Sync Module controls video storage and other tasks while facilitating connection between the cameras and the Blink app.
In summary, Blink cameras connect to the Sync Module as well as your WiFi network. The Sync Module offers a single location for communication and data storage while managing and optimizing the connection between the cameras and your WiFi.
Can I add a Blink camera without a sync module?
Without a Sync Module, the Blink Mini and Blink Video Doorbell can function separately. However, the functionality of other Blink camera models, such as the Blink Indoor and Blink Outdoor, does depend on the Sync Module.
The good news is that for these particular camera models, the Sync Module is included in the starter kits, making the setup process more straightforward for customers. Based on your preference, you can pick between cameras that operate with or without the Sync Module.
How do I save Blink videos?
If you’re wondering how to save Blink video recordings? Then, keep reading. You can either use local storage or choose a subscription plan. Select the desired video from your Clips timeline in the Blink app to keep it for as long as you want. Next, click the download icon to save the recording right to your smartphone.
Can I use Blink cameras without a plan?
Yes, the Blink cameras can be used without a subscription plan. You may see live views of your cameras and get motion detection alerts with Blink’s free basic package. Additionally, you can store motion-activated video footage for up to two hours in the cloud with the free plan.
The basic functioning of Blink cameras does not require a paid plan, making them accessible to consumers who want not to subscribe, even though some additional capabilities like expanded cloud storage and video history do require a subscription.
Conclusion
In wrapping up our full guide on how to connect your Blink camera to WiFi, we have mentioned thoroughly how to connect Blink camera to WiFi within a few steps. Home security is a top priority, and the Blink camera system provides an easy solution.
Every step has been covered, from downloading the app to scanning QR codes and fixing typical problems. Regardless of your level of technical knowledge, you are now prepared to set up your Blink camera without a hitch and make it an important part of your home security.
It’s now time to enjoy improved security, convenience, and control with your Blink camera connected to WiFi.
Related Posts: