How to Connect Wyze Camera to WiFi – Full Guide
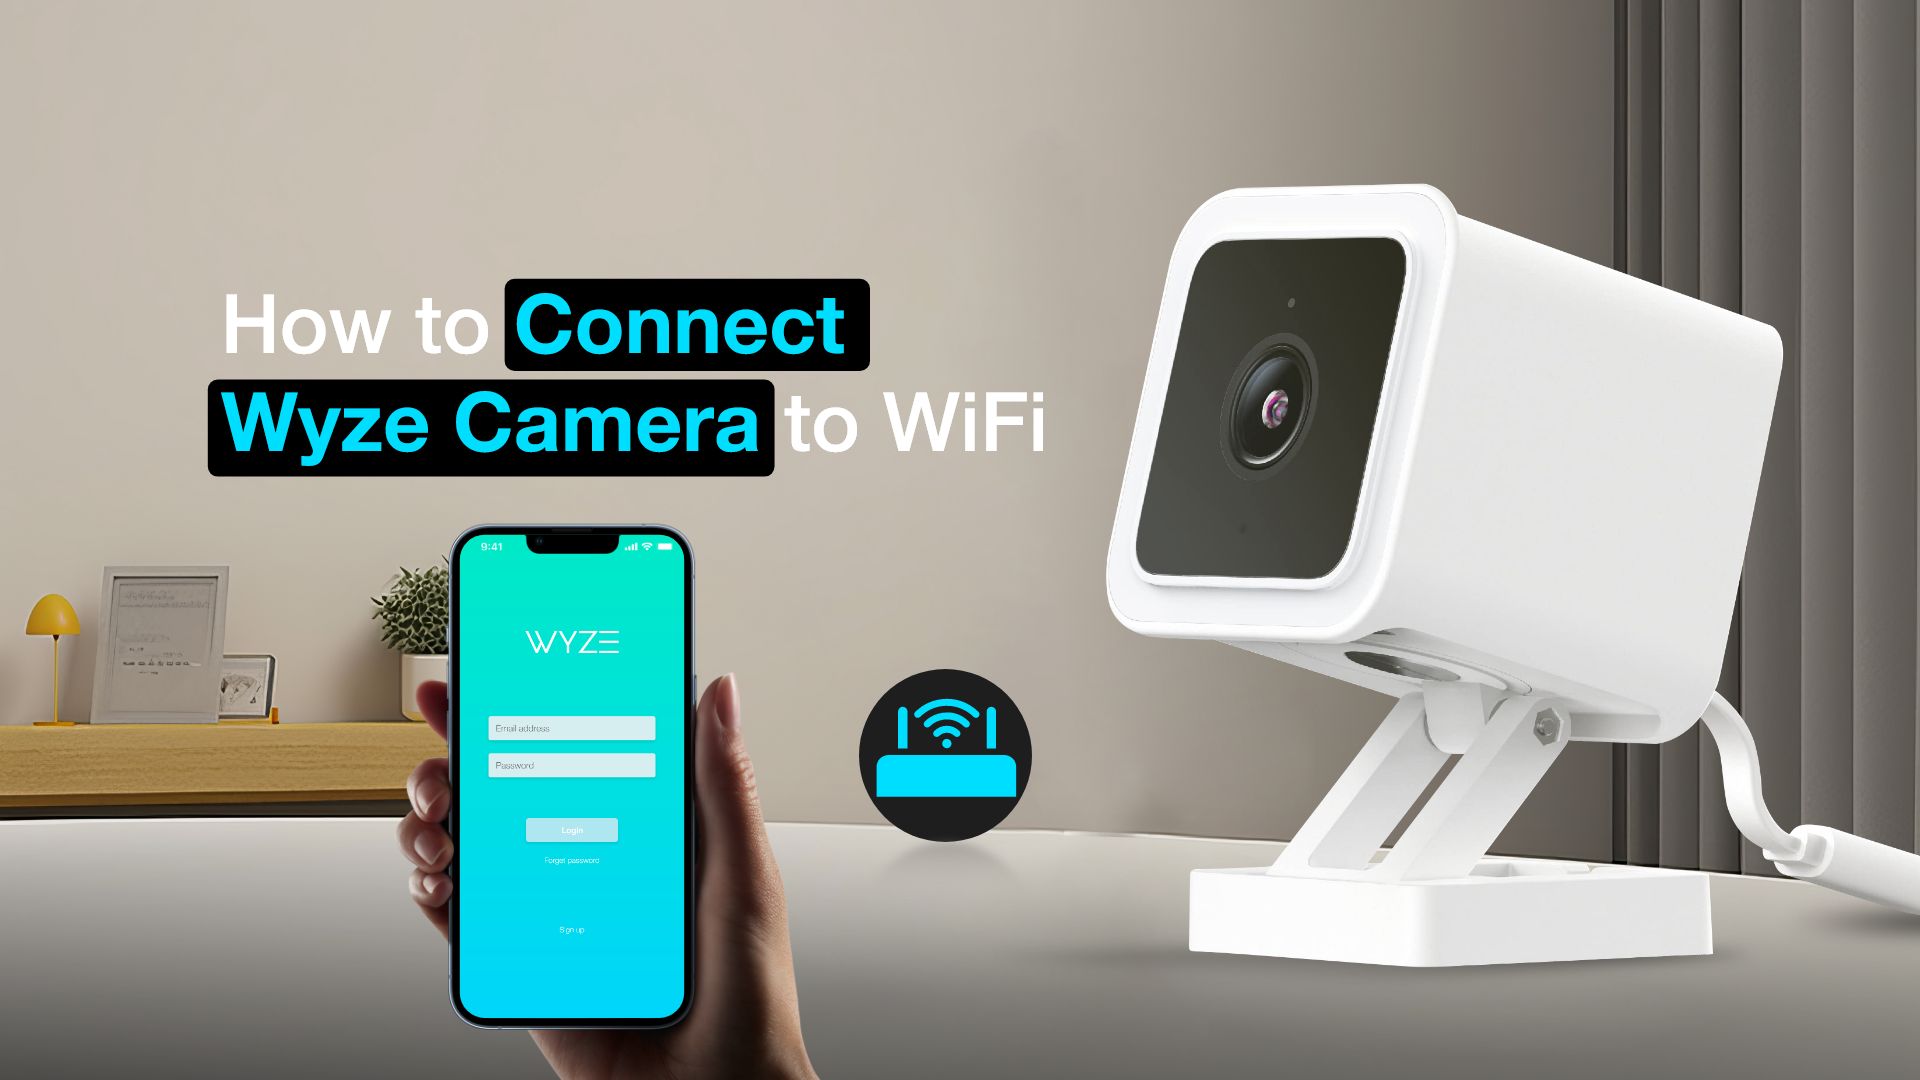
Wyze cameras are a must-have for every household. They are popular smart home security cameras that are jam-packed with some amazing features. Even more impressive is that they come in a compact shape. They provide an extra layer of security that is crucial for your home.
Depending on the model of the Wyze cameras, they offer features like two-way audio, live streaming, and motion detection, among others. Even with all of the amazing features this camera has, it still lacks in one department. The instruction regarding how to connect Wyze camera to WiFi is quite confusing in the guide that comes with the camera.
So, this article will provide instructions that won’t confuse you and will help you understand the process of connecting your Wyze camera to WiFi.
How to connect Wyze camera to WiFi – Step-by-step guide
Not everyone is familiar with how to connect a Wyze camera to WiFi. For those who don’t know how the connection process works, the first thing that you need to know is that there are a few requirements that you will have to fulfill if you do want to connect the Wyze camera to WiFi.
For a Wyze camera to work, you will need a source of power like a USB Port or a power outlet. You will also need a smartphone along with the Wyze app. You can get this app on both Google Play Store or Apple App Store. Another thing that is absolutely crucial is a stable and proper internet connection.
Once you have fulfilled all the requirements, just follow the steps given below to learn how to connect the Wyze camera to WiFi:
Step 1: Launch the Wyze app
The first thing that you will need to do is open the Wyze app on your Android or iPhone. Then, you need to sign in to your Wyze account. Remember, you do need a Wyze account for these steps to work.
To create a Wyze account, tap on Get Started on the Wyze app. You’ll then be directed to wyze.com. There, you need to sign up using your email or Google or Apple ID. Once the sign-up process is complete, you need to verify your email to finish the process. You can find a more detailed process for creating a Wyze account on their website.
Step 2: Connect the Wyze camera to power
The next step is to power up the Wyze camera. You need to plug the Wyze camera into a USB port or the power outlet. You’ll see a flashing yellow light when you power it up.
Step 3: Setup the Wyze camera
Now, hold down the Setup button located on the back of the camera until you hear an automated message that says, “Ready to connect.” This means the camera is ready to pair with the app.
Step 4: Add the Wyze camera to the Wyze app
Back to the Wyze app on your phone, tap on the three dots icon in the upper right corner of the screen. Then tap on the Add a Product option. After that, you need to select the specific Wyze device you want to add to the app. Next, a setup screen will appear. So, follow the on-screen prompts that are given and give it time to process.
Step 5: Choose a 2.4 GHz WiFi network
Next, you’ll receive a prompt to select a 2.4 GHz WiFi network. So, select your WiFi network and enter the password. Also, remember it should be a 2.4 GHz network. Wyze cameras don’t work in 5 GHz WiFi networks.
Step 6: Scan the QR code with Wyze camera
After selecting your WiFi network, you’ll get a QR code in the app. You need to scan that QR code with the Wyze camera. When it has scanned the QR code, you’ll hear a voice prompt: QR code scanned, please wait. Then, after a moment, you’ll hear: setup completed. Back in the app, you need to tap on the I heard “QR code scanned, please wait” button. Then tap on Next.
Step 7: Give a name to the Wyze camera
Finally, you need to give the connected Wyze camera a name. This is because you might need to add more than one Wyze camera to the app. So, in order to keep track of specific cameras, it is better to name them. Once you’ve named your camera, tap on Finish to complete the process.
Read: How to Connect Blink Camera to WiFi
How to update your Wyze camera firmware?
There are two ways to update the Wyze camera firmware. They are : 1) Updating the firmware using the app and 2) Updating the firmware manually. The steps you need to follow to Update the firmware using the app and Update the firmware manually are given below:
Updating the firmware using the app
If you have connected your Wyze camera to WiFi, then follow the steps down below to find out how to update the firmware of the camera using the app:
- On your phone, launch the Wyze app.
- Tap on the Wyze camera. If there is more than one camera added to the app, then select the one whose firmware you want to update.
- From the top right of the screen, tap on Settings (gear icon).
- After that, tap on Device info > Firmware Version.
- Then, install the update. But if there is no option to update, then you are already up-to-date.
Updating the firmware manually
If your Wyze camera doesn’t have access to an internet connection, then you can update its firmware manually. For that, you need access to a computer, and that computer should be connected to the internet.
Here are the steps you can follow to update the firmware of your Wyze camera manually:
- First, remove the microSD card from the Wyze camera to your computer. Of course, the camera should better be turned off for this process.
- On your computer, visit the Wyze Release Notes & Firmware It is Wyze’s support page for app updates and their product firmware updates.
- Download the specific firmware update for your Wyze camera.
- Next, export the update file to the root directory (the first folder) of the microSD card.
- After that, re-insert the microSD into the Wyze camera.
- Then, press and hold the setup button of the camera. At the same time, turn on the power on the camera.
- Continue holding down the setup button until the LED light starts flashing.
- After that, you will have to take a maximum of four minutes to pass for the device to restart.
- Finally, your camera’s firmware should now be up to date.
Read: How to Connect Shark Robot to WiFi
Why is my Wyze camera not connecting to WiFi?
One of the most common reasons your Wyze camera won’t connect to WiFi is that you are trying to connect it to a 5 GHz WiFi network and assuming that it will ensure a better connection.
However, this only leads to connection failure for the device. Wyze cameras only work with a 2.4 GHz WiFi network as they are designed that way. A 2.4 GHz WiFi network works slowly, but it covers more space, whereas a 5 GHz network works incredibly fast but covers less space in comparison.
There are routers that support dual bands, so the device will automatically connect to the more dependable frequency. Wyze cameras only support a 2.4 GHz frequency, which is why pairing them to a higher frequency makes them unusable.
Another reason behind your network connectivity problems is an invalid WiFi password while connecting your internet connection on the Wyze app. Any extra space before or after typing the password, along with any misplaced special characters, will lead to connection failure. Another thing you should check is to see if your device is running the most recent firmware version.
Troubleshooting tips for Wyze camera not connecting to WiFi
There are multiple reasons for the Wyze camera not connecting to WiFi. There are also many tips that actually help solve this issue. Here are a few tips that you can use for Wyze camera not connecting to WiFi:
Power Cycle your devices
Sometimes, your devices just have bugs and glitches. At times like those, the best thing that you can do is reboot your devices. Rebooting the devices gets rid of the bugs.
Just unplug every device that is connected to the camera along with the camera and just wait for a few minutes, then plug it back in and reconnect the WiFi along with starting the app again.
Check The Router’s Connection and Settings
If you are facing connectivity issues with your Wyze camera and WiFi, then you should definitely check the connection. Be sure to connect the camera with a 2.4 GHz network connection; otherwise, it will not work, as 5 GHz network connections don’t work with Wyze cameras.
Another thing you have to keep an eye out for is the password. Ensure that the WiFi password and the password for the Wyze account are not the same. You will also have to make sure that the WiFi password doesn’t contain any special characters.
Clear the Wyze app cache
Cache files often create issues in apps. So, if your Wyze camera has connectivity issues, then be sure to clear the cache of the Wyze app. The app caches can cause temporary glitches, app crashes, etc.
Reset the camera
Resetting the camera will wipe the device clean, and it will get rid of all existing data. This is incredibly helpful if you are facing connectivity issues. But you might have to start the connection process once again.
Conclusion
Here, we’ve covered everything there is on how to connect Wyze camera to WiFi. Additionally, we’ve shared how to update the Wyze camera’s firmware and what to do if there are any connection issues.
Related Posts: