How to Connect HomePod to New WiFi
HomePod, or as we know it now as HomePod 2 and HomePod mini, is Apple’s own smart speaker series. It’s a device designed to work flawlessly in the Apple Ecosystem and sync between all Apple devices seamlessly. You can listen to music, receive calls, control Apple TV, manage other peripherals through Siri, and whatnot. So, by design, it needs a WiFi connection to work. And today, we’ll talk about how to connect HomePod to new WiFi.
Smart speakers are not uncommon among some of the big names nowadays. Amazon’s Echo, Google’s Nest Audio, and Sonos One; all are similar to Apple’s HomePod. Where it differs is that if you have an iPhone, iPad, Mac, AirPods, or some other Apple products in your home, HomePod is the best bet. It fits perfectly in the Apple Ecosystem, is directly connected to Apple Music, and capable of taking voice commands for almost any digital gadget.
So if you are into Apple and want to learn how to connect HomePod 2 or mini to new WiFi, this following piece is for you.
Note: The original HomePod is officially discontinued from Apple. Now, there are only the HomePod mini and HomePod 2nd Gen available, with different sizes but similar features and convenience.
How to connect HomePod to new WiFi using the Home app
Your HomePod and the iPhone or iPad, both need to be connected to the same WiFi in order to work. But, if you change the connection on your iPhone, the HomePod doesn’t switch automatically. As a result, you need to know how to change HomePod WiFi to use the device again.
HomePods are set up and controlled using the Home app. So when you’re trying to update the WiFi on your HomePod 2 or HomePod mini, make sure the HomePod is connected to the app. Once your device is out of order and needs to connect to the same WiFi as the iPhone, you’ll find the prompt setting inside the app. Without further delay, let’s find out how to change WiFi on HomePod and HomePod mini.
How to connect HomePod to a new WiFi connection
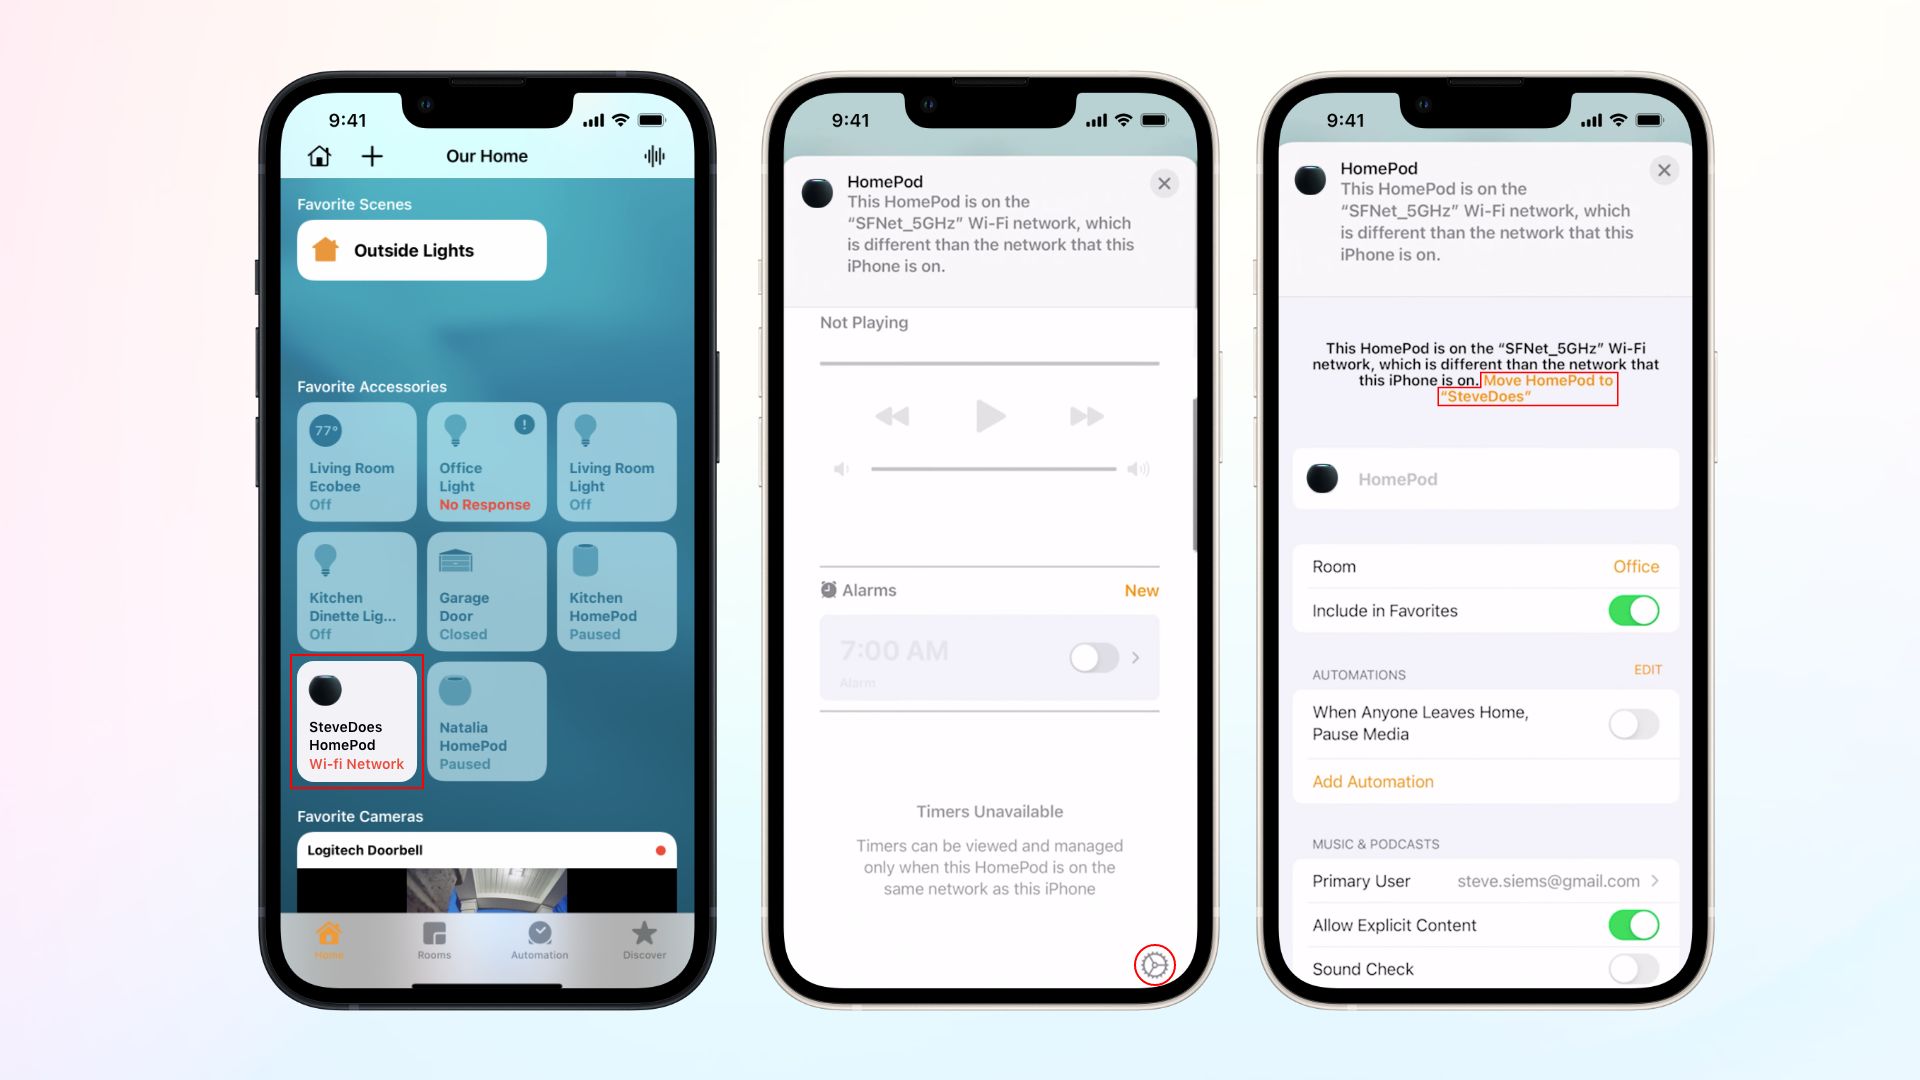
- Open the Home app on your iPhone.
- On the first screen, your accessories will appear. Locate the HomePod.
- You’ll see the WiFi network on the device is showing yellow or red. Tap on the device.
- On top of the next page, it will mention that the iPhone is connected to a different network. Swipe up the screen or tap the gear icon at the bottom right corner.
- Finally, tap on “Move HomePod to new WiFi” message, and you’re good to go.
How to set up HomePod mini
We’ve covered how to set up HomePod on a new WiFi; how about setting it up in the first place? As with all Apple products, setting up and learning how to connect HomePod mini to iPhone is super easy. You don’t have to do much; just power up both your devices, and they’ll connect automatically (Almost!).
Connecting HomePod to your iPhone instantly opens up tons of possibilities and conveniences. Using HomePod, you can answer your calls, enjoy Apple Music streaming service, log events and reminders, all by talking to Siri. You can control your HomePod settings using the Home app from anywhere. And as mentioned before, you can use HomePod to connect and change WiFi seamlessly, resulting in perfect synchronization.
Here’s how to set up Apple HomePod mini
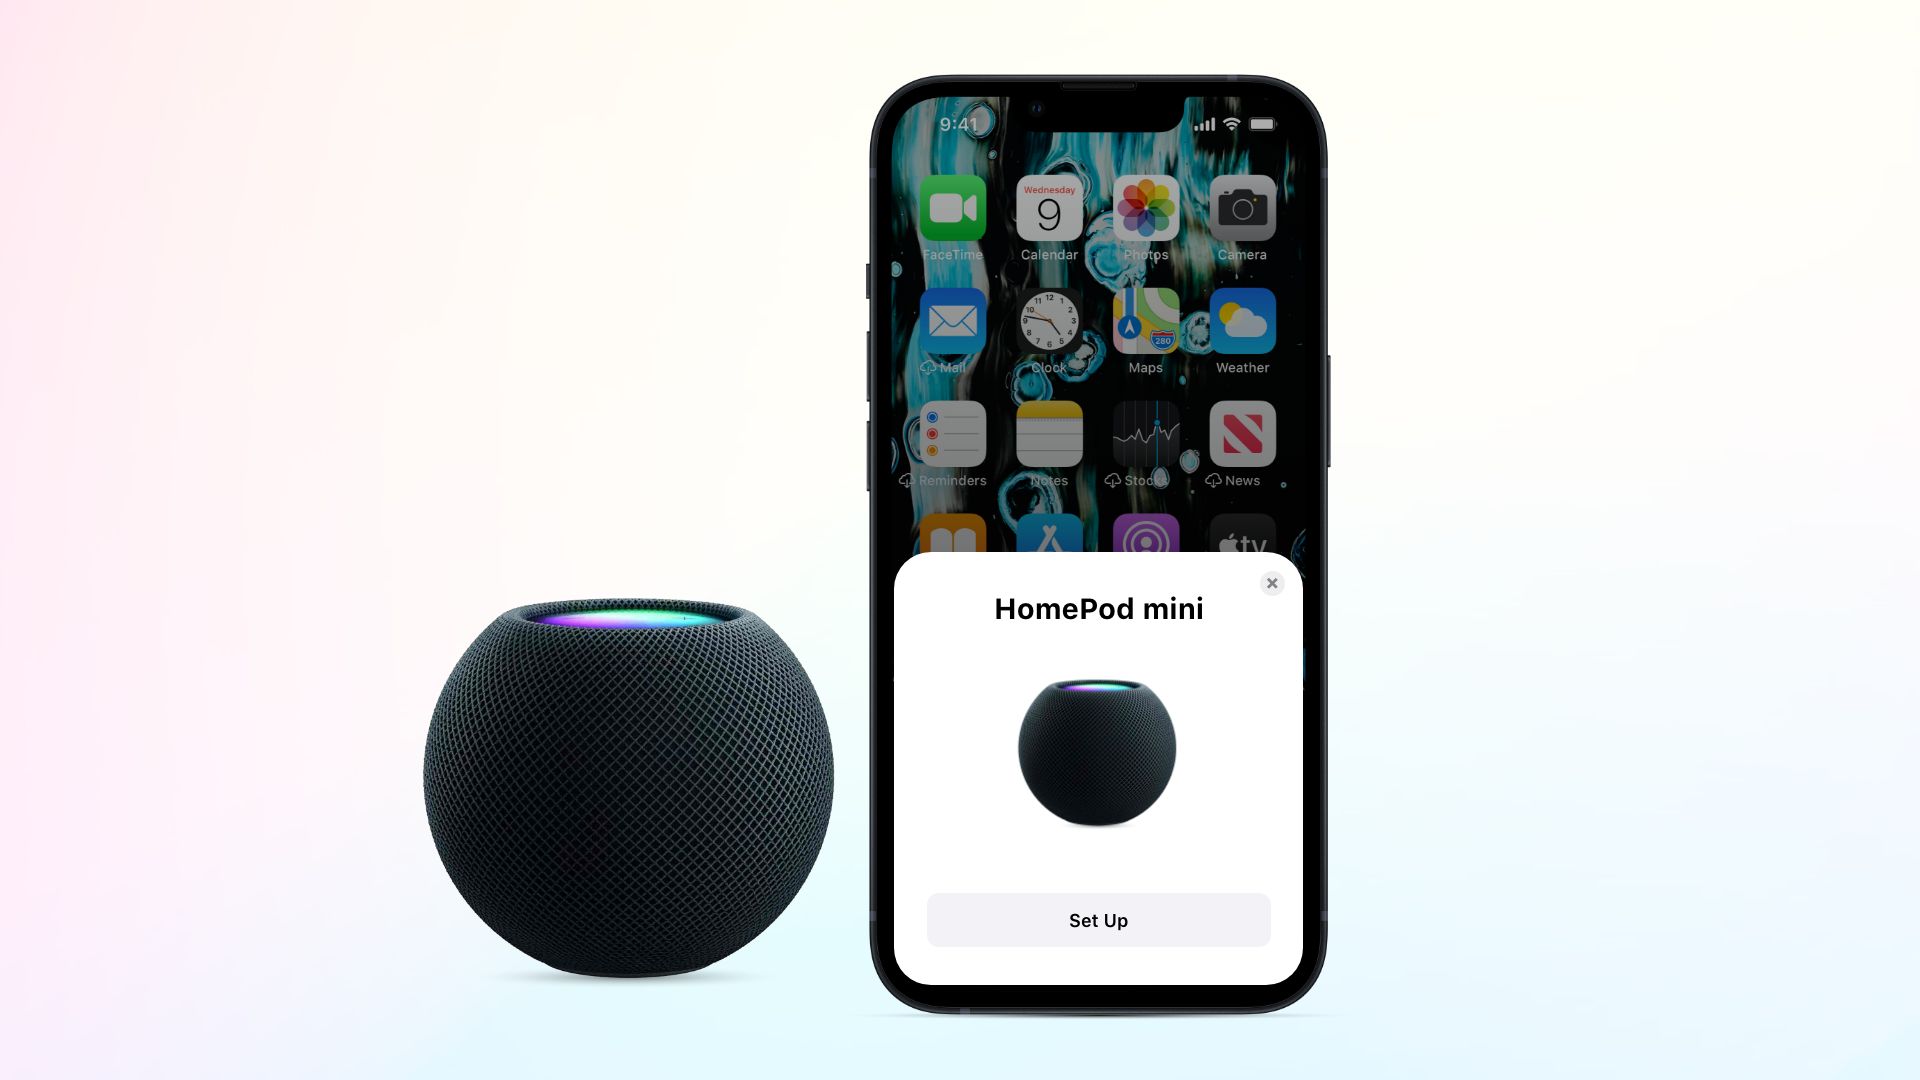
- First, plug your HomePod or HomePod mini into a power source.
- Wait for the device to boot up. You’ll hear a chime and notice a while light pulsating on top.
- Unlock your iPhone and keep it close to the HomePod. A setup message will appear.
- Tap on “Set Up” and follow the instructions after that. That’s it!
HomePod 2 vs HomePod mini
Apple released the 2nd generation of HomePod on January 18th of 2023. It’s an upgraded version of the original HomePod and has a bigger form factor compared to the HomePod mini. So, is the HomePod 2 worth it? Should you upgrade to the HomePod 2 if you already have the HomePod mini? Hopefully, you’ll get the answers from the following details.
While you’re at it, check out our detailed HomePod 2 review for more insight.
| HomePod 2nd Gen | HomePod mini | |
| Size | 6.6” H x 5.6” W | 3.3” H x 3.9” W |
| Weight | 5.16 lbs | 0.76 lbs |
| Speakers | High-excursion woofer with five tweeters | Full-range driver with two passive radiators |
| Spatial Audio | Yes, with Dolby Atmos | No |
| Siri | Yes | Yes |
| Sensors | Accelerometer, Temperature and humidity | Temperature and humidity |
| Connectivity | WiFi, Bluetooth | WiFi, Bluetooth |
| Best for | Large rooms or home theaters | Small room audio |
| Price | $299 on Apple | $99 on Apple |
Closure
In this easy guide, we’ve explored how to connect HomePod to new WiFi and change the connection. We’ve also checked out how to connect iPhone to HomePod and set it up for use. You should be able to easily control your HomePod now and modify how it suits your house environment. If you’re interested, explore more about different Apple devices and tutorials to effectively make your life easier.
Related Blogs: