How to Connect Epson Printer to Mac
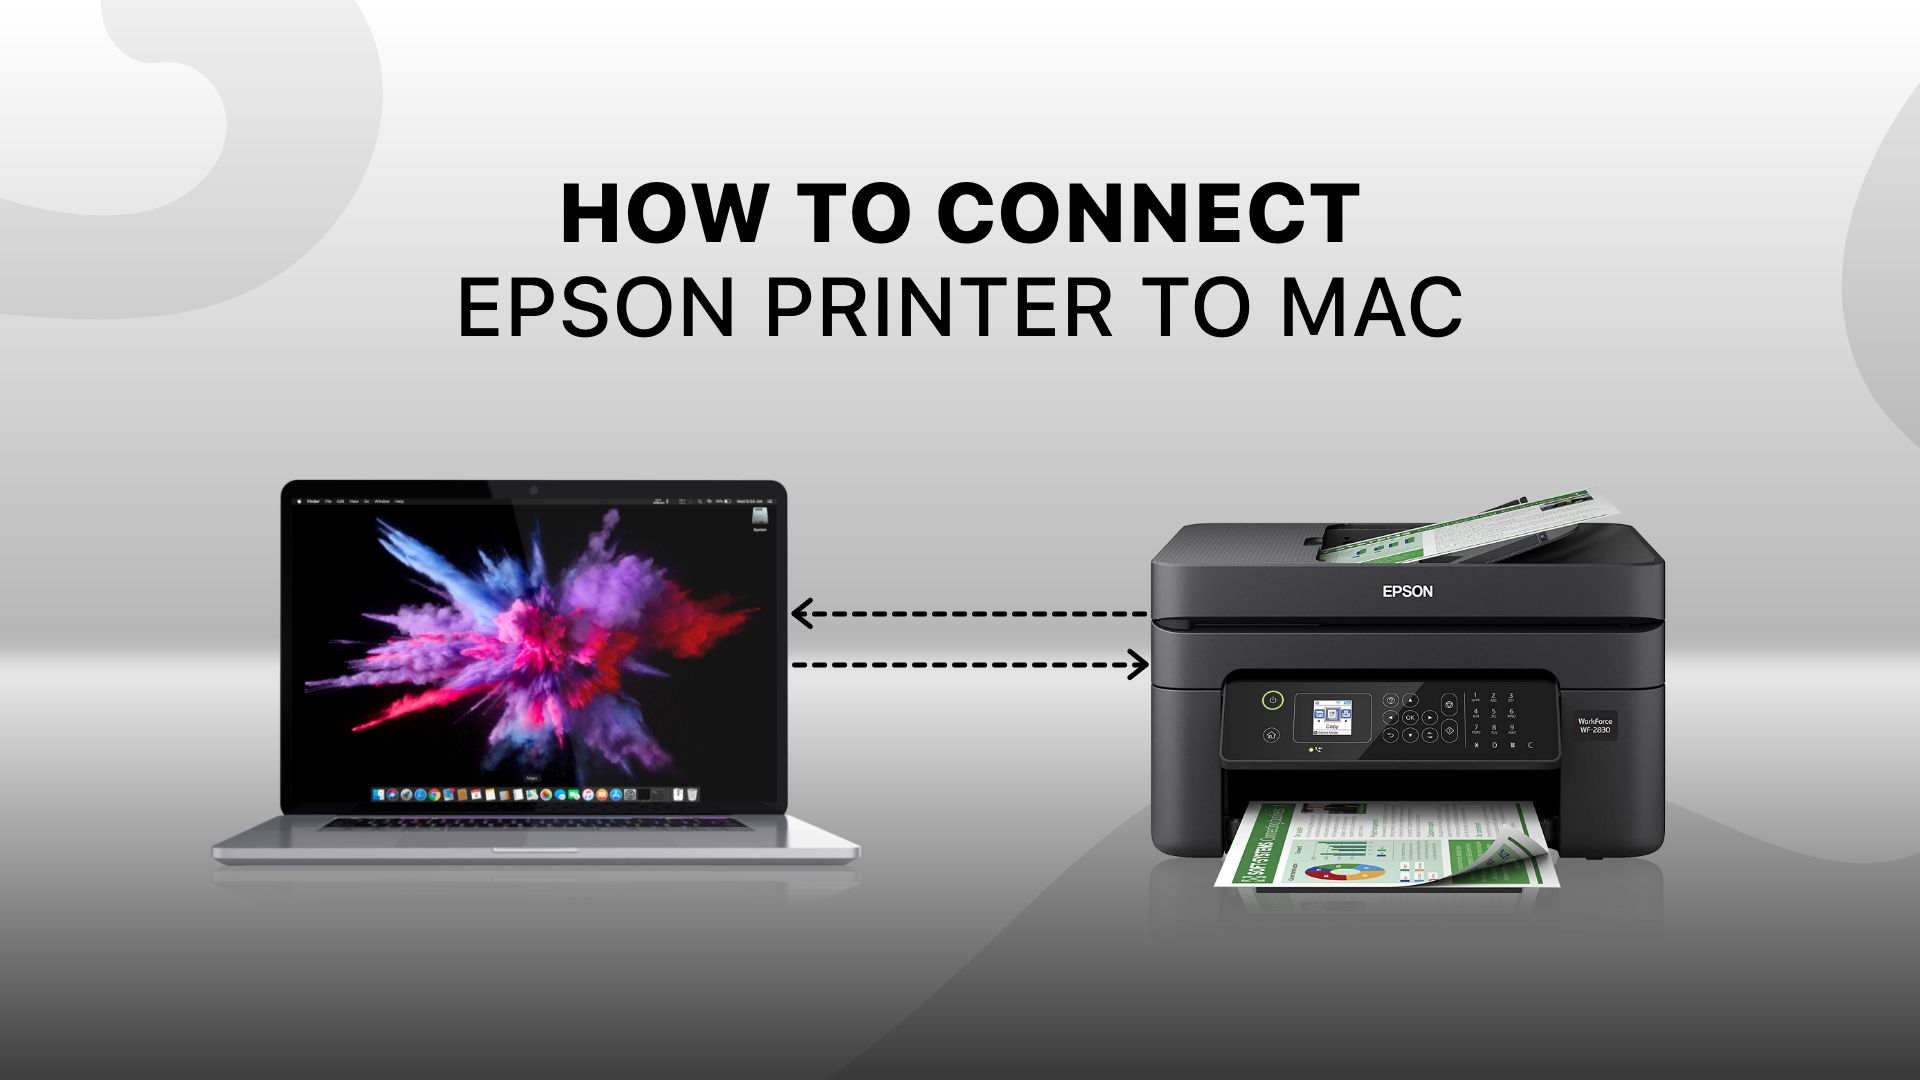
Let’s learn how to connect Epson printer to Mac. This blog will describe wireless and corded pairing processes between the Epson printer and Mac. Go through this content till the end, and you may come across tips and tricks on Epson printer usage.
Also Read: How to Connect Canon Printer to iPhone
Printing documents and images are fast and convenient with an Epson printer. New printer lineups are equipped with Wi-Fi, making the wireless transfer of documents and photos even more, easier from multiple devices to the Epson printers. In this context, let’s focus on how to connect Epson printer to Mac at different conveniences.
How do I connect Epson Printer to my Mac
The connection route between the Epson printer and the Mac can be established in two ways. It can be a wired connection or through a wireless pairing. Both corded and wireless connectivity have their own pros and cons. Let’s keep aside the advantages and disadvantages for later discussion. We will now focus on the process of connecting the Epson Printer, both using wires and wirelessly with Mac.
Also Read: Best Document Scanners for Mac
How to add Epson printer to Mac wirelessly
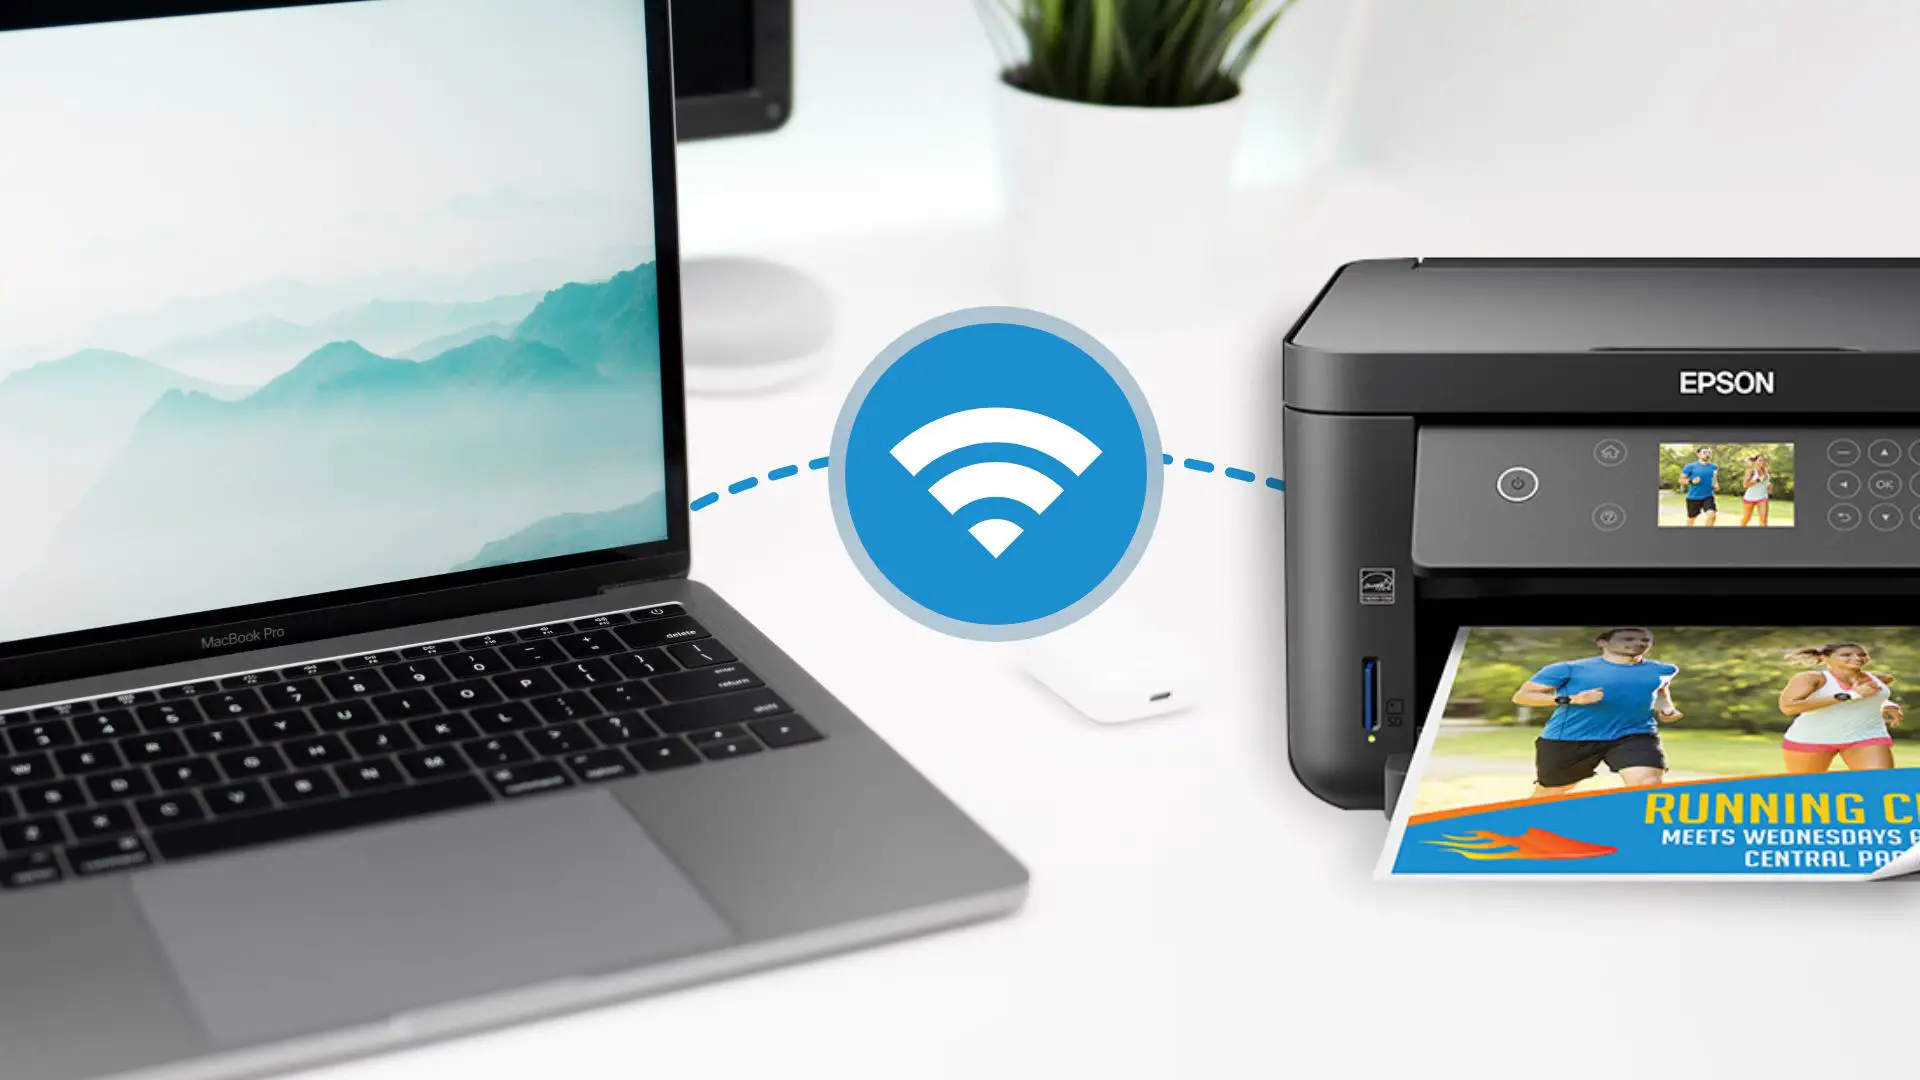
If you want to pair an Epson printer with your MacBook, there are some steps you need to follow. Before you start, go through a video tutorial on connecting an Epson printer to a wireless network on a Mac.
Now, let’s look at the components we need for setting up the Epson printer on Mac through Wi-Fi.
- MacBook
- Wi-Fi-compatible Epson printer
- Router to establish Wi-Fi network
How to connect Epson printer to Wi-Fi- A quick step guide
Getting the printer Wi-Fi ready
- Power on the Epson printer.
- Long press the WPS button at the back of your wireless router.
- Long press the Wi-Fi button of the printer until the Wi-Fi indicator light blinks.
- The light stops blinking and stays still once the Wi-Fi network connection is established.
- Long press the Network status button, which will print a sheet with the network name and password.
Pairing printer with your MacBook
- Click the Apple icon from the homepage.
- From the drop-down menu, click the ‘System Preferences…‘
- You will get a window with grids of functions. Click Printers & Scanners on the second row.
- On the Printers & Scanners page, click the ‘+’ icon beneath the box at the left, and you are supposed to see nearby printers available in a drop-down list.
- The Epson printer should be on the list if connected via the same Wi-Fi network.
- Click on the Epson printer listed, and it will automatically enlist and connect the printer to your MacBook.
Please note that when attempting to connect the printer to your MacBook using Wi-Fi, make sure both the printer and MacBook share the same Wi-Fi network.
Connect Epson printer to Mac using USB cable
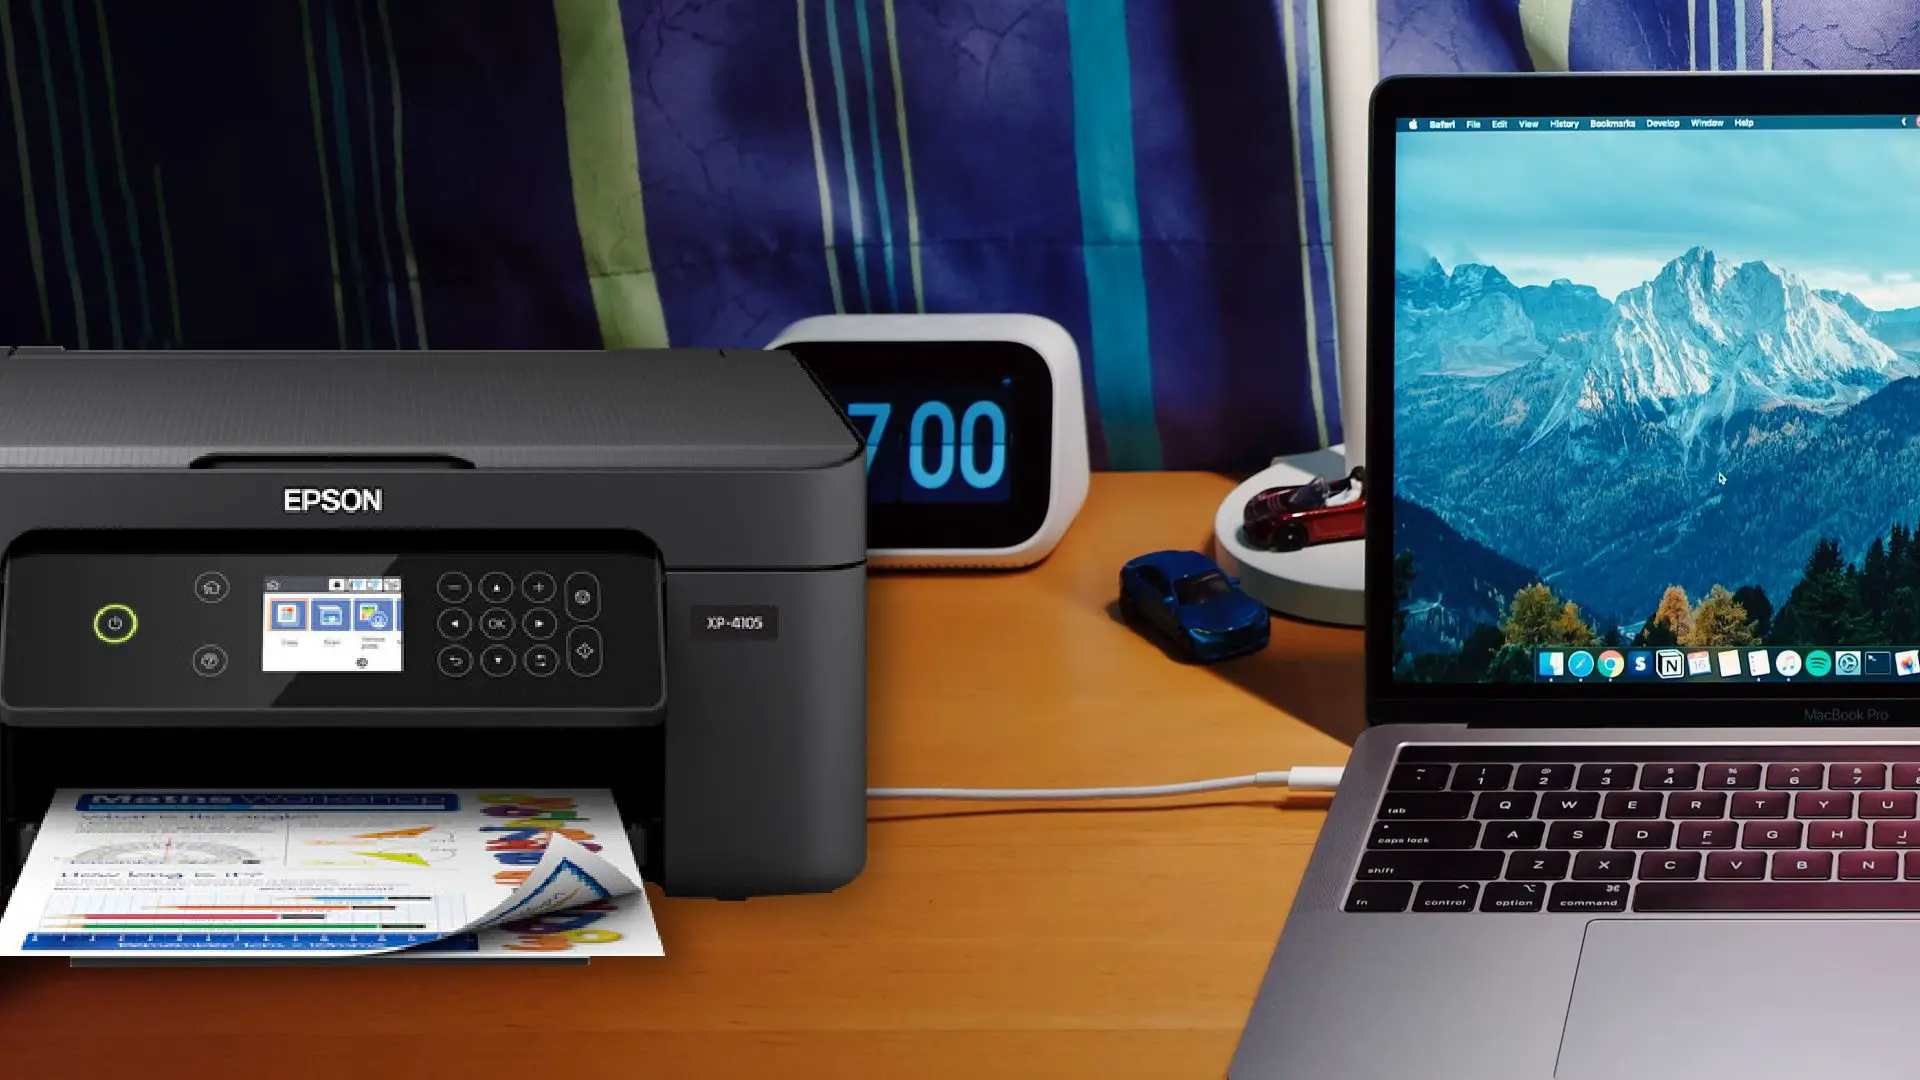
If your Epson printer doesn’t have Wi-Fi connectivity, you can still use it with your MacBook using a cable and an external connector dock. Following are the items you need to be available with to connect your MacBook with an Epson printer via cable.
- MacBook
- Epson printer
- A to B cable
- External USB dock
Steps to add Epson printer to Mac with cable
- Install the external USB dock on the Thunderbolt port at the side of the MacBook.
- Plug one end of the cable into the dock of your MacBook and the other end into the back of the printer.
- Once connected securely, open System Preferences by clicking the Apple logo on your Mac home page.
- Click Printers & Scanners from the grid of functions.
- On the new window, scroll out the Epson printer model with ‘Idle, Last used’ in the list at the left.
- Now you can print documents or images sent from your Mac using the connected Epson printer.
How to print from Mac using Epson printer
After you have solved the mystery of how to connect Epson printer to Mac, the next step is to print a photo or document. You should be used to the process of sending printing commands from a Mac. The procedures are easy to follow. Here is a walkthrough of the steps:
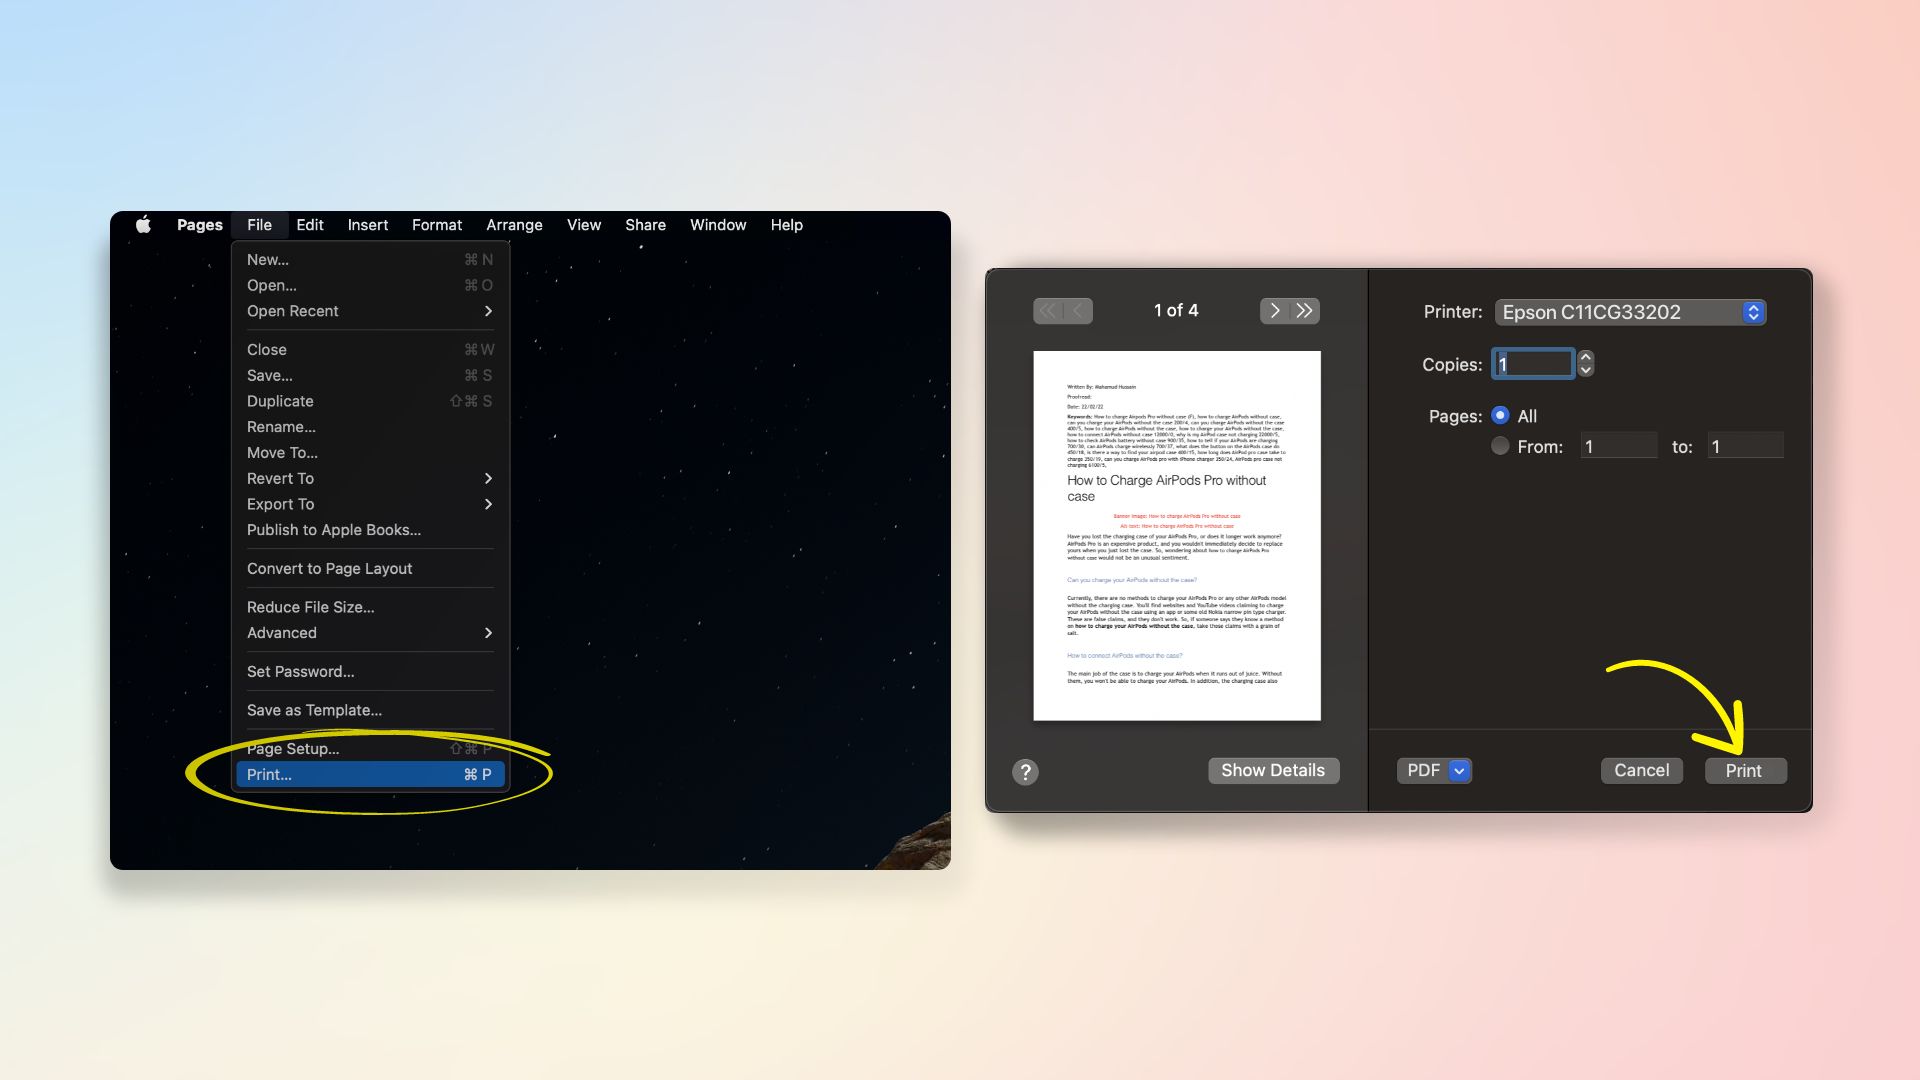
- Open a document you want to print.
- Locate File at the top, next to the Apple icon.
- You will get a drop-down menu.
- Click the Print option at the end of the drop-down menu.
- A new window will pop up that configures all page printing functions.
- In this window, click the drop-down menu next to the printer.
- Select the Epson printer you paired earlier from the drop-down list.
- Tweak through other page settings and formats before printing.
- Click Print to initiate the selected page’s printing.
Installing Epson Printer Setup utility for connecting printer to Mac
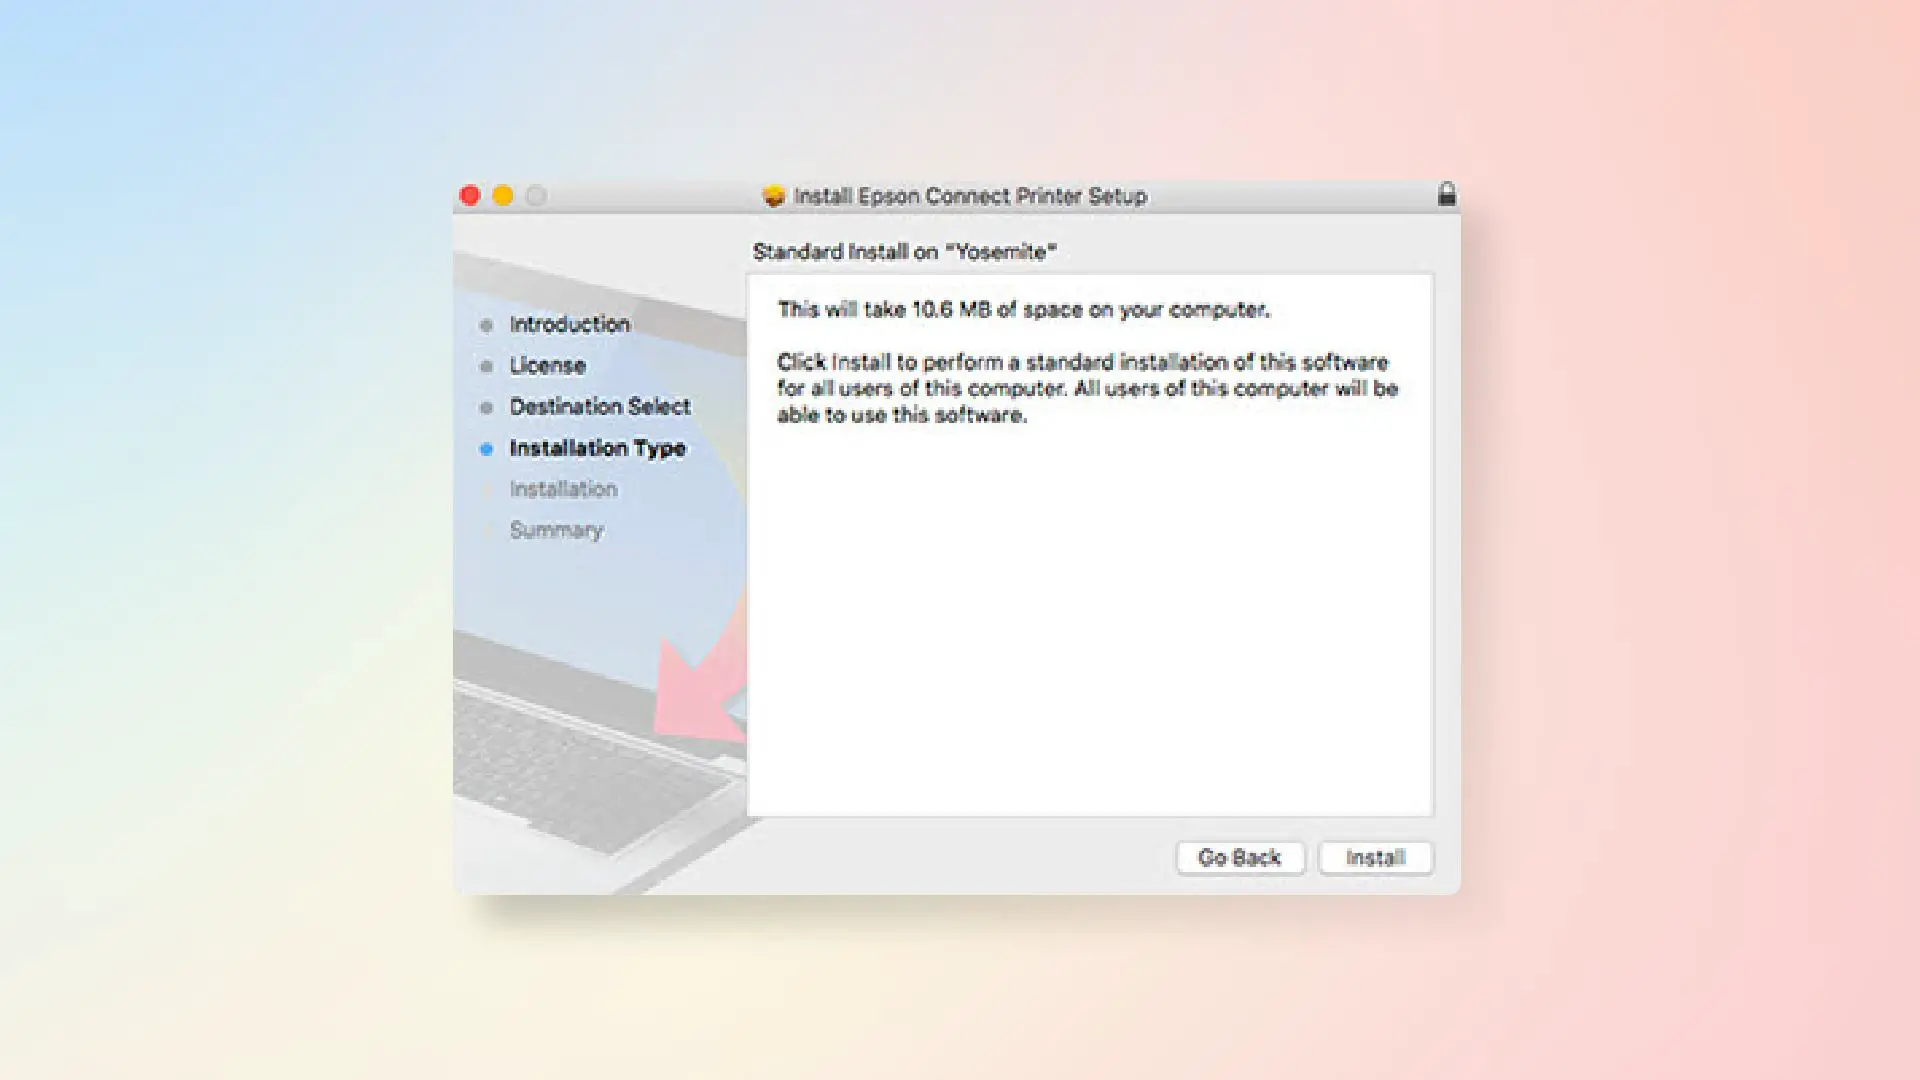
Installing the Epson printer setup utility on your Mac allows for reliable connectivity. In this last segment of the article, We will include how to connect an Epson printer to a Mac by implementing the Epson Printer Setup Utility. It is always wise to install it to enjoy a broad spectrum of functions. The steps below give a detailed process for the Epson Printer Setup Utility.
- Visit Epson’s official website. From there, download the Epson Connect Printer Setup Utility app.
- Double-click on it once downloaded.
- Follow the instructions by clicking Continue. You have to accept the Software License Agreement during the utility setup process.
- Proceed with the installation process once you accept the license agreement.
- Search and locate Epson printer using the Finder option. Once located, select it.
- Select Program & Epson app, followed by double-clicking the Epson Connect Printer Setup button.
- Continue with the Printer Registration, and the Mac will display the “Register a printer to Epson Connect” function.
- Proceed with the Epson Connect Printer Setup process after accepting the Terms and Conditions.
- At this stage, you need to fill out an “Epson Connect Account” form if you are a new user. If you are already an existing user, sign in to the account and add your new Epson printer to the Mac.
By now, you must have clear knowledge about how to connect an Epson printer to Mac. To assure you, the new Epson printer is now more powerful, and newer models come with wireless connectivity. Therefore, users can enjoy faster and more reliable printing functions on the go.
Why can’t I add my Epson printer to my Mac?
There could be several reasons why you are unable to add your Epson printer to your Mac. To solve the problem, you can start by inspecting the following facts:
- Make sure your printer is compatible with the version of macOS on your Mac.
- Maybe the printer is turned off. So check the power cord and make sure it is securely plugged in and turned on.
- In the case of a wireless printer, your PC and the printer should be connected to the same Wi-Fi network.
- If the printer is shared by another user, then make sure that the user has given you permission to access and use the printer.
- Update the printer driver of your Epson printer.
Final words
Now, you should know how to connect an Epson printer to a Mac. It’s easy, right? If you still face issues while connecting the printer to your PC, you can follow the steps on why an Epson printer is not connecting to a Mac. Enjoy a seamless printing experience on your Mac with your Epson printer.
If you like this tutorial, you can also check out our best photo printers for Mac or the best photo printers for iPhone.