How to Connect HomePod mini to iPhone
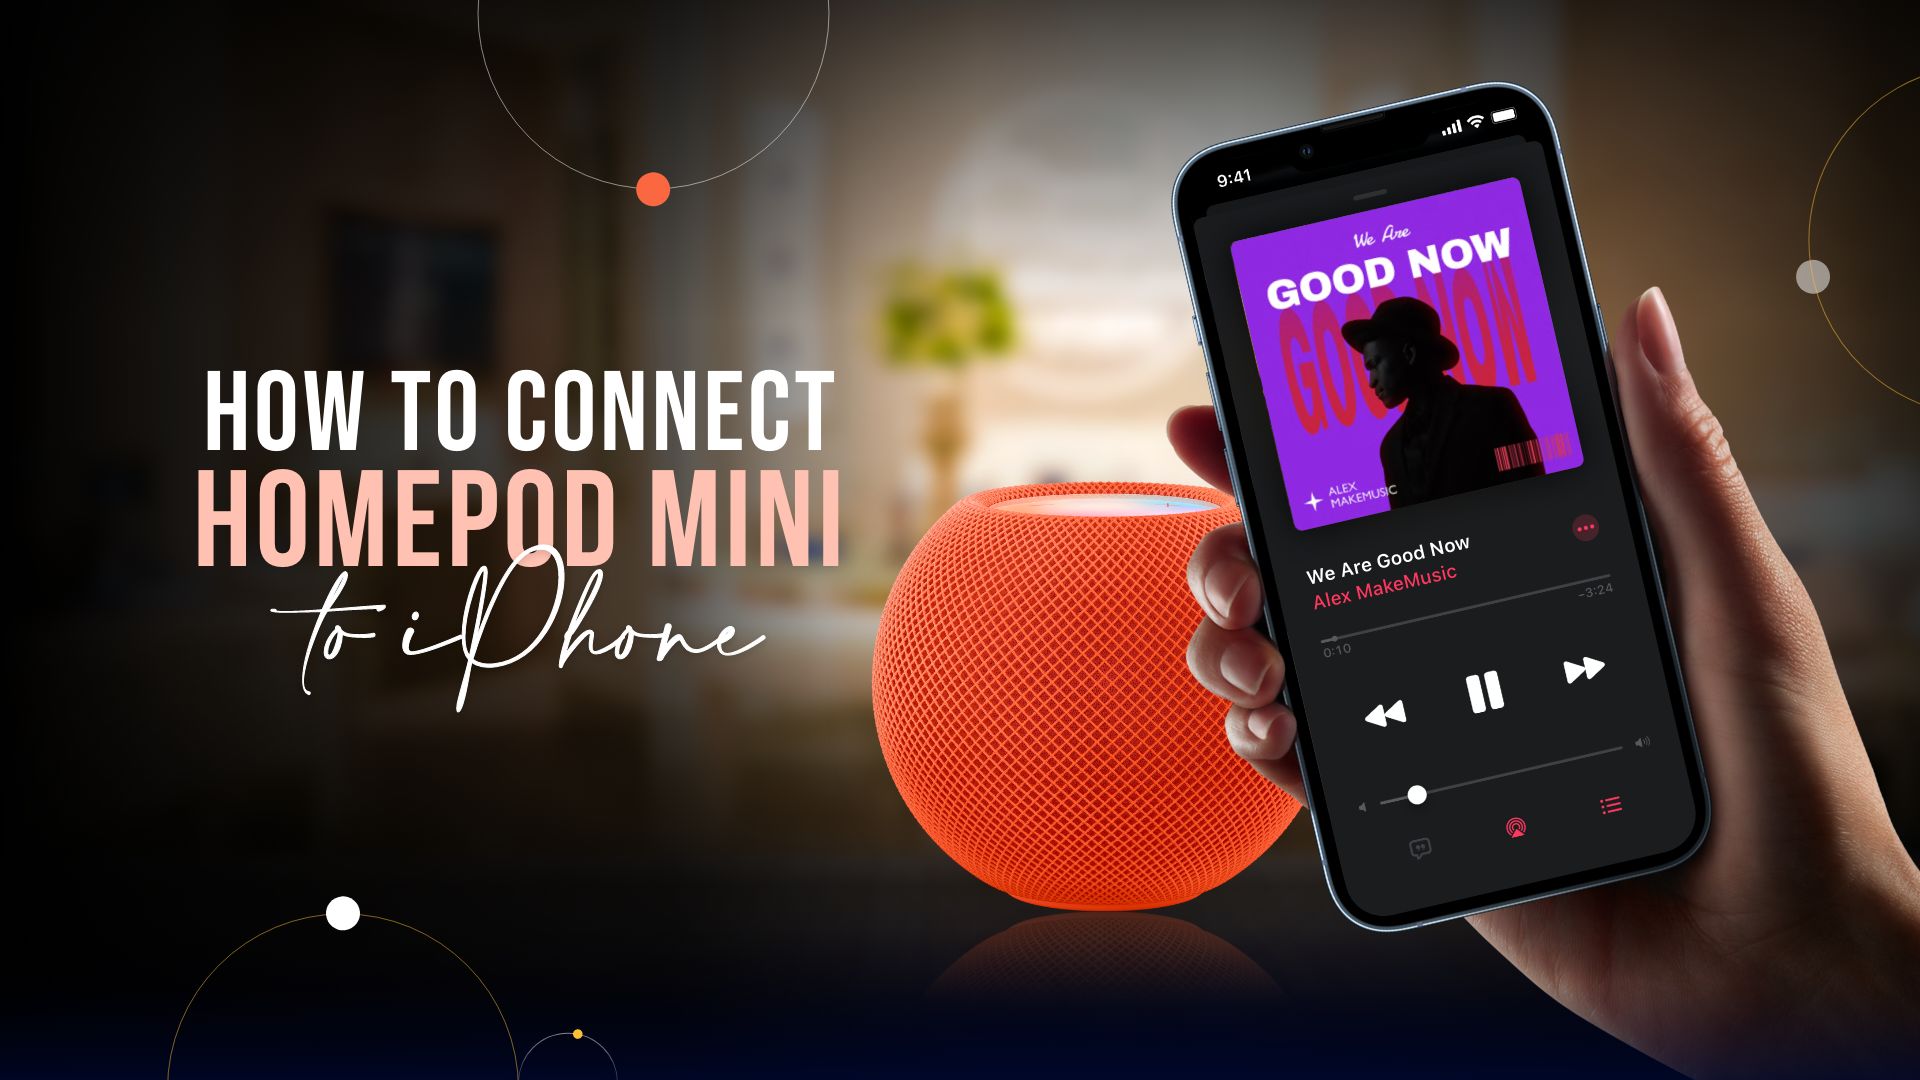
HomePod mini is a small factor smart speaker from Apple. It can stream music, control your home, or make daily household tasks easy for you. Due to its size factor, it does not have a display port but comes with a touch interface. Although to make it work properly, you need to learn how to connect HomePod mini to iPhone.
Learn how to connect HomePod mini to iPhone
The lack of display on a HomePod mini means it requires an iPhone, iPad, or iPod Touch to set it up for the first time. Before doing that, pick a location that is appropriate for your device and has access to a power supply. After that, turn on Bluetooth on your iPhone, iPad, or iPod Touch, then link it to a WiFi network. You can use Bluetooth to connect a JBL speaker to an iPhone or two Bluetooth speakers to one iPhone. However, the HomePod mini uses Bluetooth only for connectivity. You can’t use your HomePod mini as a Bluetooth speaker. Now let’s focus on the steps on how to connect HomePod mini to your iPhone.
Note: Apple discontinued the original HomePod in 2021. However, the setup procedure should be similar if you are still using one.
Step 1: Connect your HomePod mini to a power source
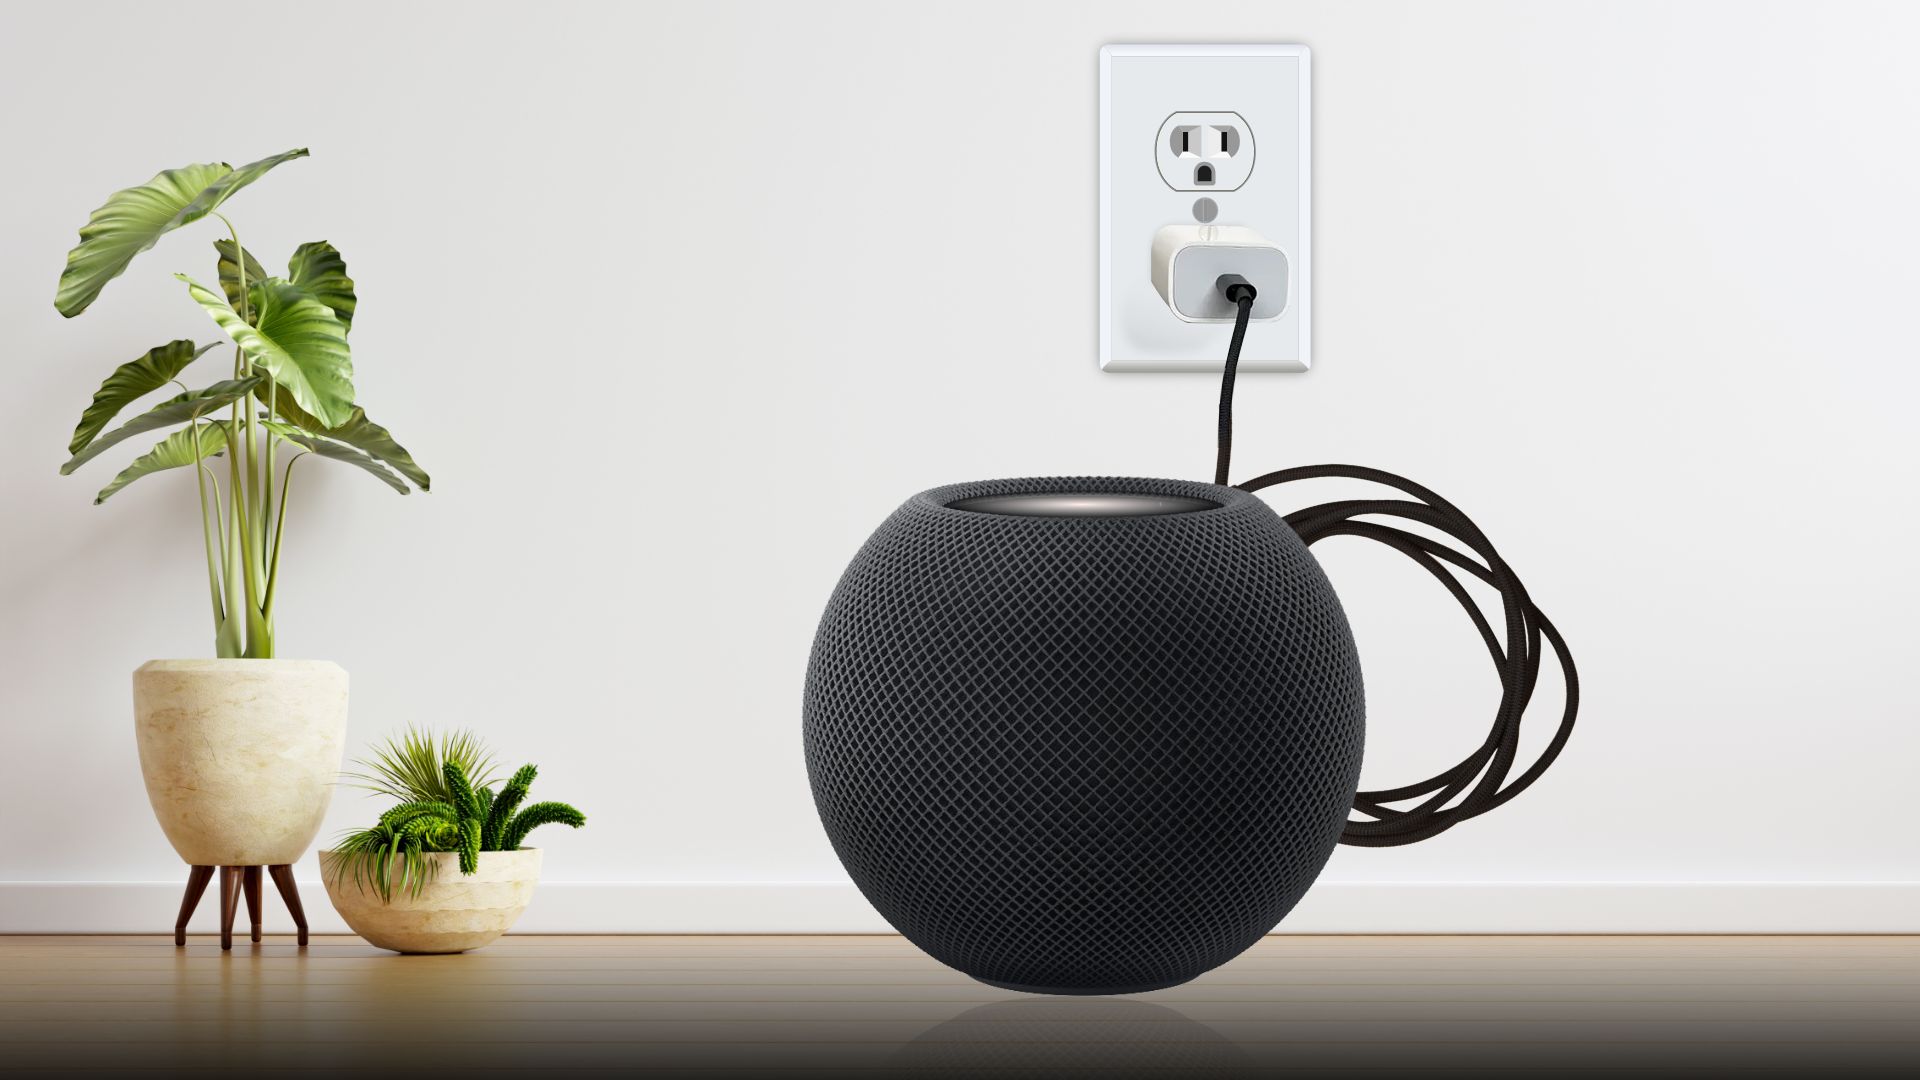
Setting up the HomePod mini is relatively easy. First, connect the USB C cable of the HomePod mini to the power adapter and attach it to a mains power outlet. Wait until a pulse of white light swirls around and chimes to let you know it is on. The HomePod mini comes with a 20W power adaptor. However, a recent update has changed the minimum limit to 18W. Due to this change, a number of portable power sources are available for the HomePod mini. The advantage is that now you can move around with your HomePod mini without worrying about a power source.
Best HomePod mini holder | Mission Battery Base
The HomePod mini comes out of the box as a portable device. However, we upgraded its portability with the help of Mission Battery Base. It can work as a base for your HomePod mini and a power source at the same time.
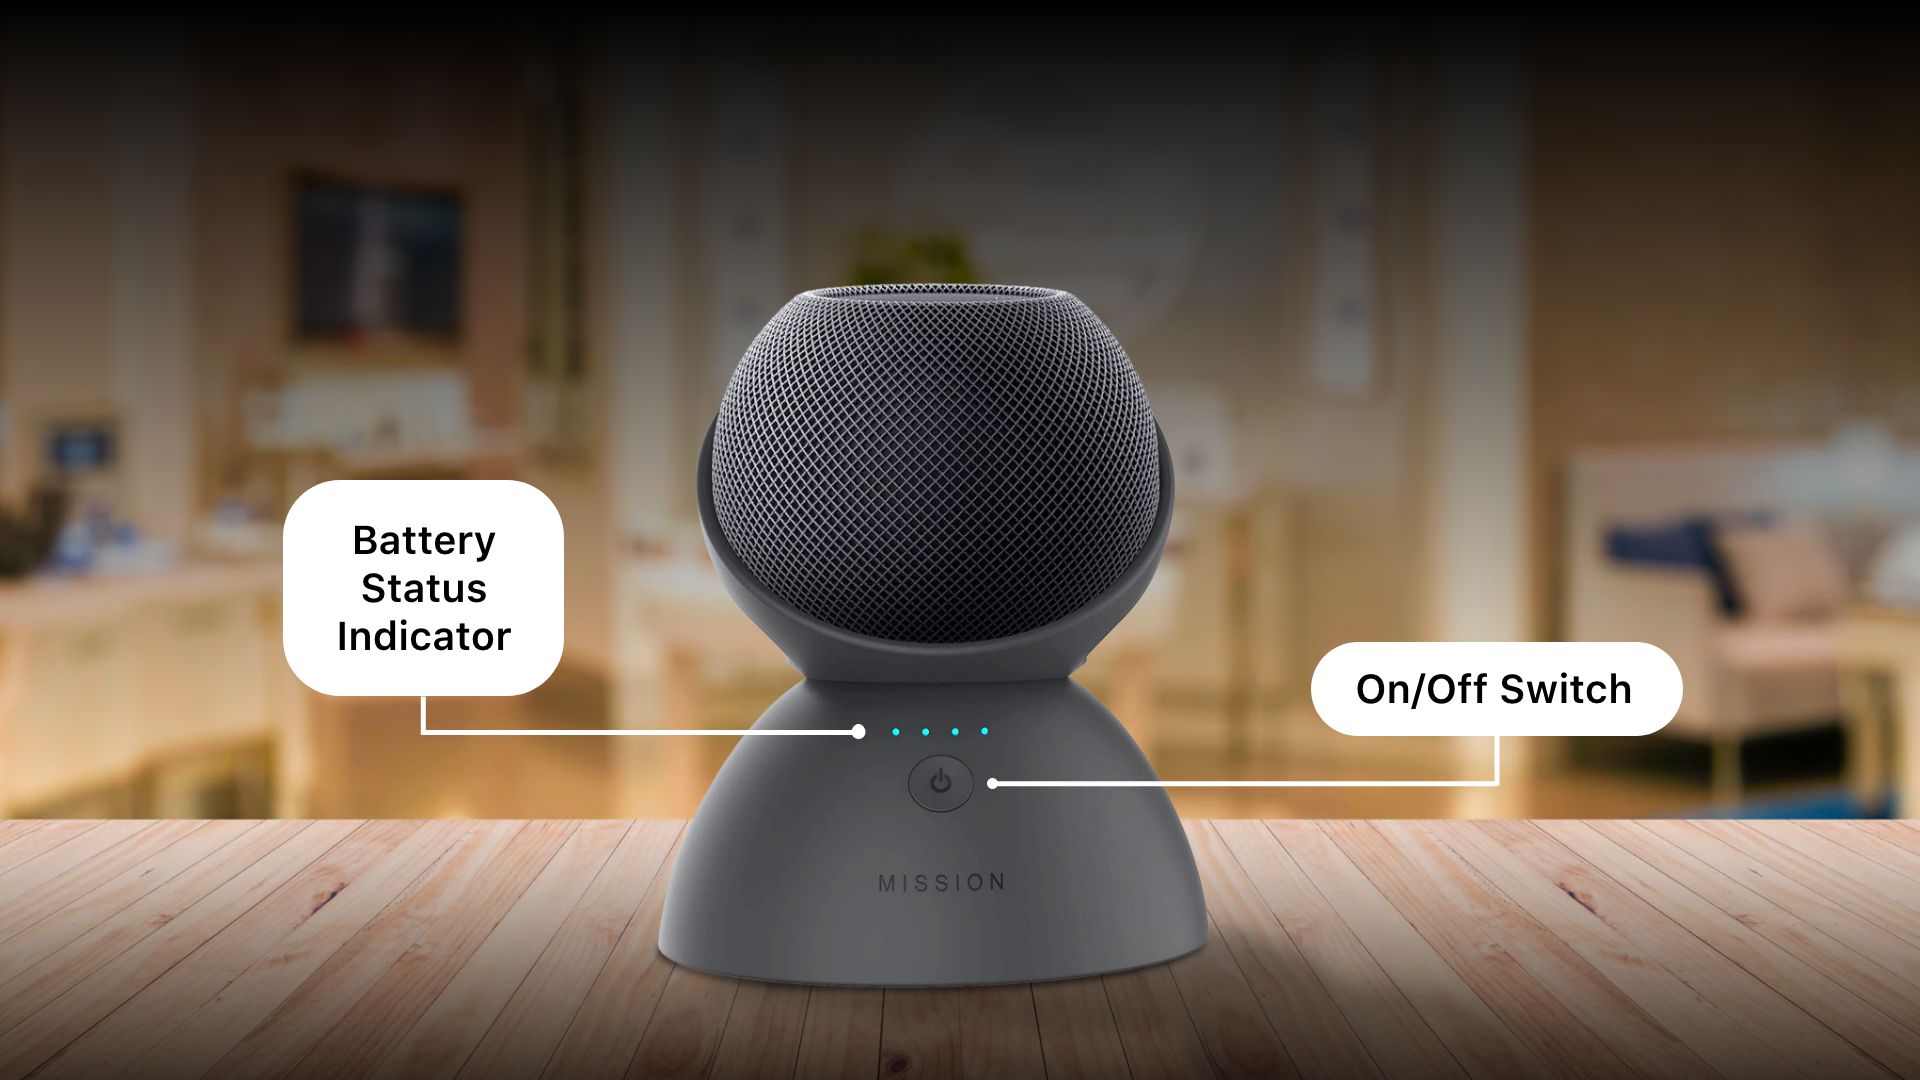
The portable nature of this device enables you to move your HomePod mini around your home conveniently. On a single charge, our test sample of two Bluetooth speakers to one iPhone was able to last for 8 hours and 40 minutes. That’s pretty impressive for such a HomePod base with a small size factor. Moreover, it has an intuitive cable management system and can hold a HomePod mini in any orientation.
Pros
- Excellent design aesthetics that do not compromise any functionality
- Battery lasts up to 9 hours
- Good cable management system
- Easy to set up
Cons
- Limited color options
Step 2: How to set up and pair HomePod mini with iPhone
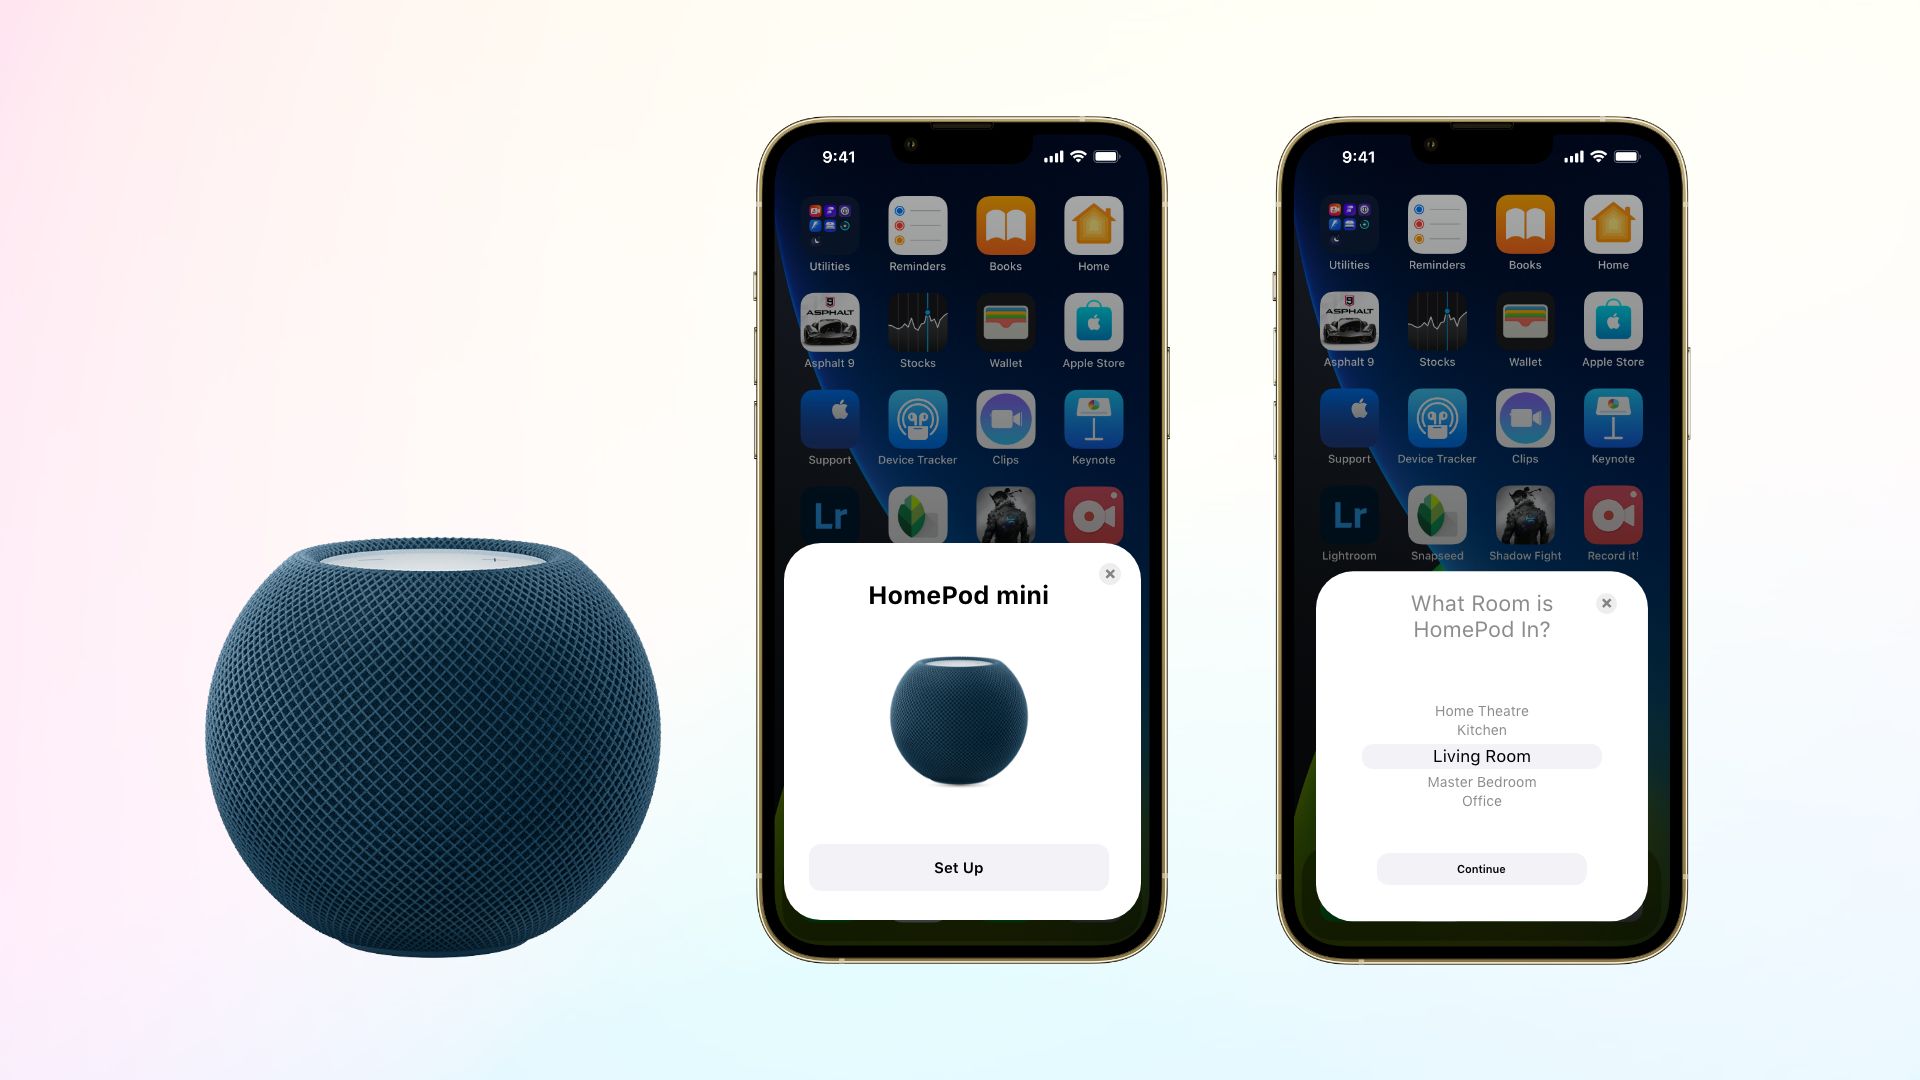
After connecting the HomePod mini to a power source, bring your unlocked iPhone/iPad/iPod Touch near to recognize it. An information card will appear where you need to tap the Set Up button. Then choose the room category where you placed your HomePod mini, and tap Continue.
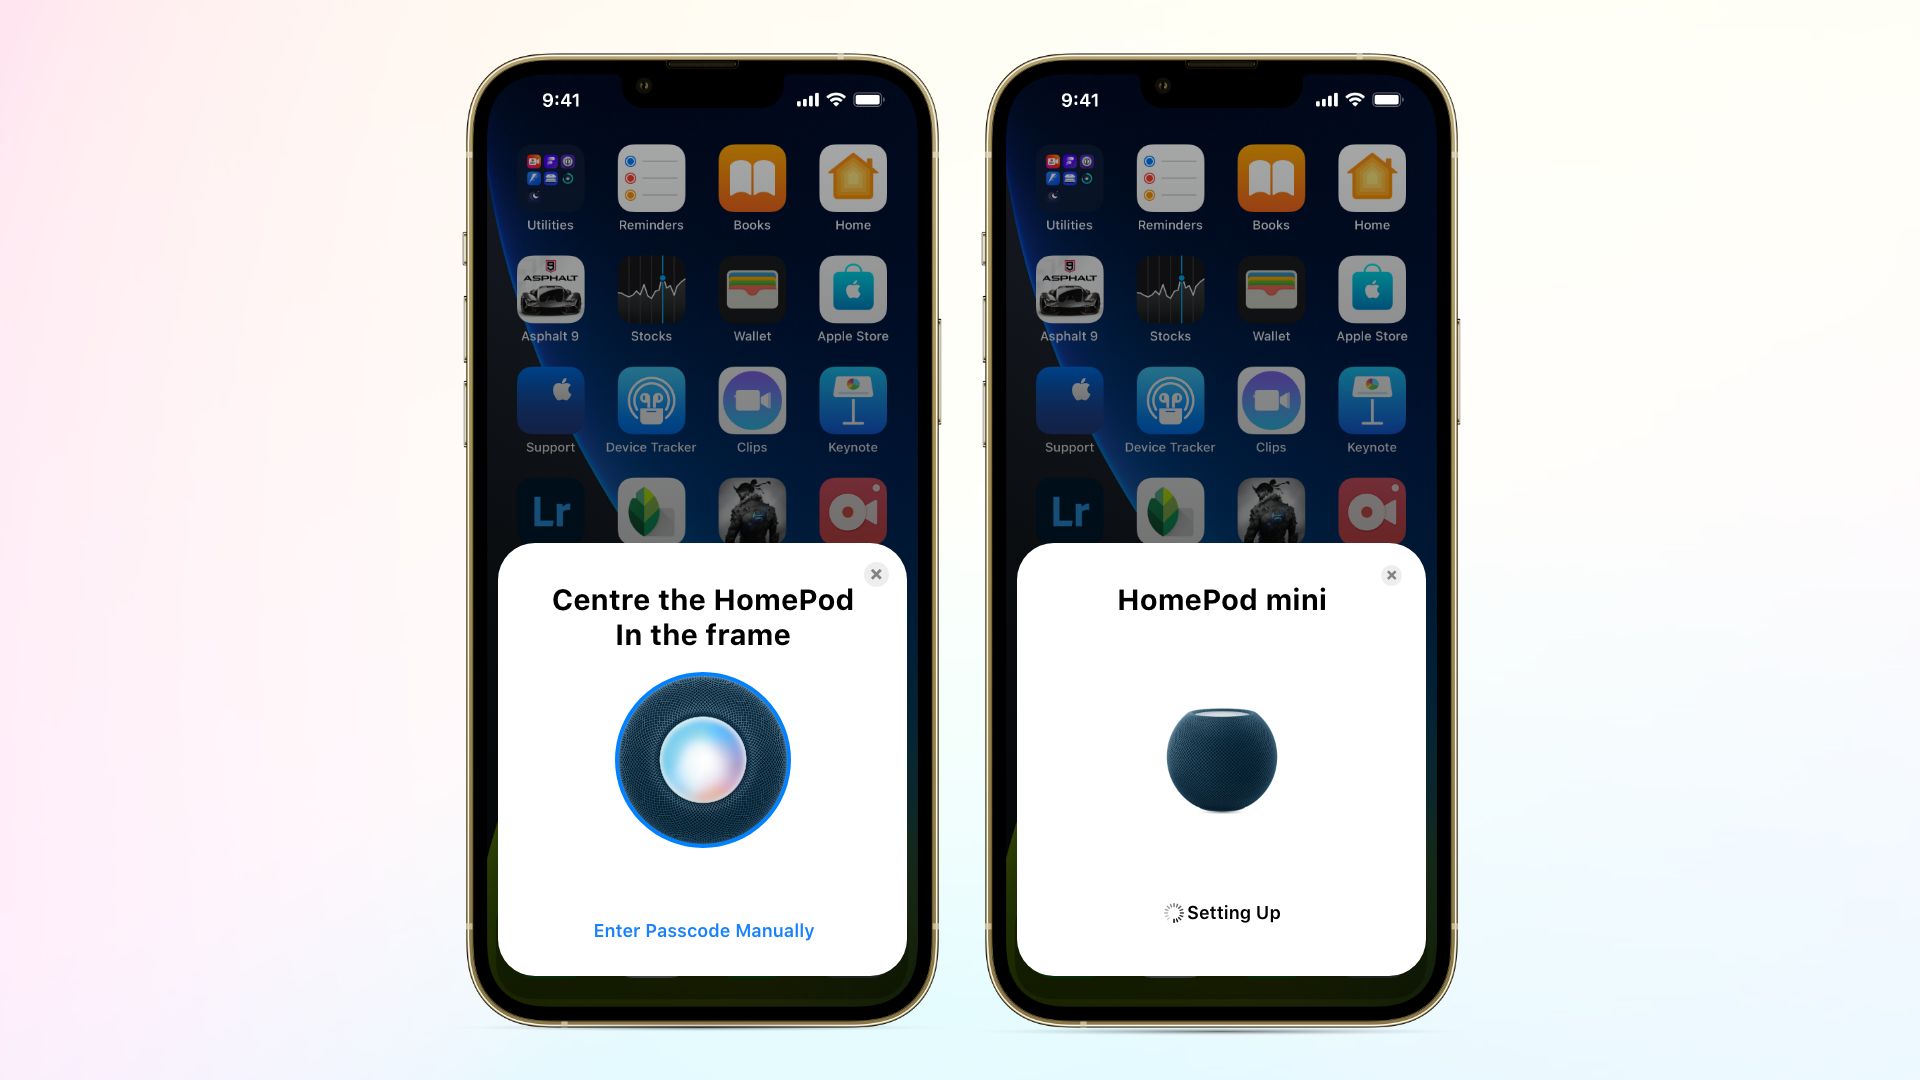
After that, tap Not Now when prompted for an Apple Music subscription. Then you have the option to select Recognize My Voice to set up your Siri voice profile. Next, you need to tap Agree on the Terms and Conditions information card, then select Transfer Settings to open a camera window. Hold your iPhone camera over the white light for the camera window to recognize the device. Finally, you have learned how to connect HomePod mini to iPhone correctly. Now you can control the HomePod mini from your iPhone without any issue.
How to connect iPhone to HomePod mini
Using this guide, you now know how to connect your iPhone and HomePod mini. Now, what about connecting your iPhone to a HomePod mini? Well, when you have paired connection, the steps to connect iPhone to the HomePod mini are easy. The AirPlay option of your iPhone lets you connect to any paired device to connect fast. Make sure your HomePod is ON before following the steps below.
Related Blog: Apple HomePod 2 Review – Everything You Need to Know
Steps on how to connect iPhone to HomePod mini
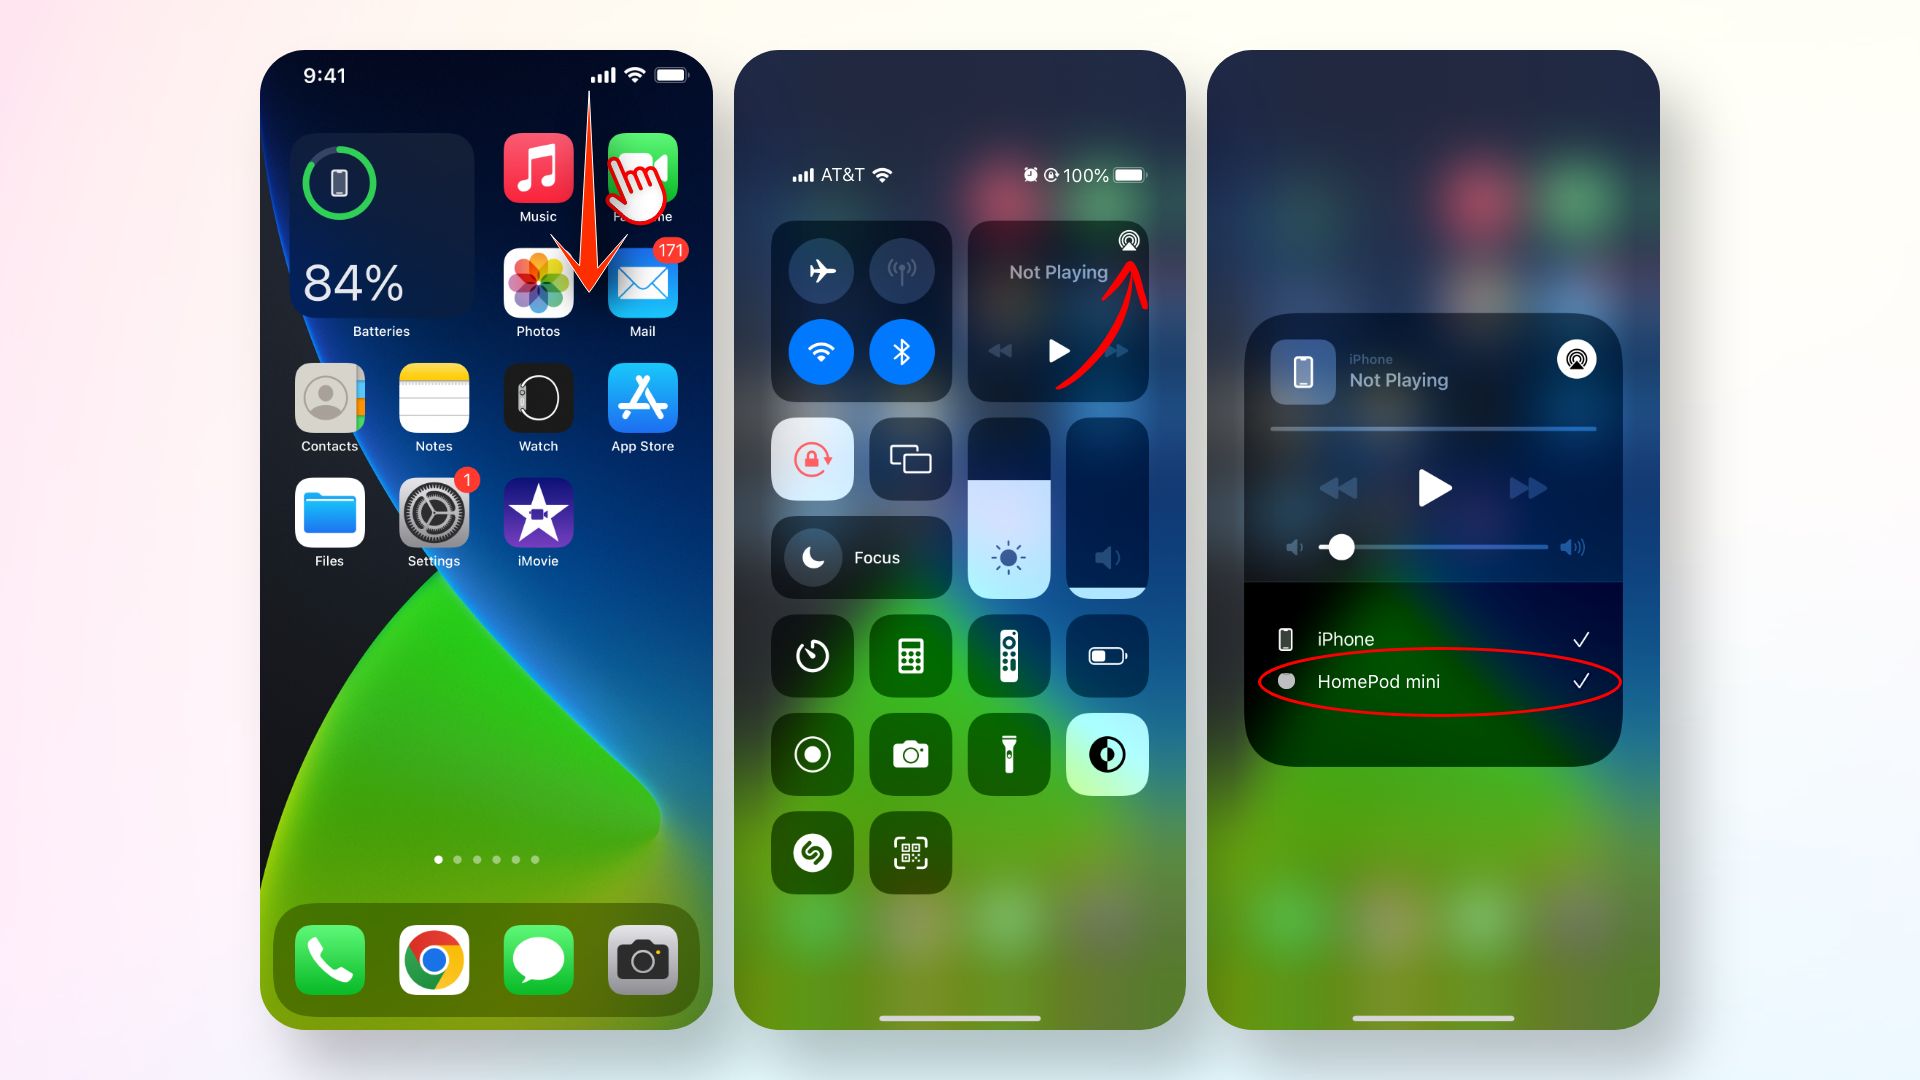
- First, swipe from the top to bring down the Control Center on your iPhone.
- Now, select the Airplay option. You will discover the available devices in the Airplay menu.
- Finally, select the HomePod mini from there to establish a connection.
Why is my HomePod mini not connecting to WiFi?
It can be frustrating when your HomePod mini won’t connect with your iPhone. It is one of the common issues that HomePod users face. The problem mostly arises when you have multiple WiFi connections in your house. When you use the Transfer Settings option in the setup process, the HomePod mini gets permission to use your iCloud, WiFi, and settings options from your iPhone. However, the HomePod mini can’t immediately swap the WiFi network when you change the connection on your iPhone. You need to know how to connect HomePod mini to new WiFi to make it work again.
Final thoughts
HomePod mini is an excellent device if you need a smart speaker for your house. Its portable nature also adds extra points to its value. You’ve learned how to connect HomePod mini to iPhone using this guide’s few easy steps. If you want more informative content like this, check our take on pairing a Sony speaker to iPhone.

