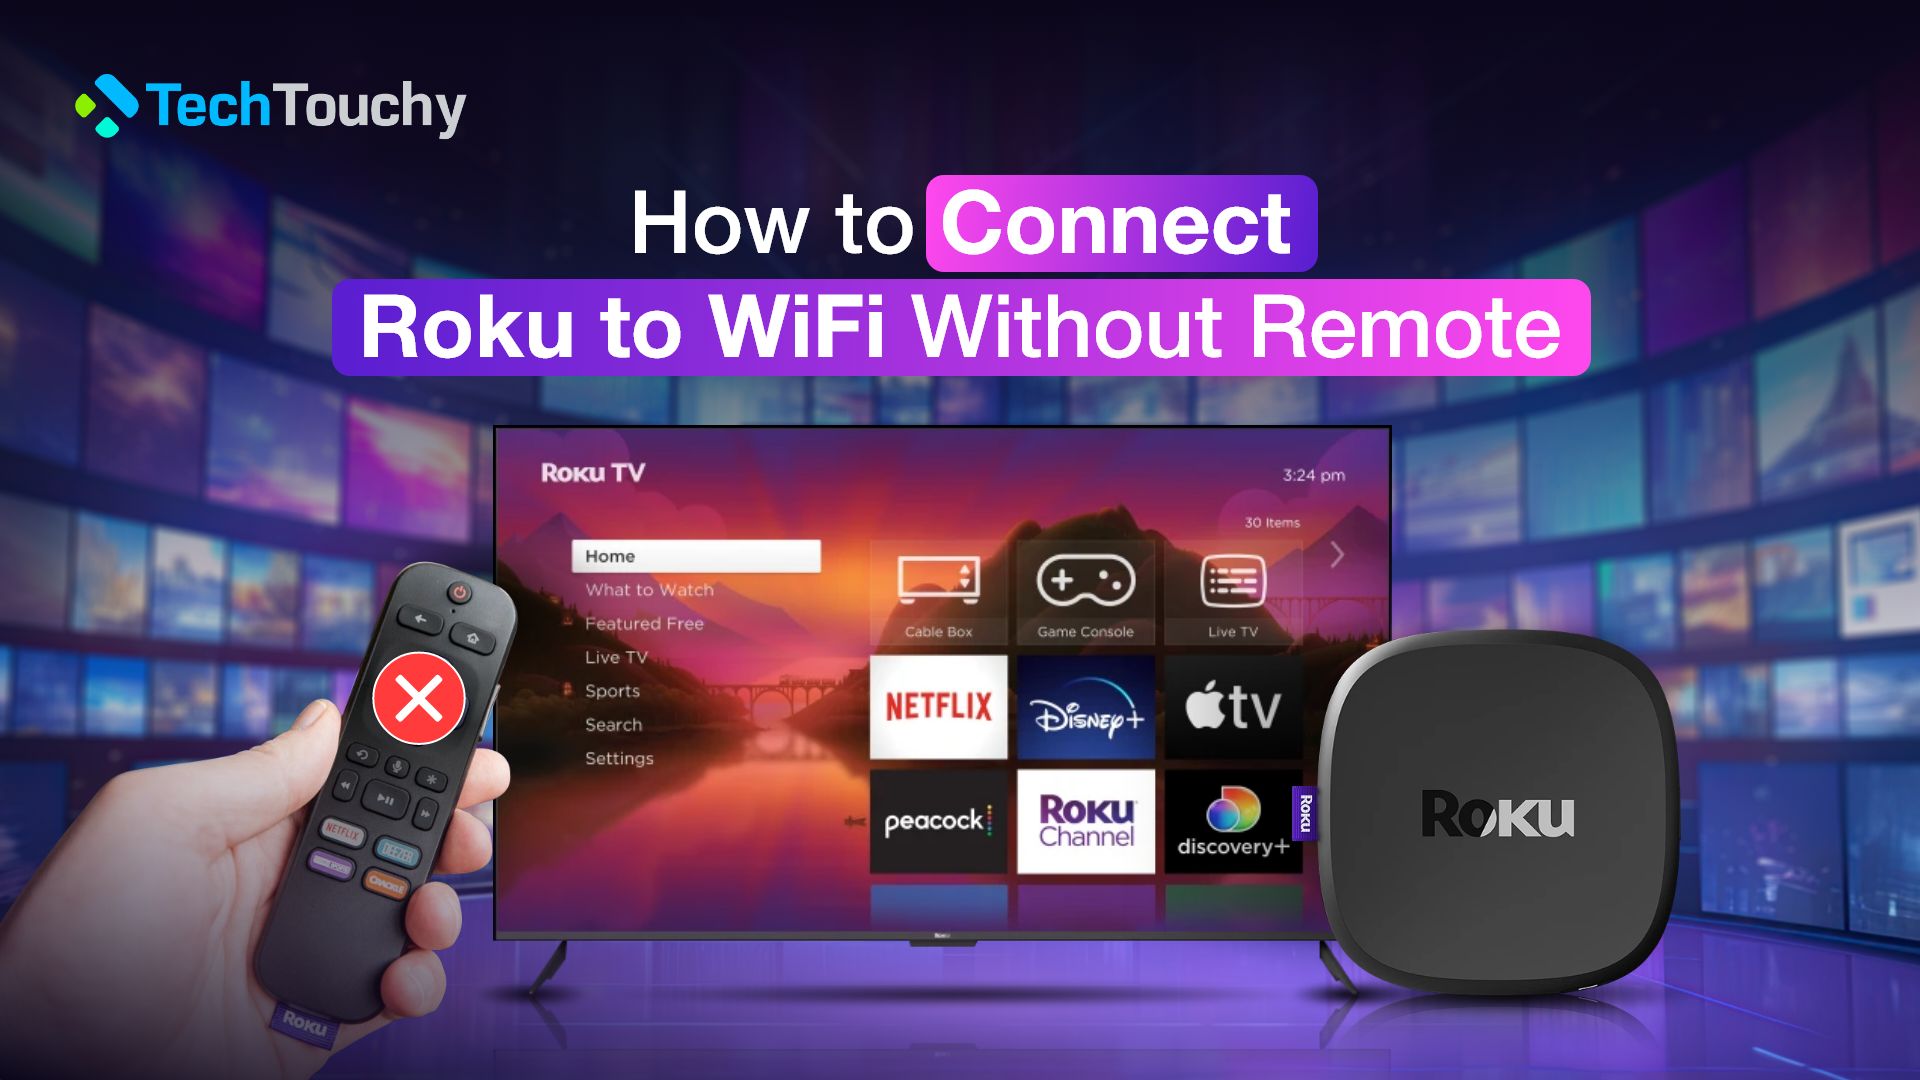
How to Connect Roku to WiFi Without Remote – Full Guide

Undoubtedly, Roku is a very popular option at present to watch the countless amount of content available online on several streaming platforms. It allows you to cut off the expenses of cable TV. Besides, it gives you plenty of streaming services available to watch on your TV.
Generally, you control your Roku with a remote. However, it can sometimes become tricky if you have lost your Roku remote. As everything on Roku relies on the internet, you can’t make the internet accessible to your Roku device without a remote.
Now, you might ask how to connect Roku to WiFi without remote. In this blog, you will learn about the four different methods of connecting Roku to WiFi if you have no Roku remote.
So, without further ado, let’s get into the details.
How to connect Roku to WiFi without remote -Multiple methods
Well, the best way to get out of the trouble is to order a new Roku remote. Still, you can temporarily apply the methods below to fix the issue until the remote gets delivered.
Method 1: Connect Roku to WiFi without remote using the Roku app
You can opt for this easiest method to connect Roku to WiFi without needing a remote. The method is using the Roku app on your phone as the new remote. Here, we will share the step-by-step process on how to connect Roku to WiFi without a remote.
Step 1 – Install the Roku App
The first step is to download and install the Roku app. You can get the app for free from the App Store (iPhone) or the Play Store (Android). Also, make sure that your phone is connected to your home WiFi network.
Step 2 – Set up the Roku app
On the Roku app, sign in to your Roku account or continue as a guest. But you need to sign in at a later time.
Step 3 – Connect the Roku device to the Roku app
Next, tap on the Devices tab from the bottom right corner. Then, select your Roku device from the list of nearby devices and tap on Connect Now.
Step 4 – Use the Roku app as the new remote
Now, tap on the Remote tab. This will launch the virtual remote, which you can use to navigate your Roku device.
Step 5 – Navigate to Roku WiFi settings with the Roku app remote
Then, tap on the Home button on the Roku app remote and use the virtual arrow pad to head over to Settings > Network > Set up connection on your TV that is connected to the Roku device.
Step 6 – Connect Roku to WiFi
Finally, follow the on-screen prompts to connect the Roku device to WiFi. You need to select the WiFi network. It is the same one you are using on the phone to operate the Roku app. Then, enter the WiFi password to establish the connection.
Related post: How to Connect Vizio TV to WiFi without Remote
Method 2: Connect Roku to WiFi without remote using an ethernet cable
This method will let you to have a wired internet connection to your Roku, and then you can use the Roku mobile app to use it as a remote controller.
Step 1 – Check if your Roku has an ethernet port
Firstly, check if your Roku device or TV has an ethernet port. The TV or the device must have an ethernet port; otherwise, you won’t get to utilize this method.
Different Roku device models and TVs might have ethernet ports, but surely Roku streaming sticks don’t have any. In that case, you must look for a remote as you don’t have the ethernet option.
Step 2 – Connect your router and Roku using the ethernet port
Get an ethernet cable long enough to connect your WiFi Router and Roku device together. Connect the router and the device and turn on the TV. Now, you will see on your TV that you have a wired internet connection.
Step 3 – Download and install the Roku Mobile App
The first steps is to download and install the Roku app. Open it and follow the on-screen instructions to set it up. Ensure your mobile device used for the app is connected to the same home WiFi; otherwise, it won’t find your Roku device.
Step 4 – Sign in or continue as a guest
The virtual remote comes on the screen when the Roku device is connected to the Roku app. You might get pop-ups to sign in or continue as a guest on the TV screen. You can choose either of the options to continue.
Step 5 – Connect the Roku device to a wired connection
Now, use the virtual remote to navigate to Settings on your Roku device’s menu. Then, tap on Network > Set up connection. After that, choose Wired connection. The Roku should now connect to your network.
Method 3: Connect Roku to WiFi without remote using a browser extension
An alternative to using the Roku app to connect Roku to WiFi is by installing a browser extension on your computer. This extension is called Remoku. Similar to the Roku app, this extension, when installed, will create a virtual Roku remote that you can use to navigate your Roku device’s menu.
Step 1 – Install the Remoku extension on your computer
On your Google Chrome browser, add the Remoku extension. The extension will then appear on your extension list. So, open the Remoku extension by clicking the Remoku icon from the extension list. If it is the first time you have installed Remoku, then the extension must scan your Roku.
Step 2 – Input the base network address
Before you scan for Roku, your Remoku needs a setup with the base network address of your WiFi. You can find the address in your router’s user manual or call your ISP to reconfirm it.
Step 3 – Select your Roku and use the Remote on the screen to operate
Once the network setup is done, choose your Roku and perform the on-screen instructions to get it confirmed. Then, use the virtual Roku remote displayed on your computer screen to navigate your Roku device’s menu.
Step 4 – Navigate to Roku WiFi settings with the virtual Roku remote
Use the arrow pad on the virtual Roku remote provided by the Remoku extension to go to Roku Settings. Then, tap on Network > Set up connection on your TV that is connected to the Roku device.
Step 5 – Connect Roku to WiFi
Finally, follow the on-screen prompts to connect the Roku device to WiFi. You need to select the WiFi network. It is the same one you are using on the computer to operate the Remoku extension. Then, enter the WiFi password to establish the connection.
Method 4: Connect Roku to WiFi without WiFi using a hotspot
This is not ideal, yet you can use this method if any of the above ones do not work for you. You will need two devices to do this method. It would be ideal if you have a laptop and a mobile device. Or you can also give this method a try using two mobile devices. You can also use a tablet as the other device.
This tricky method applies when the network that was connected to your Roku is gone now. You have to rename the hotspot in one device as the previous network. And use the other device as a remote by installing the Roku app.
Step 1 – Install the Roku app on your mobile
Install the Roku app on the device you will use as the remote for your Roku. You are not going to create a hotspot in this device. Use another mobile, tablet, or computer to create the hotspot.
Step 2 – Change the Hotspot name on the other device
On the other device, go to the network settings and change the hotspot name to the previous WiFi name, which was connected to the Roku device earlier.
As the previous network name is already paired with the Roku device, the new hotspot with the old name will trick Roku into believing it is the old network and connect instantly.
To change the hotspot name, you have to navigate to the settings of the device and search for the hotspot in the network menu. The process is similar in every other device.
While changing the name, you might be asked to enter a password. In that case, do not enter any password and keep the field empty if you don’t remember it. After changing the name, turn on the hotspot.
Step 3 – Use the Roku app as the remote
Once the Roku is connected to the hotspot and has an internet connection, get back to the mobile where you installed the Roku mobile app. Connect this device to the same network as the Roku is connected.
At this point, your Roku device and the mobile that has the app installed will use the same hotspot as the network.
Step 4 – Open the app and change the network settings of the Roku
On your phone, launch the Roku app and follow the on-screen instructions to set it up. Tap “Device” and select your Roku device.
Next, tap the “Remote” icon on the app to use the app as your Roku Remote. Then navigate to “Settings“> “Network“> “Set Up Connection“> “Wireless” and select your current home WiFi. Enter the password of the WiFi.
Now, your Roku is connected to your home’s WiFi network, so you can disconnect the hotspot. Ensure your mobile is also connected to your home WiFi to be used as the remote.
Related post: How to Connect Fire TV Stick to WiFi without Remote
Why is Roku not connecting to WiFi or an internet connection?
Your Roku might not connect to WiFi or an internet connection for many reasons. Here are some of the common issues-
- An overpopulated router means a router connected to many devices may fail to ensure a secure connection.
- Slower WiFi speed.
- If you are using an ethernet cable, then the cable or port may be faulty, or the connection might be loose.
- Need for adequate power availability for the router.
- Faulty Roku device.
- Incompatible router firmware.
- Outdated Roku firmware.
Troubleshooting tips for Roku not connecting to WiFi
To troubleshoot your Roku not connecting to the internet, you need to check if your Roku is not connecting at all or has a poor signal.
Follow the steps to check your network settings:
- Turn on your TV and press the arrow signed button on the Roku Remote’s left side. It will get you the sidebar of “Menu.” Scroll down and enter the “Settings” by pressing the right button.
- Press the right button again to expose the “Network” option. Once more, press the right button on the remote to open the network page.
- You will get two options now: a) “About Page” and b) “Check Connection Tool.” Navigate to the About Page first and check if you can see important information on the page, like reference connection type, IP, Signal strength, download speed, etc.
- If this information isn’t there, it means your Roku isn’t connected to the internet. In that case, make a secure internet connection first.
- When this information is visible, get into the “Check Connection Tool.” Then scroll to “Check Connection” and press the “OK” button to begin the test.
- After the test is done, you will get a pop-up on your TV screen stating the network connection status and internet speed. If everything seems good, run a media through any streaming service to see if the problem is gone by now.
Other fixes that you can try:
- Restart your devices; this includes the router, modem, TV, and the Roku device.
- Place your Roku device closer to the router.
- Update your Roku device firmware.
- Reset your Roku device.
- Contact Roku support.
Wrap Up
As you have come this far, we hope that your doubts about how to connect Roku to WiFi without remote have cleared. Follow any one of the methods mentioned above to make the internet connection to your Roku.
However, it is advised that you get a real Roku remote to save yourself some time to make a secure network.
Related Posts:
- How to Connect HomePod to New WiFi
- How to Connect LG TV to WiFi
- How to Connect PS5 to Hotel WiFi


